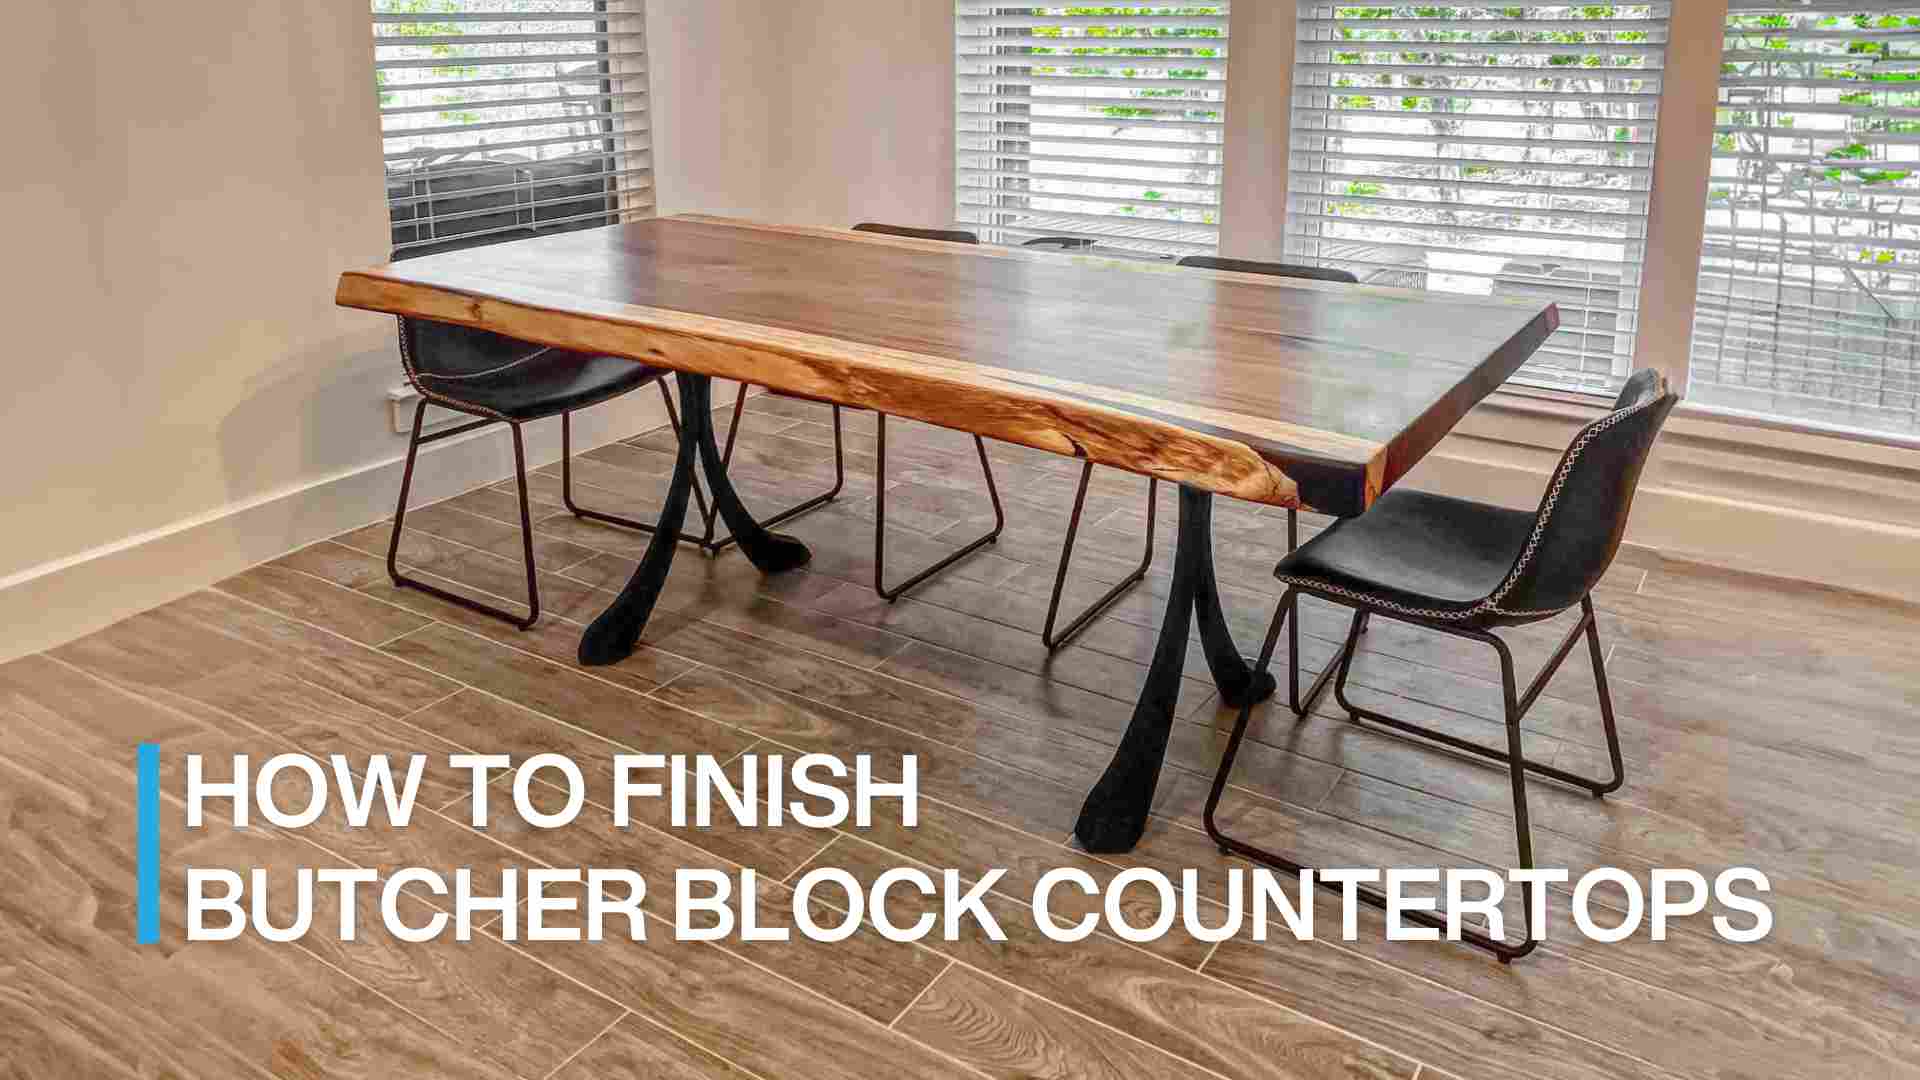
The Art of River Table Construction: A DIY Journey
Original article: https://flowyline.com/blogs/for-diy-ers/how-to-build-a-river-table

Materials Needed
- Live edge slabs
- Epoxy resin
- Wooden mold
- Pigment (optional)
- Sandpaper (various grits)
- Wood finish (polyurethane, lacquer, etc.)
- Tools (saw, clamps, router, etc.)
- Protective clothing

Get ready to build a gorgeous river table
Credit: Flowyline Design
Step-by-Step Instruction
Step 1: Choose your wood
The first step in creating a river table is selecting your wood. Live edge slabs are commonly used for this purpose. The natural edge of the slab will serve as the "riverbank" in your design. Walnuts and olives are two common pieces of wood for this type of project.
Step 2: Prepare the wood
Once you've chosen your wood, it's time to prepare it. This involves cutting it to size, sanding it smooth, and ensuring it's completely dry. Removing wood bark off the side of your wood slab is also an important step toward having the perfect piece of furniture.
Step 3: Arrange the wood slabs
Next, put your wood slabs into the mold and arrange them on your work surface with the live edges facing each other. This will create the "river" in your river table.
Remember to meticulously seal the exterior of your mold to prevent any potential leakage of epoxy during the curing process.
Step 4: Mix and pour the epoxy
Now it's time to mix your epoxy resin. If desired, you can add pigment to the epoxy for a touch of color. Once mixed, pour the epoxy between the slabs, filling the "river" you've created.
Address: https://www.google.com/maps?cid=16787952025643628509
More information: https://www.google.com/search?q=flowyline+design

Comments
Post a Comment