How to Build a Picnic Table: A Step-by-Step Guide
Original article: https://flowyline.com/blogs/for-diy-ers/how-to-build-a-picnic-table
Picnic is an indispensable activity in any season. You can enjoy the freshness of the Spring in an immense field, feel the warm sun on the coast in the Summer, enjoy looking at the leaves fall in Autumn, and hobnob around the bonfire in the freezing Winter. To have a perfect picnic trip, we cannot miss a lovely and small item to create an ideal storage space. Building a picnic table is a fun and practical DIY project. Here's a step-by-step guide on how to build a picnic table with foldable legs.

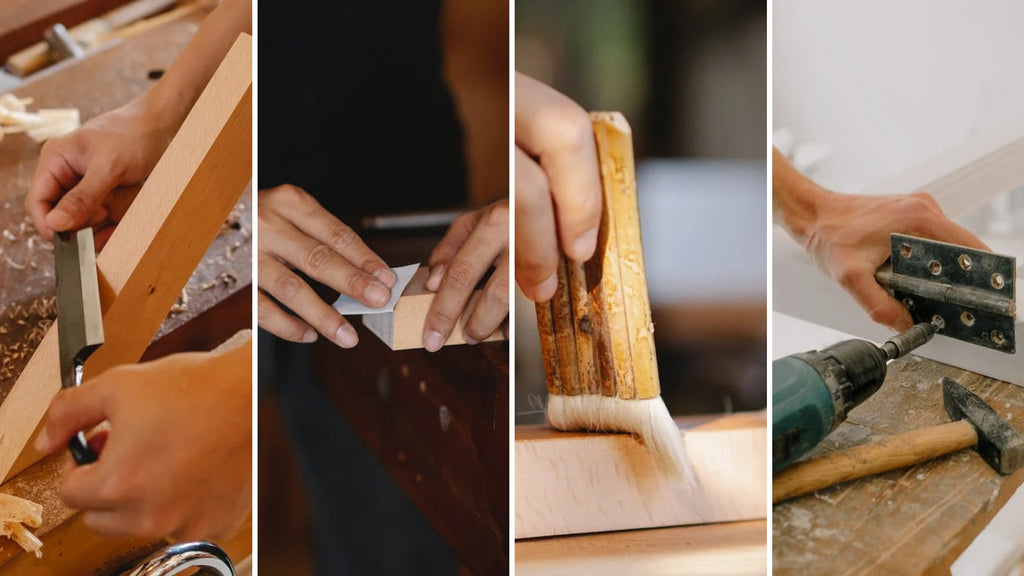
Materials Needed to Build a Picnic Table
- Lumber and live edge slab with appropriate dimensions (a small picnic tabletop will be 18"W x 24"L x 16"H)
- Screws
- Wood glue
- Sandpaper
- Paint or wood stain (optional)
- Hinges

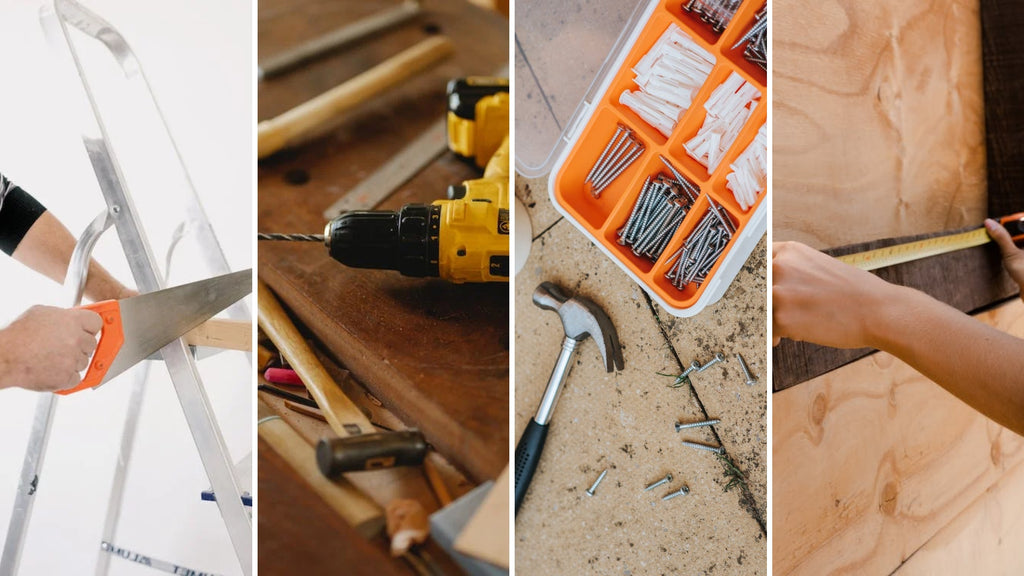
Tools Required
- Saw
- Drill
- Screwdriver
- Hammer
- Measuring tape

How to Make a Picnic Table
1. Plan your table
Decide on the size and sketch your table including measurements and the shape of the table. In this blog, we're guiding you to build an 18"W x 24"L wooden table with 16"H foldable legs.

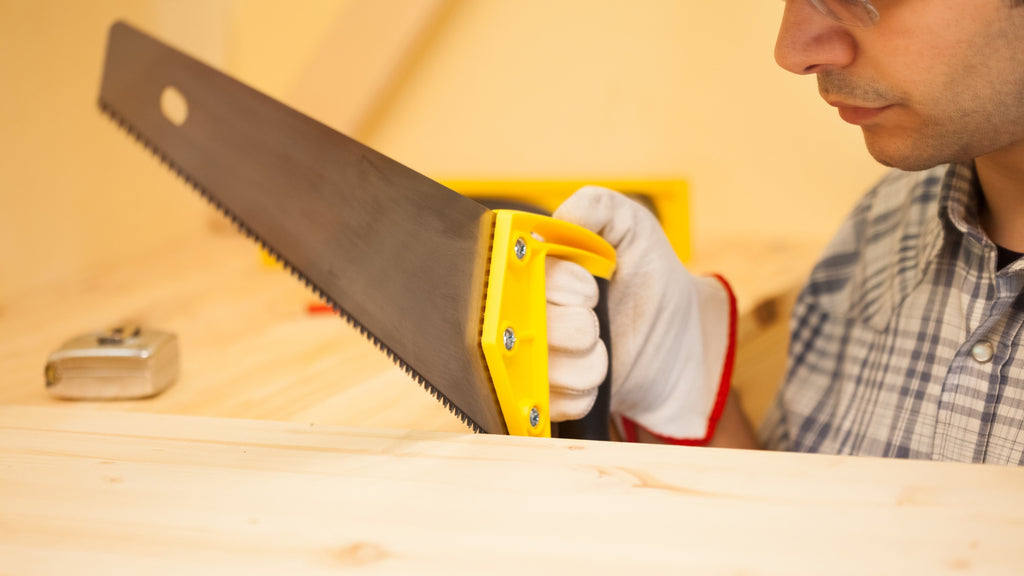
2. Cut the wood
Cut the wood to the required length with your saw. You can build a lovely picnic table by assembling many wood beams/slabs. Don't forget to prepare 04 pieces for your picnic table legs.


Comments
Post a Comment