The Art of Crafting Epoxy Resin: A Guide to Crystal Clear Table Legs
Original article: https://flowyline.com/blogs/for-diy-ers/how-to-make-crystal-clear-table-legs

Finishing a DIY project provides an undeniable sense of achievement. It’s this feeling of victory, of personal success, that makes the world of DIY so captivating. One such project that’s gaining popularity is the innovative use of epoxy resin in interior furniture design.
Transparent epoxy to create table legs aren’t just furniture - they’re crystal-clear, adding a unique and modern touch to your furniture. This process, which involves casting clear epoxy resin into a mold of your desired shape and size, is both creative and rewarding. Let’s delve into a step-by-step guide on how to make crystal clear table legs, a project that’s sure to bring that feeling of DIY triumph.

Transparent table legs can add a touch of elegance and luxury to your living space
Credit: ©Mohamed salem on Canva.com
What Will You Need to Prepare?
- Clear epoxy resin
- Silicone/ wooden mold (table leg shape)
- Mixing cups
- Stirring sticks
- Gloves
- Protective eyewear
- Sandpaper (various grits)
- Polishing compound
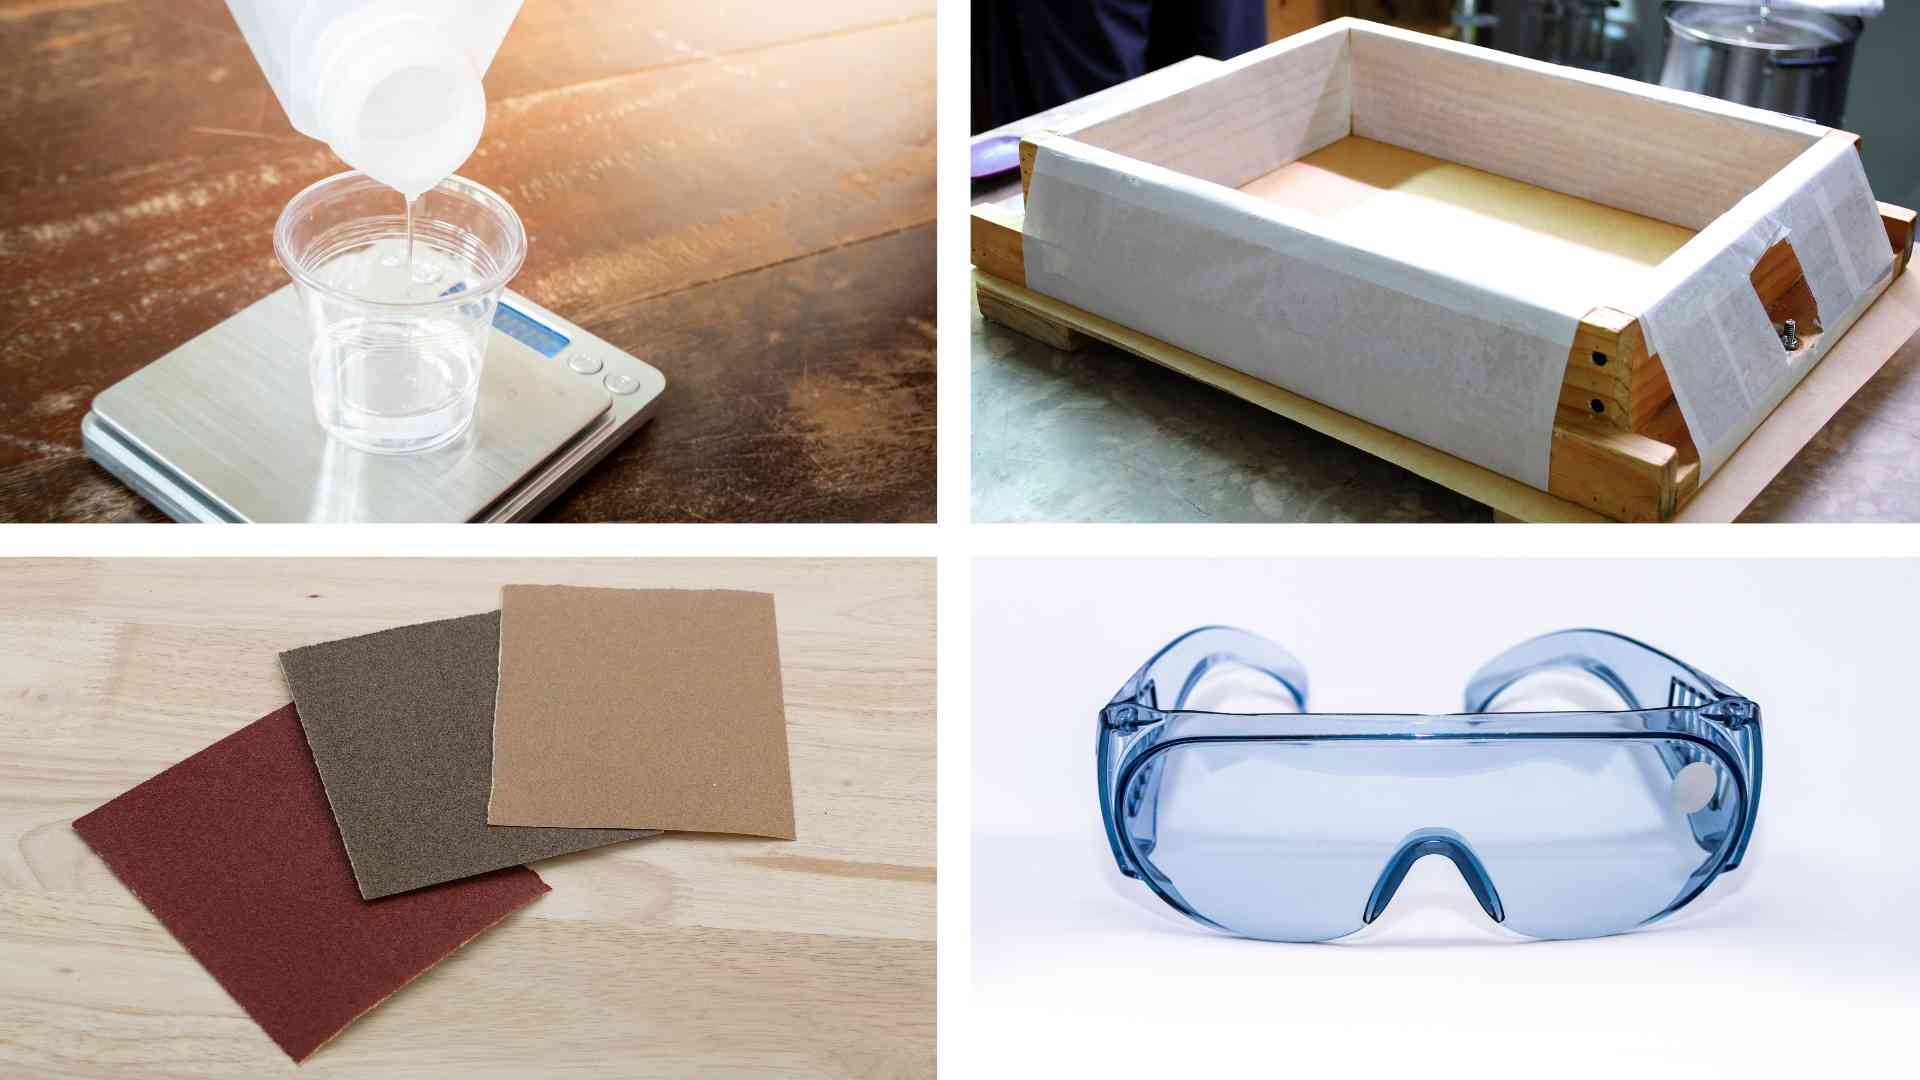
Some items you need to prepare when creating epoxy table legs
Credit: ©Hydrogenn; Kathy Byrd; AMLBox; Ionut Dabija's Images on Canva.com
Detailed Step-by-step Guide
Step 1: Safety First
Before starting, ensure you're in a well-ventilated area and wearing protective eyewear and gloves. Epoxy resin can be harmful if it comes into contact with your skin or eyes.

Don't forget to prepare your eyewear and gloves
Credit: ©Зображення користувача Maksym Povozniuk on Canva.com
Step 2: Prepare the Epoxy Resin
Firstly, gather the epoxy resin and hardener, which are usually included in your epoxy resin package. It’s important to note that the typical ratio for mixing these two components is 3:1, a ratio that ensures the optimal curing and stability of your epoxy table legs. Begin the process by pouring the resin and hardener into a mixing container, adhering strictly to this ratio. Spend a few minutes stirring the mixture until it’s completely blended, a crucial step for the full combination of the resin and hardener, which is necessary for the curing process.

Gather epoxy resin and hardener with the proper ratio
Credit: ©Marina Cavusoglu's Images on Canva.com
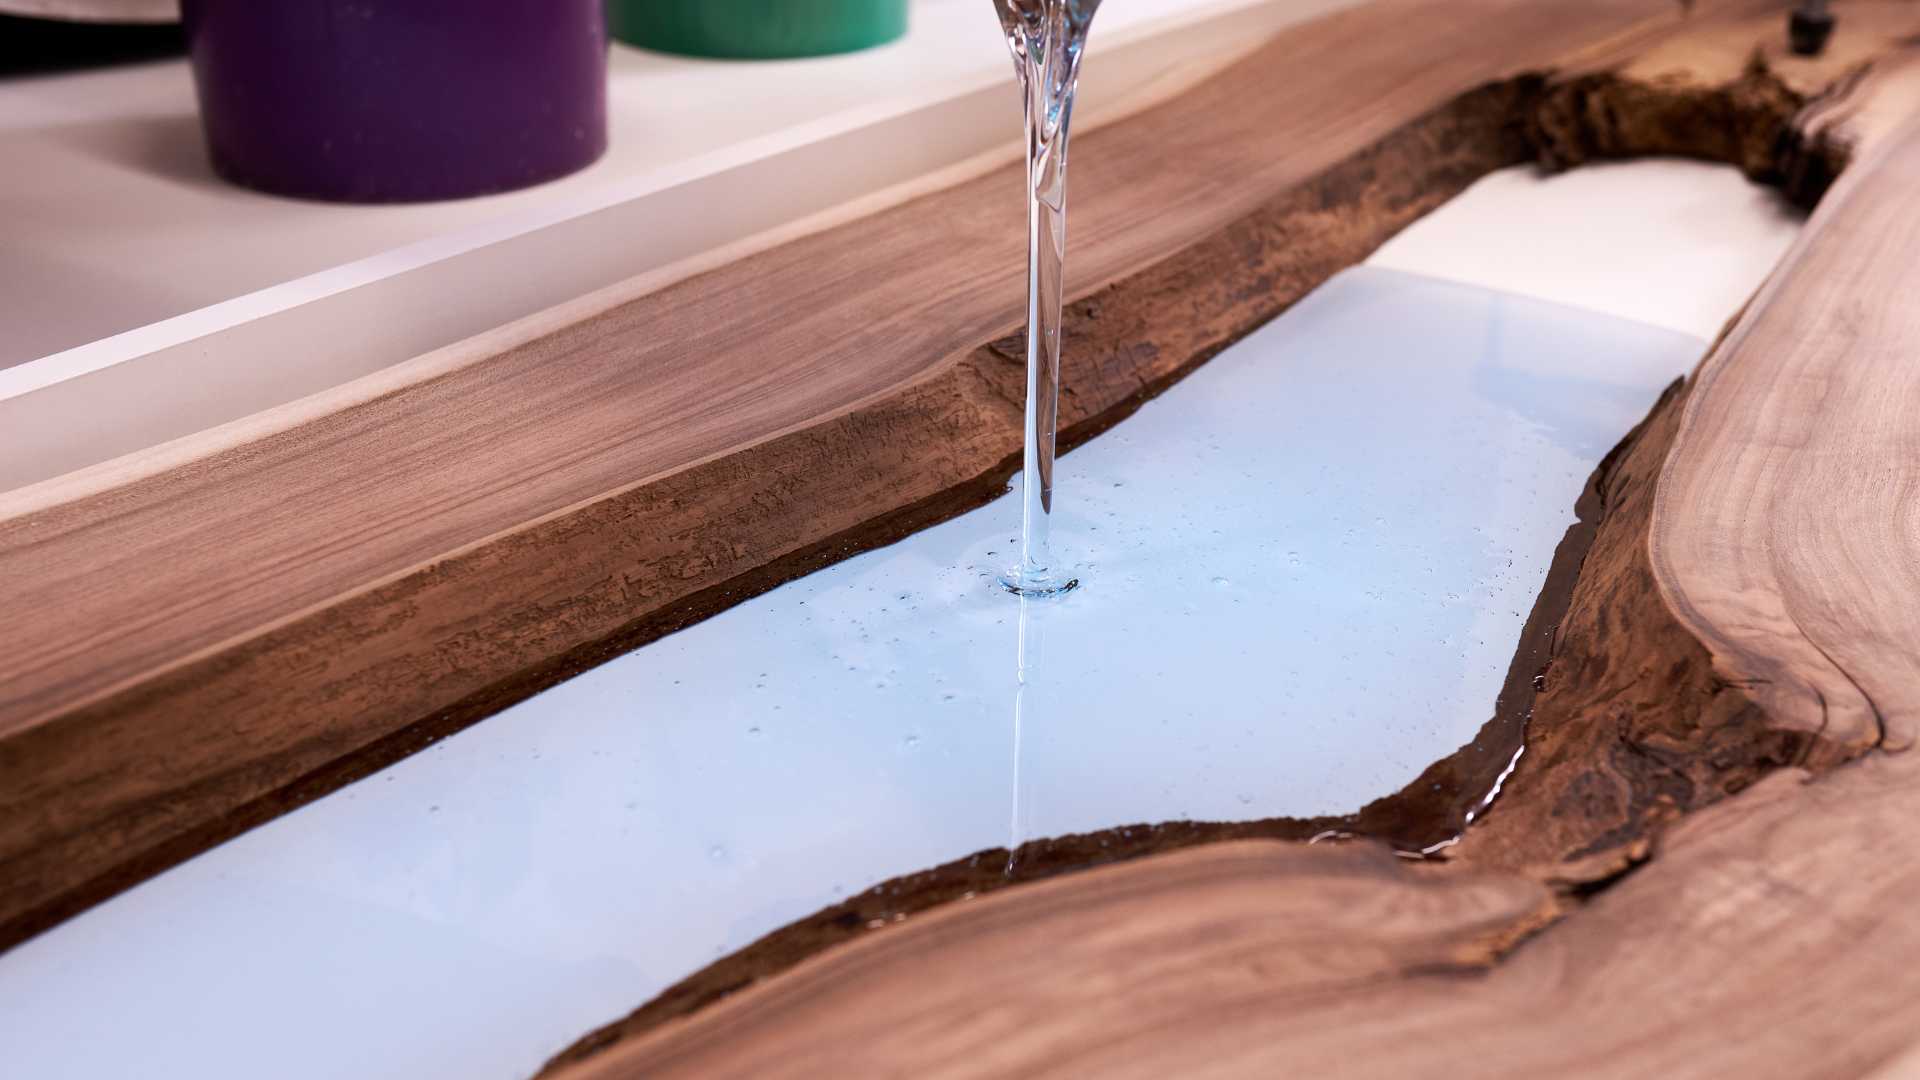
Step 3: Pour the Epoxy Resin
Slowly pour the mixed epoxy resin into your silicone mold. Ensure the resin fills the mold evenly and completely. To eliminate air bubbles, lightly tap the sides of the mold.
When creating crystal clear table legs, a substantial amount of epoxy resin is required, resulting in a deep and thick layer of epoxy. For complete curing of the epoxy, the coating should be up to 3-5 millimeters thick.
Timing is crucial in this process. Ideally, you should wait between 4-10 hours before applying subsequent flood coats. However, if time is of the essence, you can pour a new resin layer every 3-5 hours.
If more than 10 hours have passed since the last coat, prepare the surface for the next layer by lightly scuffing it with 222–300 grit sandpaper. Then, clean the surface with denatured alcohol or acetone before applying the next coat. This process ensures optimal adhesion and curing of the epoxy resin.
Some useful tips for pouring epoxy table legs
Credit: ©sandsun on Canva.com
Address: https://www.google.com/maps?cid=16787952025643628509
More information: https://www.google.com/search?q=flowyline+design


Comments
Post a Comment