Unleashing Creativity with Drip Slab Tables: A Journey from Slab to Furniture
Original article: https://flowyline.com/blogs/for-diy-ers/how-to-build-tables-with-live-edge-drip-slabs

Live edge drip slab tables are a unique blend of nature's beauty and human craftsmanship. These tables, with their rustic charm and organic aesthetics, are gaining popularity in contemporary interior design. But what makes these tables so special? Let's delve into the world of furniture and explore how to build tables with live edge drip slabs and elevate your home with your own DIY artwork.

Making a Drip Slab Table
Learning how to build live edge drip slabs tabletop is an art that requires patience, precision, and a deep appreciation for the natural beauty of wood. This type of table is unique in that it appears as though the wood itself is dripping down to the floor. The “drip” end of the slab serves as the leg for one side creating an attractive look for your living space.
Step 1: Select the Monkey Pod Slab
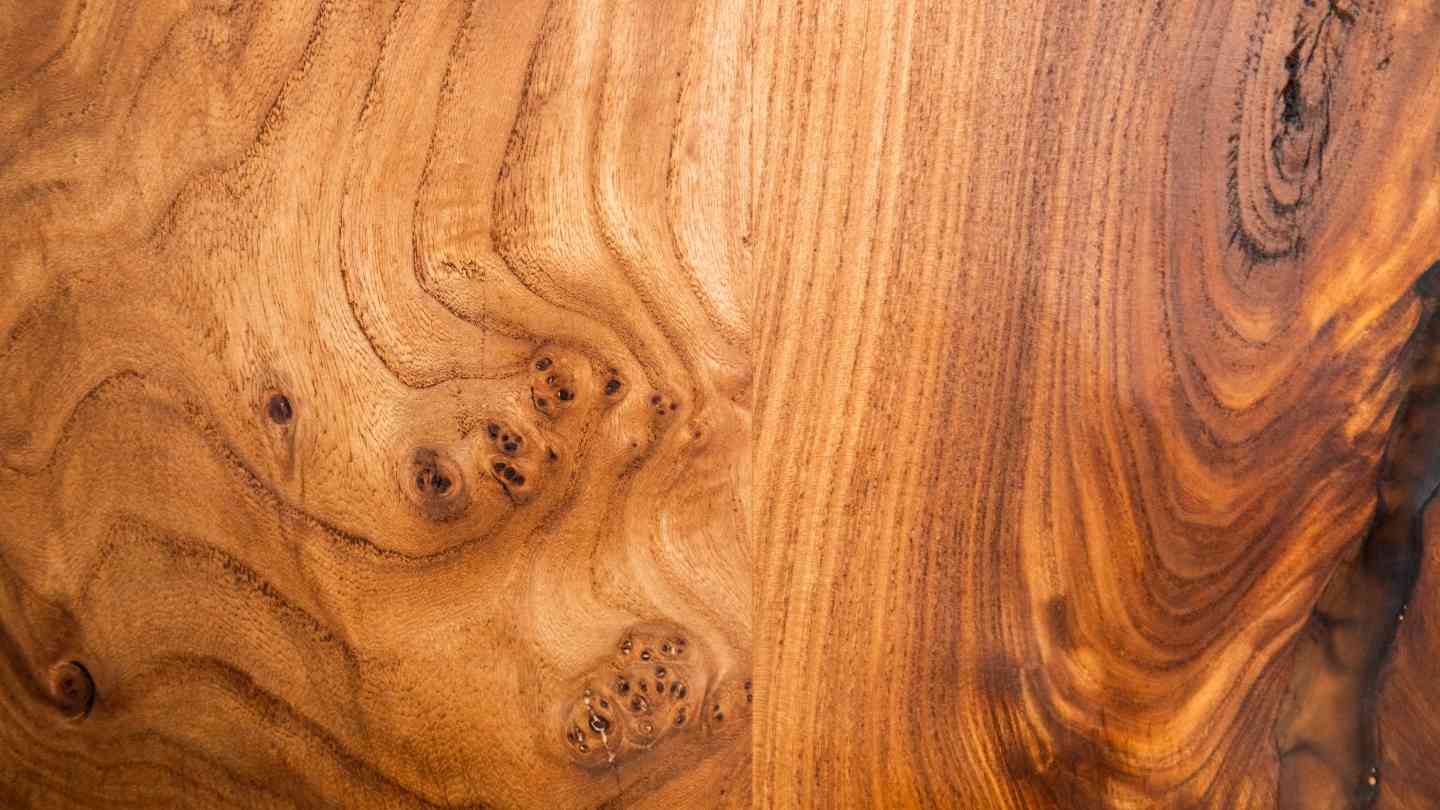
Select a Monkey Pod wood slab that suits your needs. While other types of wood can be used, Monkey Pod is often preferred for crafting drip slab tables due to its remarkable texture. This type of softwood also simplifies the process of creating your artwork. Ensure that the slab is dry, ideally with a moisture content of less than 10%.
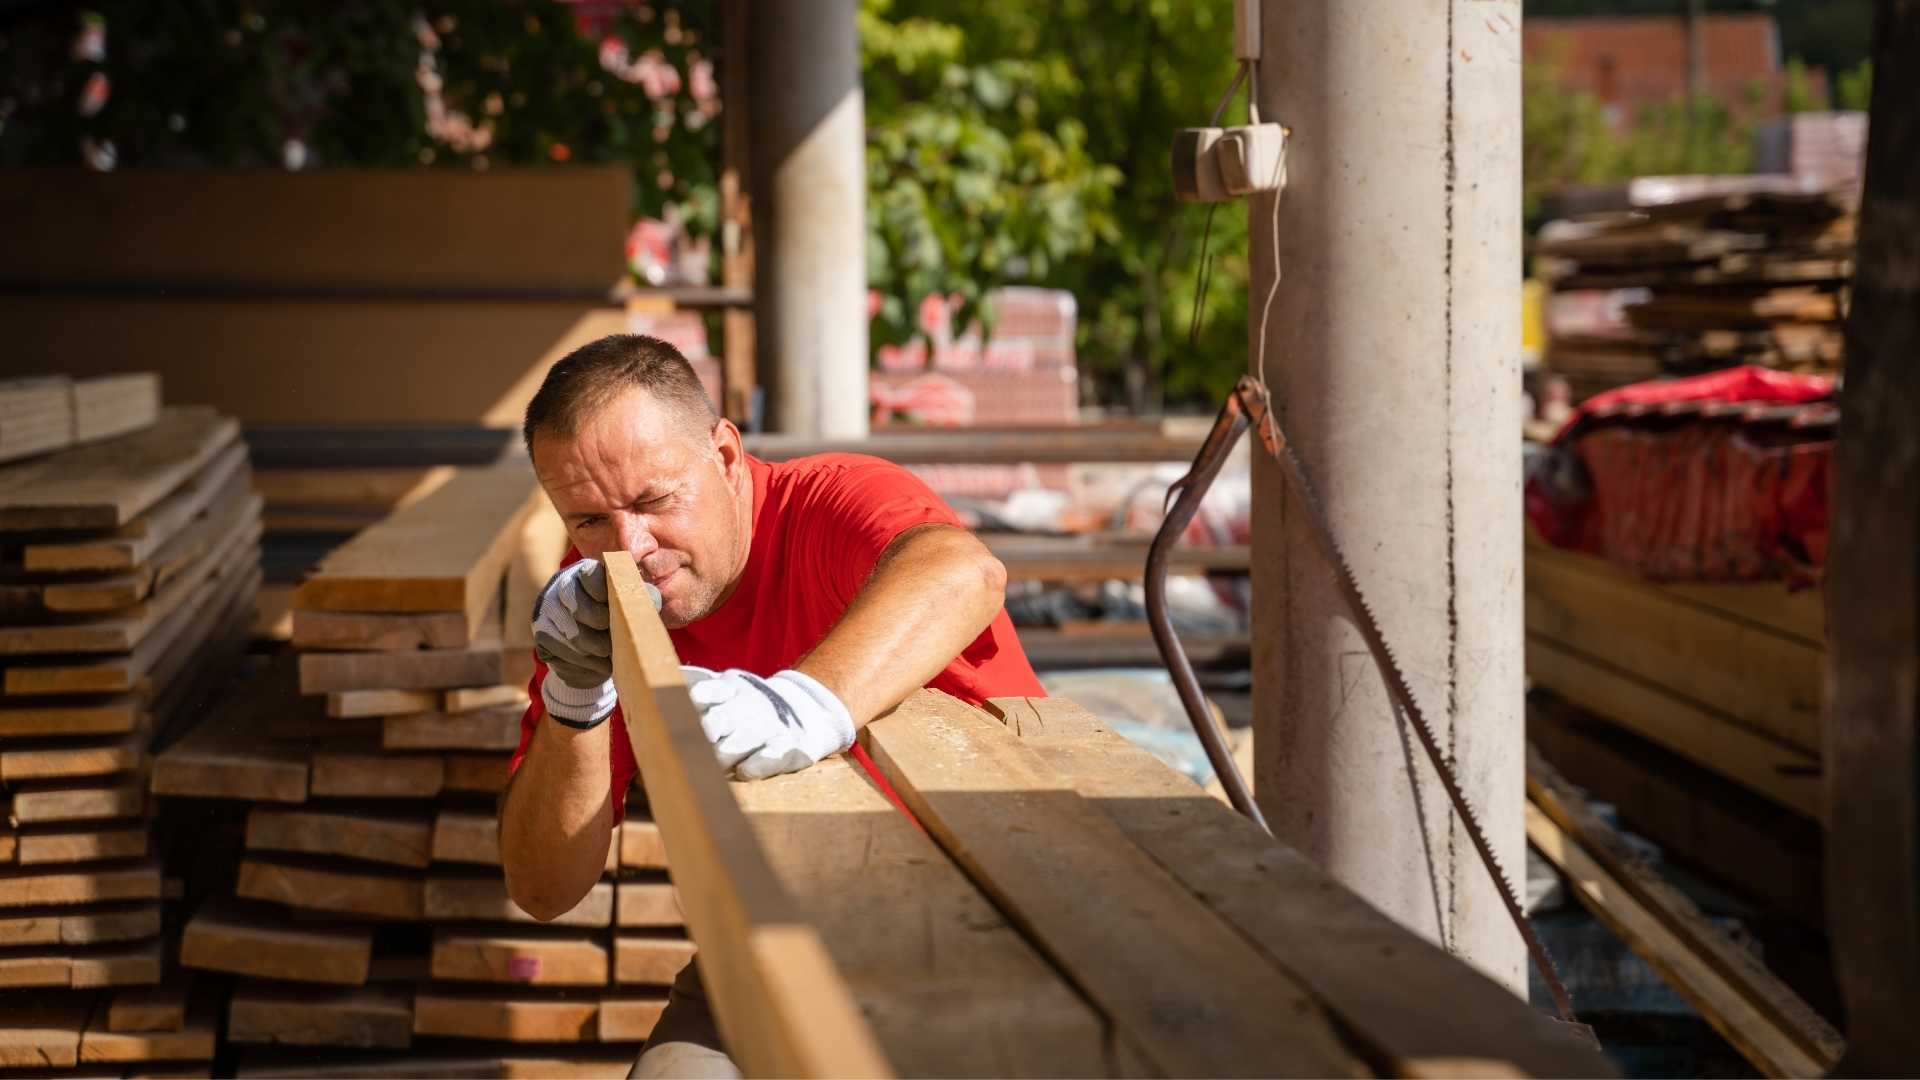
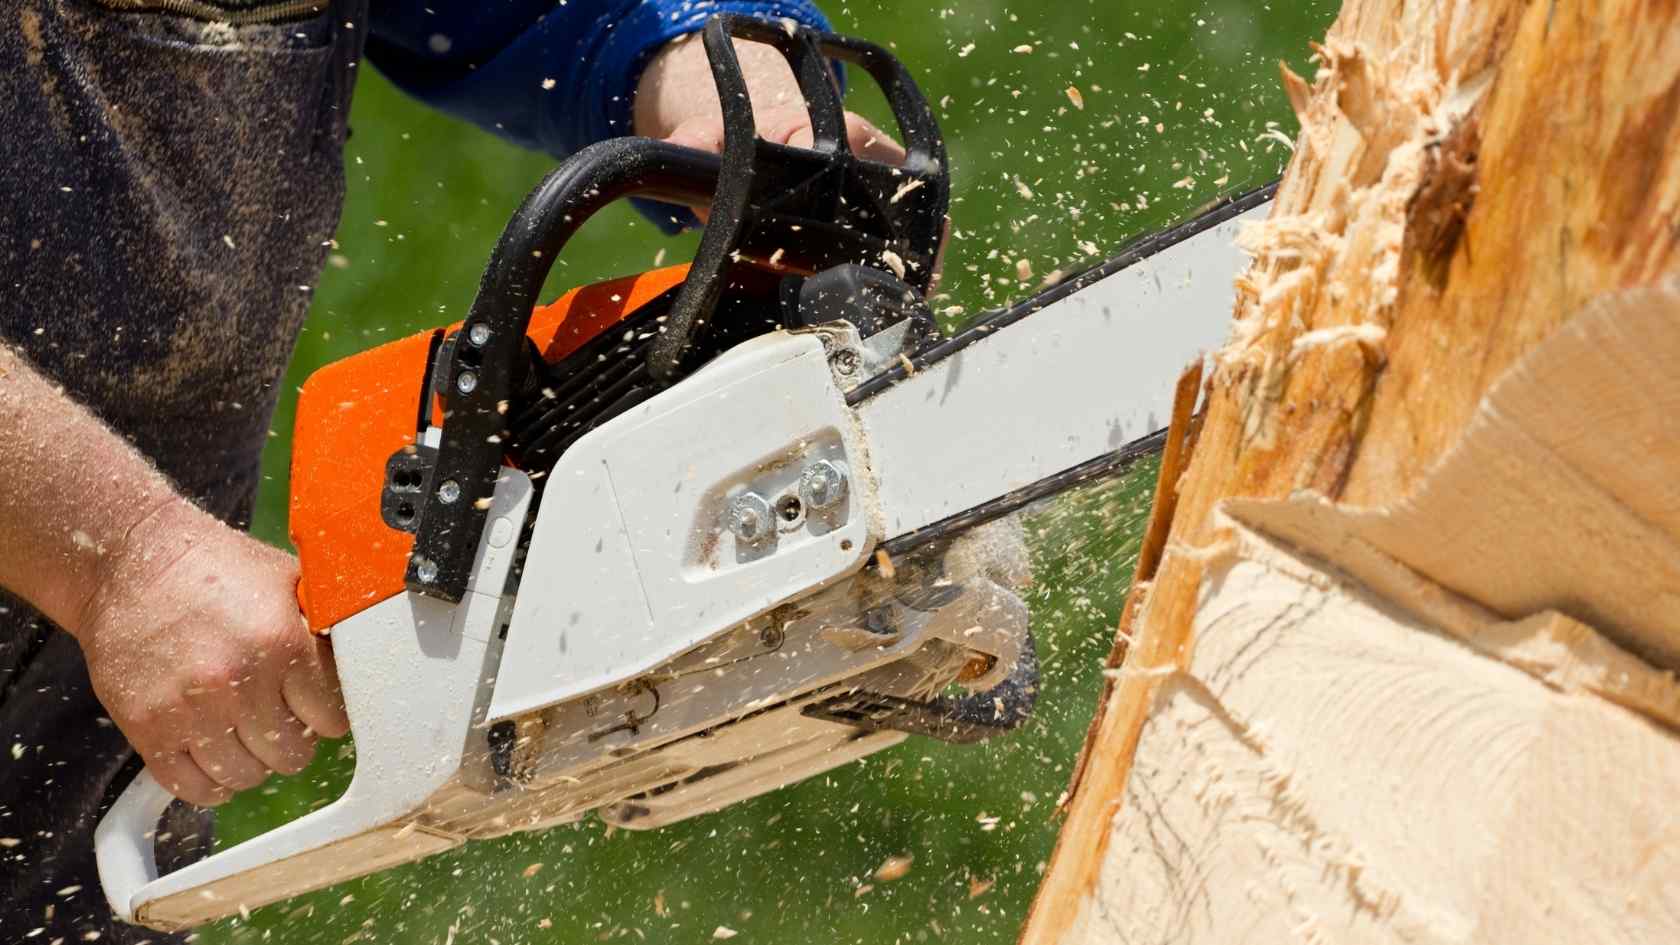
Step 2: Shape the Slab
You’ll need a chainsaw or a jigsaw for the initial rough cut, followed by a grinder and sandpaper for refining the shape and smoothing the surface.
While this step demands a certain level of skill and technique, there’s an alternative for those seeking a quicker route. Consider purchasing pre-shaped slabs from reputable wood stores. This can save you time and still result in a beautiful live edge drip slab table.
Step 3: Surface the Slab
Surface the slab by planing and sanding it to achieve a smooth surface.
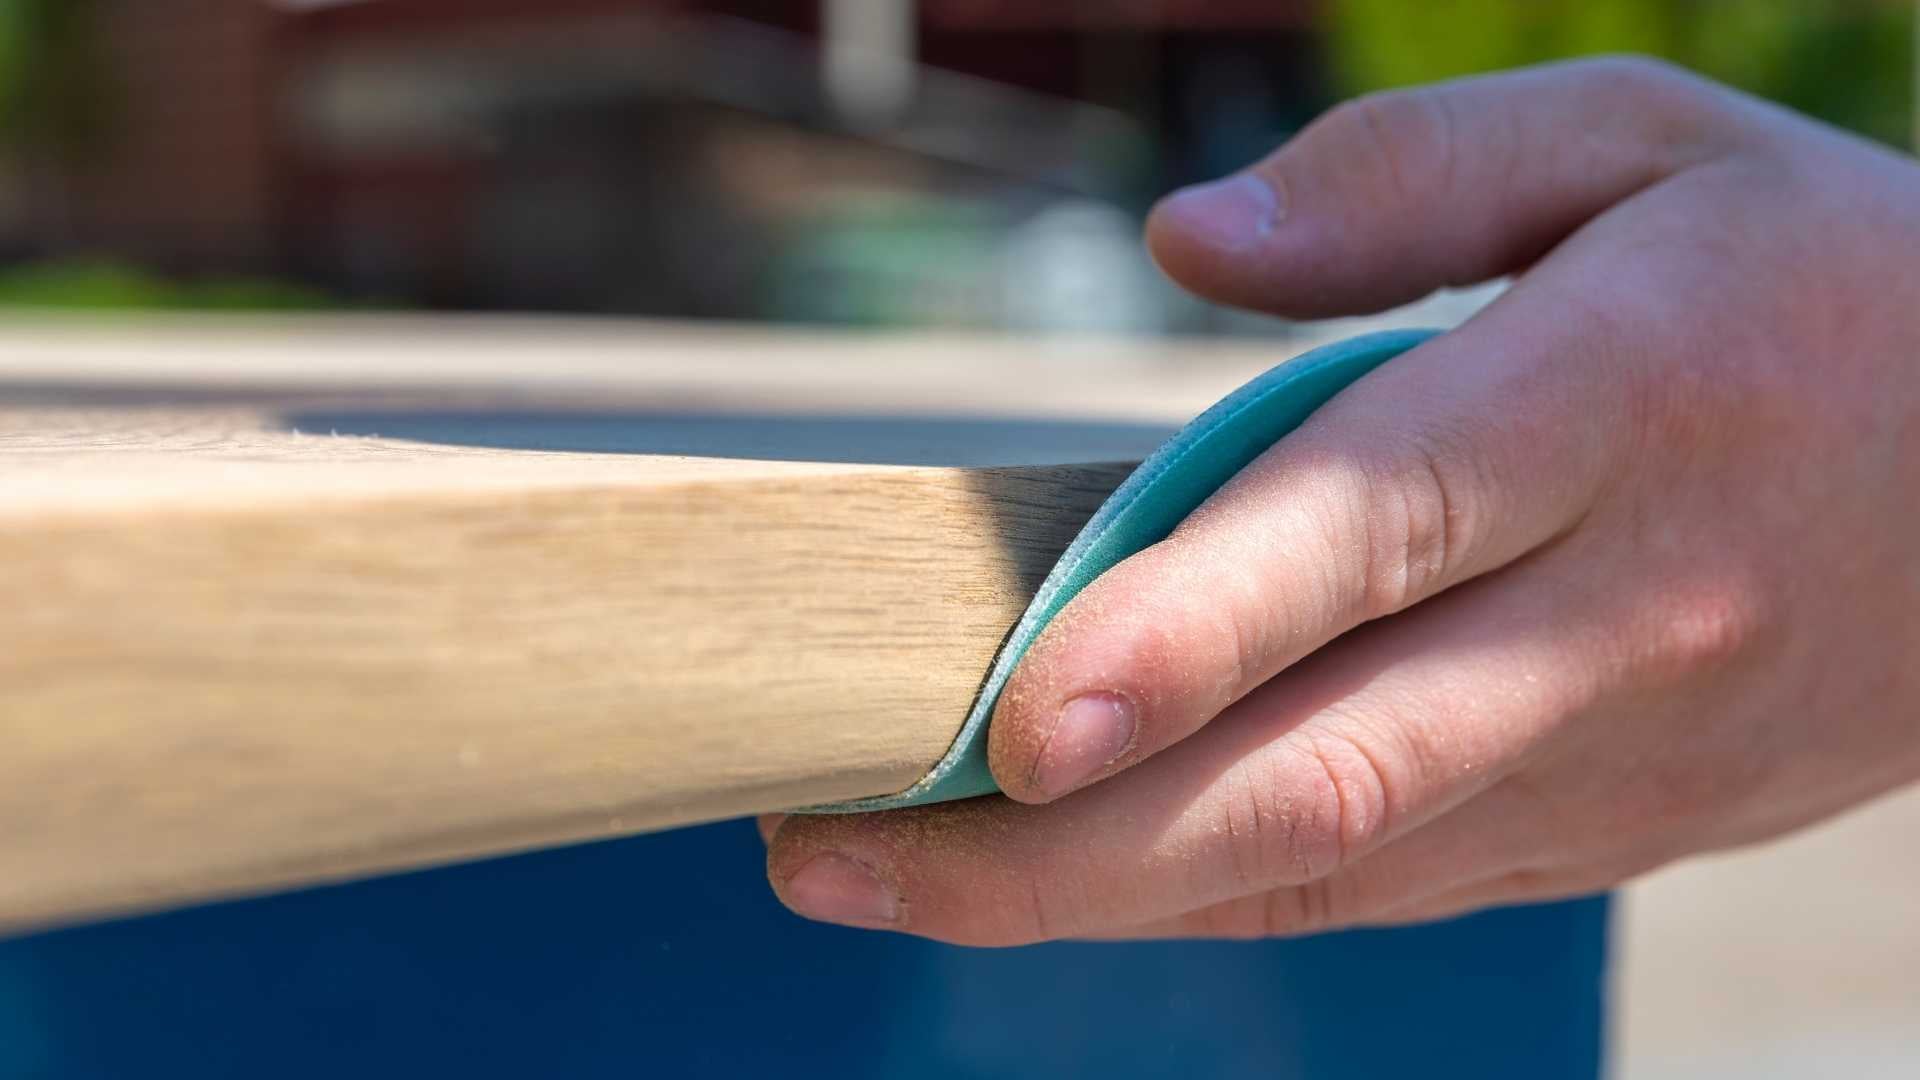
Step 4: Finish the Table
After shaping and surfacing the slab, finish the table by sanding the surface smoothly, and removing all the sanding lines from the grit previously used. Then, scrub the table down with paint thinner (NOT PAINT STRIPPER) to get off any weird oily finish stuff that may stay tacky and not dry. Finally, wax it with bee’s wax or some microcrystalline wax.

Step 5: Adjust the Height
The “drip” end of the slab, which serves as the leg for one side, is currently 30"-32" in height and can be trimmed to be set at the height you desire with adjustable feet if used as a dining table or desk.

Comments
Post a Comment