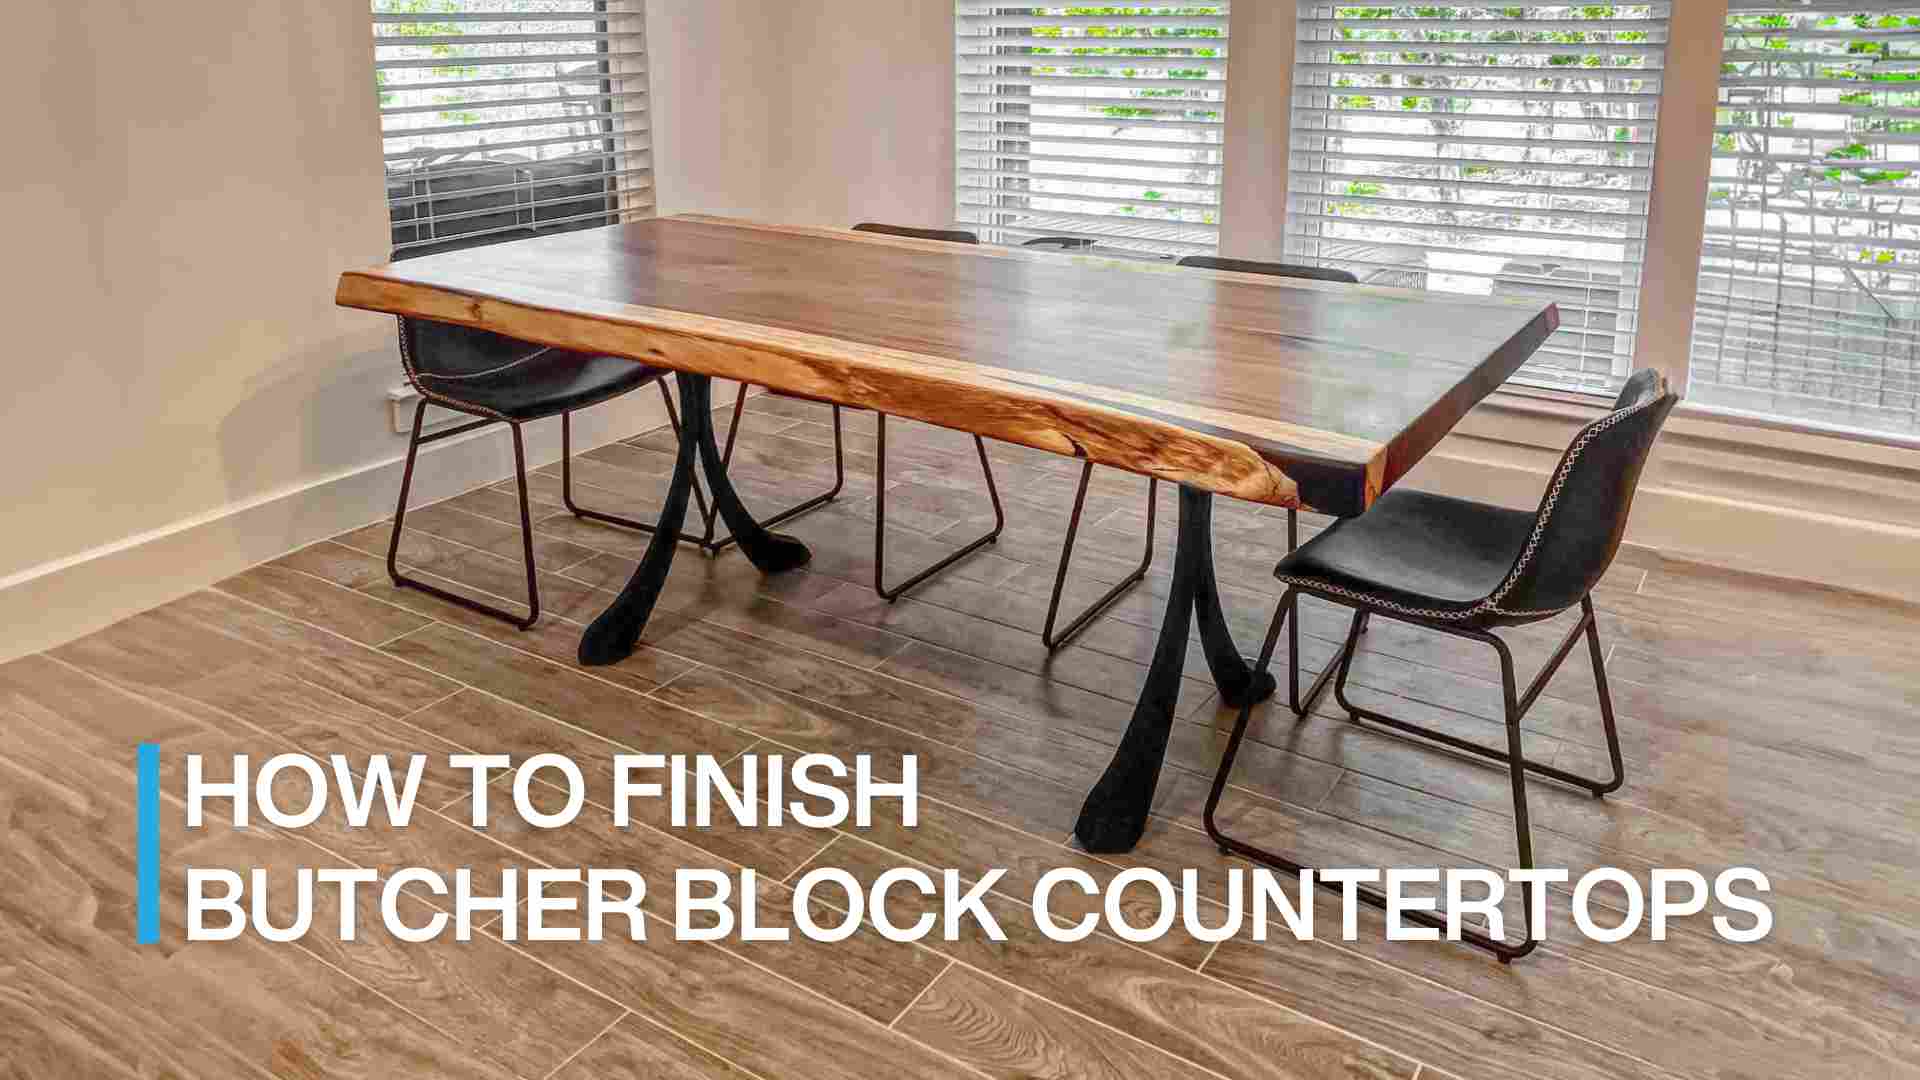
How to Make a Waterfall Table: A Comprehensive Guide
Original article: https://flowyline.com/blogs/for-diy-ers/how-to-make-a-waterfall-table-a-comprehensive-guide
Waterfall tables, with their distinctive silhouette and fluid design, have emerged as a sought-after choice for those in pursuit of a singular piece of functional artistry. Possessing such a table can significantly elevate the aesthetic appeal of your living space, fostering a warm and welcoming ambiance. Equipped with the right tools and techniques, you can craft your own DIY marvel right at home. In this guide, we’ll navigate you through the journey of how to make waterfall table, transforming an ordinary slab of wood into a stunning piece of furniture. Let’s dive into the world of woodworking and unleash your creativity.
What Is a Waterfall Edge Table?
A waterfall table is a type of furniture design where the grain of wood appears to "flow" over the edge of the table, creating a visual continuity that resembles a waterfall. This design is achieved by cutting the table and its legs from a single piece of wood, so the grain pattern of the wood continues from the tabletop down to the legs.
The result is a sleek, modern piece of furniture that highlights the natural beauty of the wood. This design style can be applied to various types of tables, including coffee tables, dining tables, and side tables. It's important to note that crafting a waterfall table requires precision in cutting and joining the wood pieces to maintain the continuous grain pattern.

Tools Needed
To create a waterfall table furniture, you'll need the following tools:
- Circular saw
- Drill/driver
- Miter saw
- Wood chisel
- Measuring tape and straight edge
- Rubber mallet
- Dust mask and safety goggles

Materials Needed
The materials required for a waterfall table include:
- Wood slab
- Wood screws
- Connectors
- Clear packing tape
- Spray paint & primer
- Wipe-on polyurethane and wood glue
- A table base

Step-by-Step Guide
Step 1: Getting Your Slab
The first step is to find a suitable wood slab. You can purchase a pre-dried and planned slab or make your own from a tree. If you're making your own, you'll need to cut the tree into slabs and let them dry. The general rule of thumb for air drying is to wait one year per inch of thickness in the slab. Keeping the live edges of the wood is also the key to owning a stunning waterfall table.
Step 2: Planning and Measuring
Before you start cutting, examine the contours of the live edge and notice the wood’s grain patterns. Decide which surface will be most pleasing for the top of your table. As much as possible, leave the live edge untouched. Lay out the size of your table frame on the underside of the piece. Draw lines where you plan to make cuts.
Step 3: Setup for Cutting
Secure the slab on a stable workbench or sawhorse. Make your cuts by letting the slab hang over the edge of your work surface or setting it on top of the 2x4s.
Proceed to the next step, which involves trimming the contact edges of the slab to a 45-degree angle using your miter saw. This crucial step ensures a smooth and seamless contact edge when joining two wood slabs.
Read the full article here: https://flowyline.com/blogs/for-diy-ers/how-to-make-a-waterfall-table-a-comprehensive-guide
Address: https://www.google.com/maps?cid=16787952025643628509
More information: https://www.google.com/search?q=flowyline+design


Comments
Post a Comment