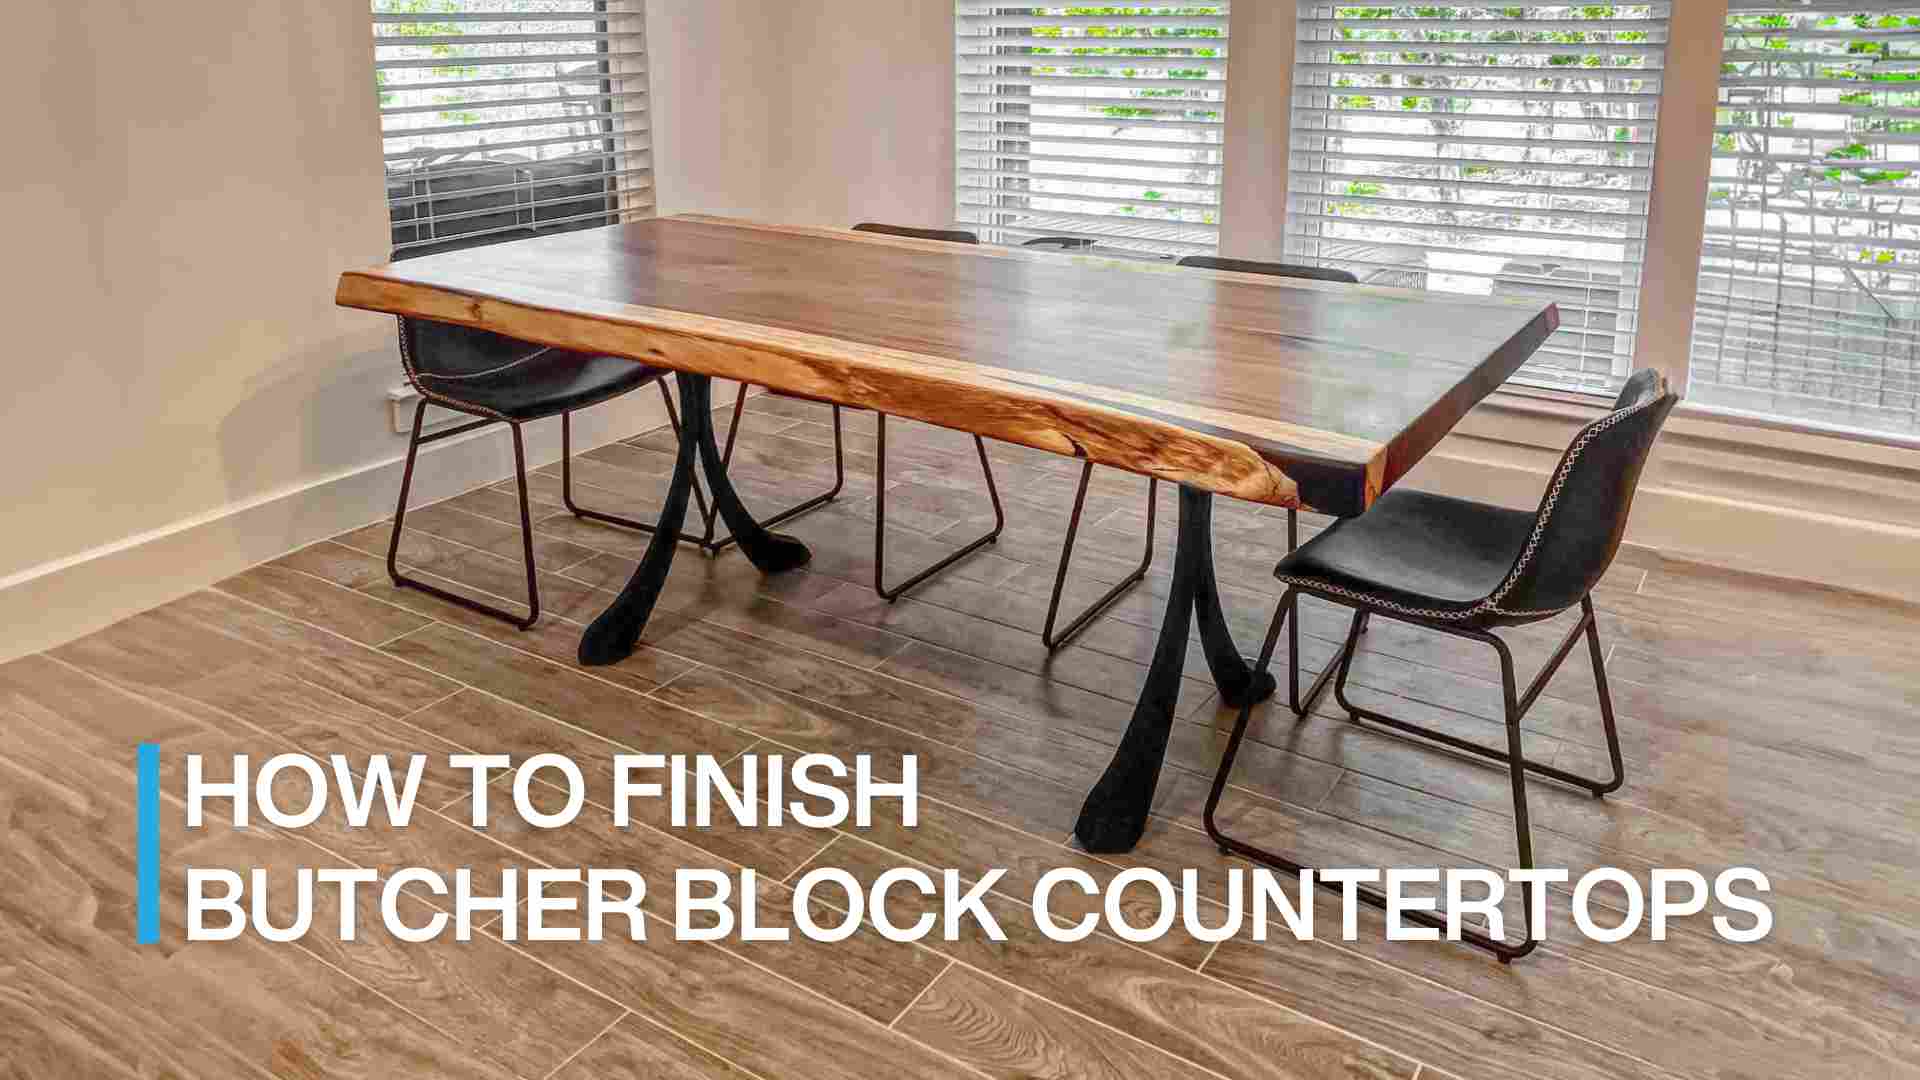
How to Attach Legs to a Table Without Apron
Original article: https://flowyline.com/blogs/for-diy-ers/how-to-attach-legs-to-a-table-without-apron
When it comes to crafting your own furniture, there's a unique satisfaction that comes with creating a piece that is not only functional but also a reflection of your creativity. In woodworking, attaching legs with an apron on the tabletop may be more common. If you're in the process of building a table and have chosen to forgo the traditional apron, attaching the legs might seem like a daunting task. We usually don't want the tabletop to be damaged after attaching Don't worry! In this blog, we'll walk you through a step-by-step process on how to attach legs to a table without apron, ensuring a sturdy and aesthetically pleasing result.
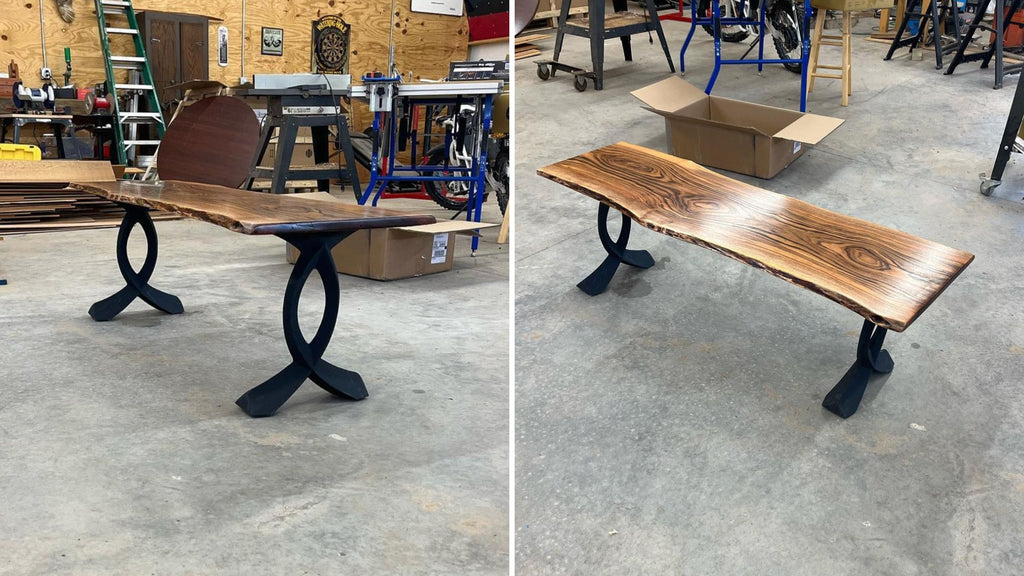
Guide for Metal Table Legs
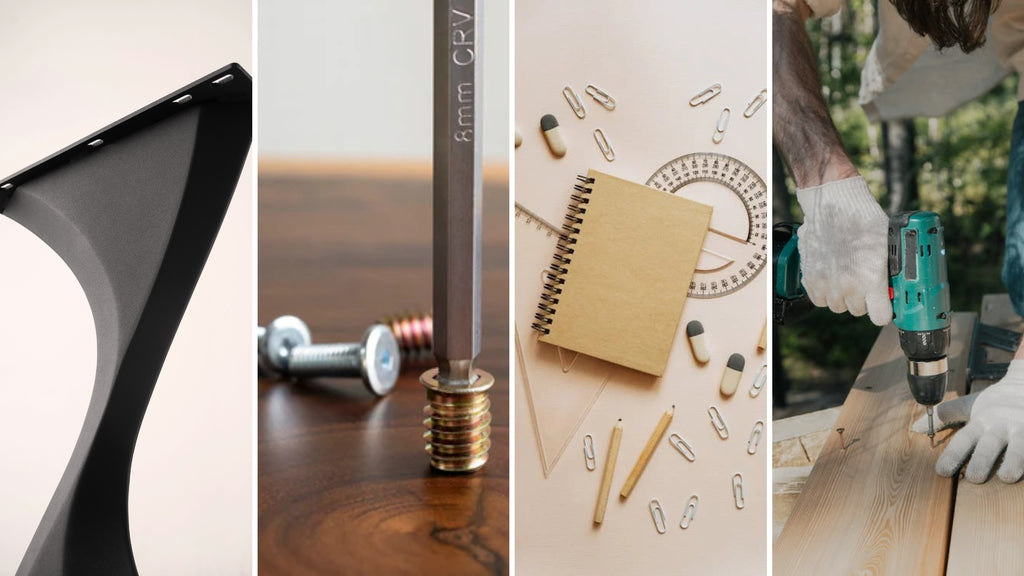
Required Materials and Tools
- Table legs with mounting plates
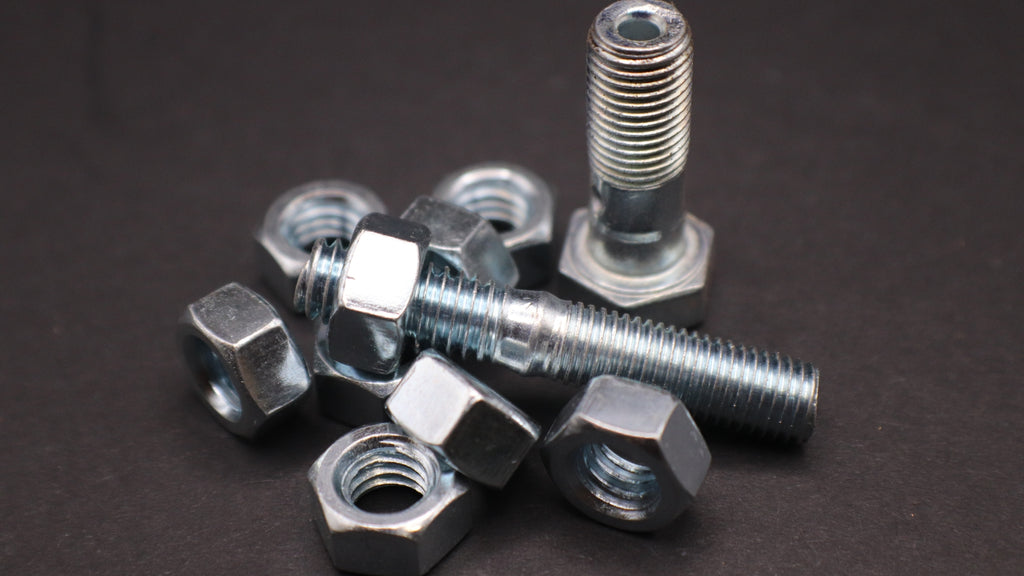
- Threaded inserts and bolts
- Measuring tape
- Carpenter's square
- Brush pen
- Screwdriver or power drill
- Superglue
Specific Instructions
Step 1: Choose the right table leg design
Before you begin, make sure you have chosen table legs that complement the style and size of your tabletop. The legs should be sturdy enough and of the appropriate height for your desired table dimensions.
Please remember that mounting plates are required for the legs. This will enable us to quickly and easily attach the legs, saving us extra time. Many online sellers have legs with mounting plates. This is Flowyline Design's strongest point. To save our clients time and money, mounting plates are included in every leg and base design.
Step 2: Align legs with carpenter's square
Use a carpenter's square to align each leg precisely at its designated mark. This will ensure that your table remains level and stable once assembled. If you are working with a round table top, the base needs to be placed at the center of the table.

Step 3: Measure and mark the leg's placement
Place your tabletop upside down on a flat, stable surface. Measure and mark the positions for each table leg with the measuring tape and brush pen. Ensure the marks are consistent and create a square or rectangle, depending on the shape of your table.

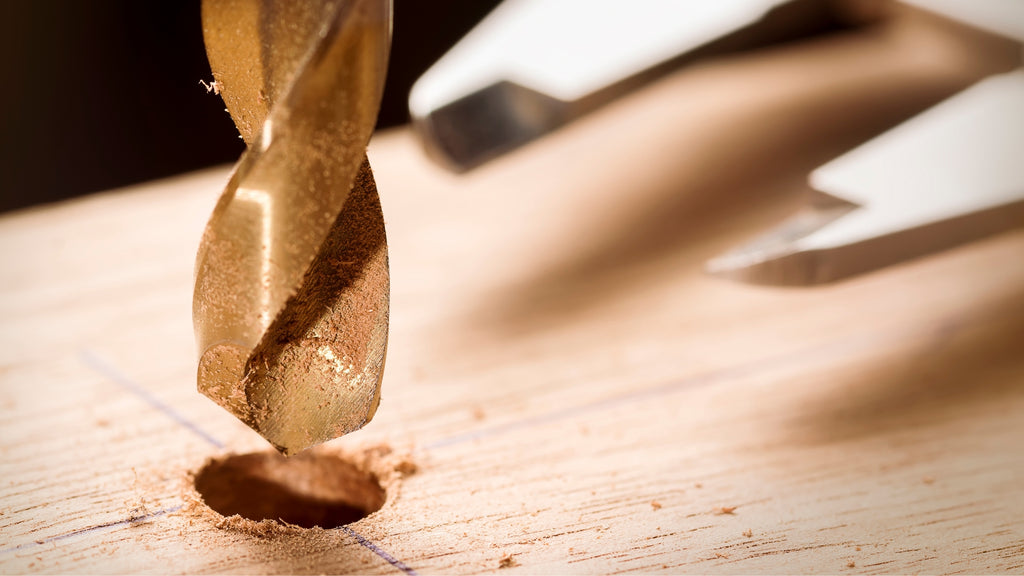
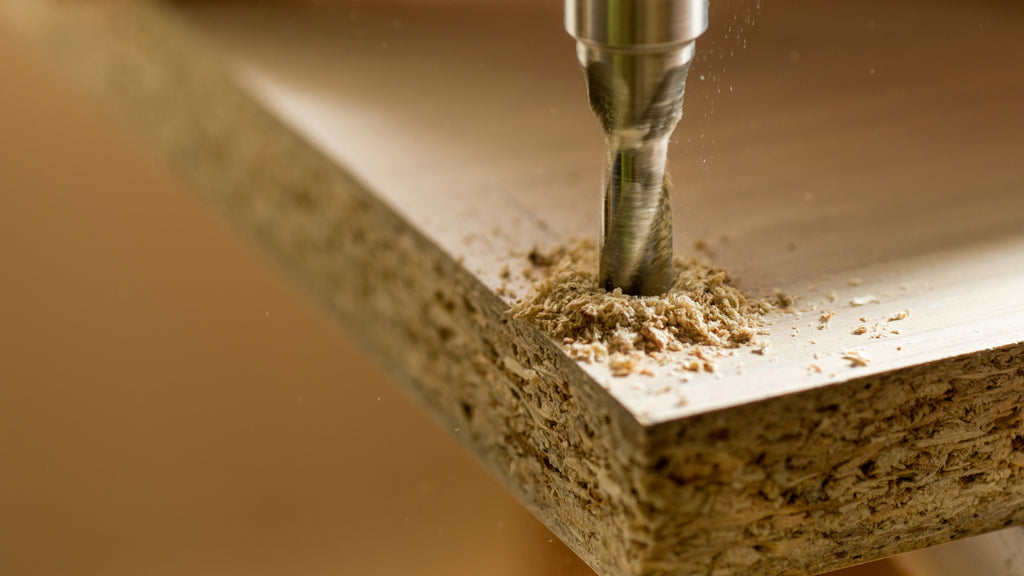
Step 4: Pre-drill screw holes
At the marks, pre-drill straight holes through the tabletop at each leg location. Make sure the drill bit is slightly smaller in diameter than your wood screws to ensure a secure fit.
You can also flush mount a jig before installing table legs to increase the stability of the entire project.
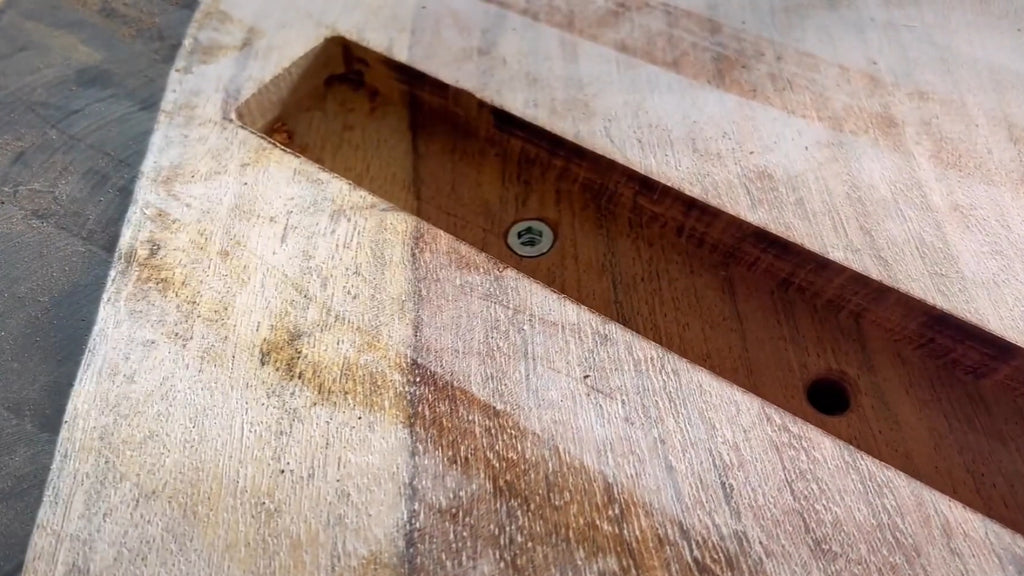
Step 5: Apply super glue
Before attaching threaded inserts, add super glue to the holes on the tabletop. This extra step will enhance the overall stability of your table.

Step 6: Screw in the threaded inserts
To finish this stage, the threaded insert must be attached quickly before the super glue fully cures.
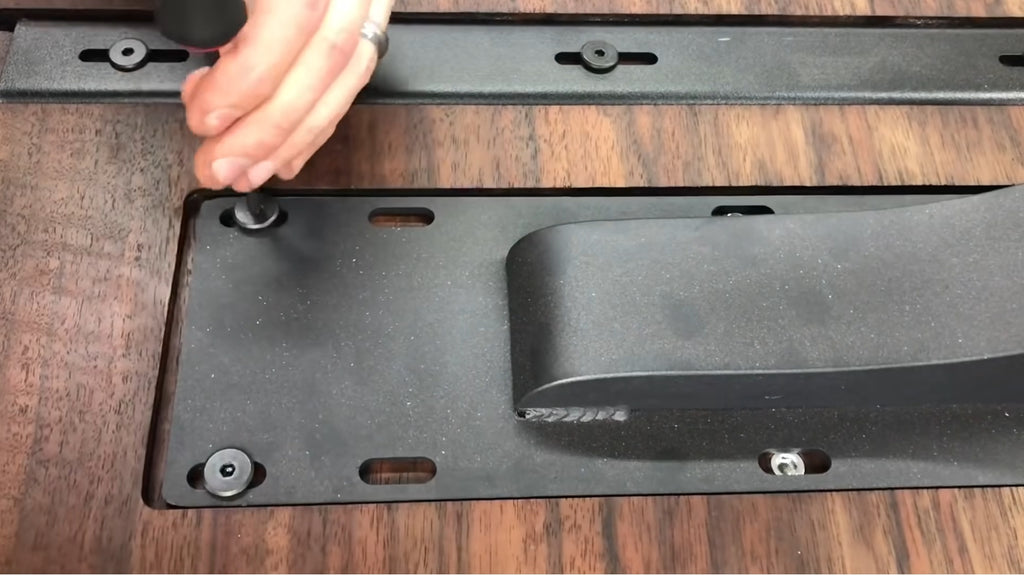
Step 7: Reinforce with the bolts
Place the legs back in their marked positions and use the bolt to attach them to the tabletop through the pre-drilled holes. Tighten the bolts gradually and in a diagonal pattern to ensure even pressure distribution. Using threaded inserts and bolts is especially crucial for large and heavy tables that may experience more stress.
Step 8: Check and finish the project
Once the legs are securely attached, flip the table right-side up and inspect your work. Ensure the table is stable enough for everyday use.
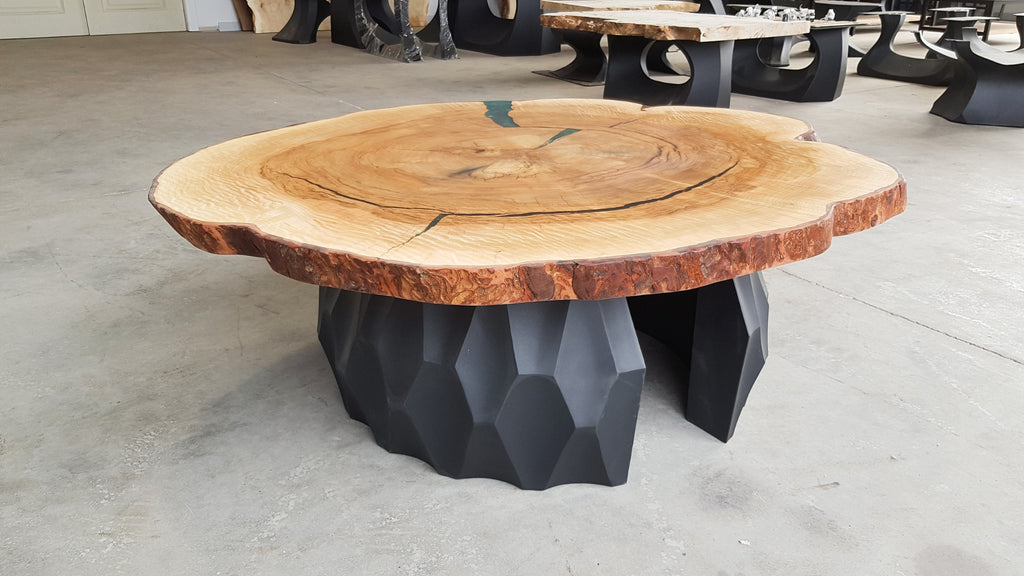
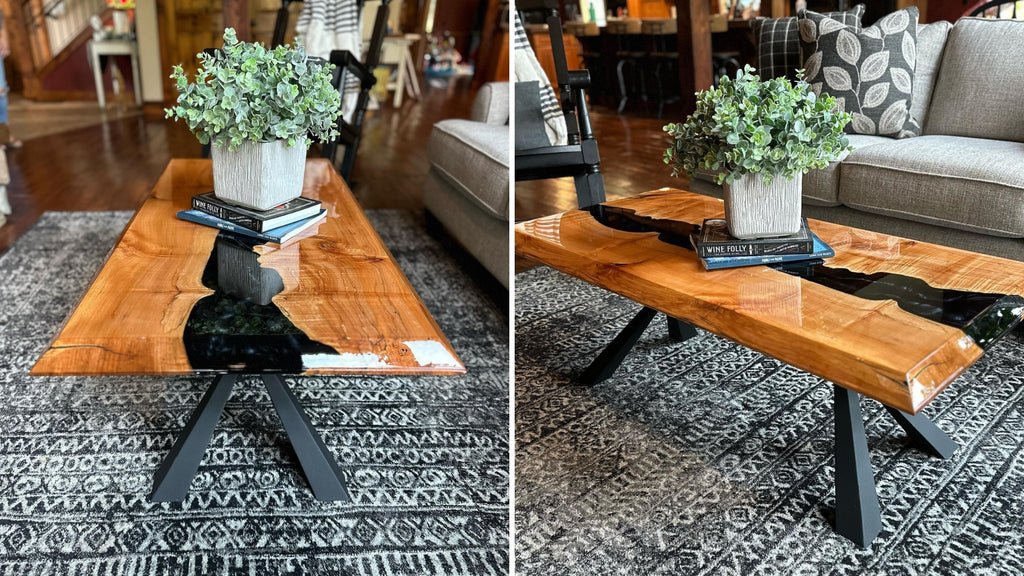
Guide for Wooden Table Legs
Coffee tables are often made of hardwood and go with wooden legs. Learning how to attach legs to a coffee table without apron is also a crucial key to owning a stunning and inviting corner for your every morning. One of the best ways to connect wooden table legs to tabletops while preserving their visual appeal is by utilizing mounting blocks.
Required Materials and Tools
- Mounting blocks
- Threaded inserts and bolts
- Wood screws
- Power drill
- Measuring tape
- Carpenter's square

Specific Instructions
Step 1: Align mounting blocks with carpenter's square and measuring tape
Position the mounting block, measure, and mark the location. Use carpenter square to ensure precise alignment.

Step 2: Pre-drill screw holes
Pre-drill holes through the tabletop at each mounting block position after the blocks are in place. To guarantee a tight fit, the drill bit's diameter should be slightly smaller than the wood screws'.
Install threaded inserts to the center of your mounting blocks.
Step 3: Attach mounting blocks with wood screws
Secure the mounting block to the tabletop by driving wood screws through the pre-drilled holes.

Step 4: Attach bolts to the table legs
Measure, mark at the center, and pre-drill a hole in the top of each table leg. Don't forget to keep your drill bit as straight as possible. This will ensure the aesthetic value of the entire project.
After pre-drilling holes, install the bolts on your wooden table legs.
Step 5: Tighten the legs into the threaded inserts on the mounting blocks
Put the bolts on the wooden table legs to the existing threaded inserts and tighten them together. Now, you just need to check the stability of the entire project and enjoy the result.
By following these simple steps, you can confidently know how to attach legs to a table without apron. This DIY approach not only allows for a clean and modern design but also showcases your woodworking skills. Embrace the process and soon you'll have a custom-made table that's both functional and a testament to your craftmanship.

Comments
Post a Comment