How to Make Wood Slat Table Base
Original article: https://flowyline.com/blogs/for-diy-ers/how-to-make-table-base
Drum tables are a stylish addition to any home's decor, offering both functionality and a touch of sophistication. If you're looking to add a unique piece to your living space, consider creating your own wood slat drum table base. In this step-by-step guide, we will walk you through the process of making a beautiful and distinctive round table base that will surely become a conversation starter in your home.
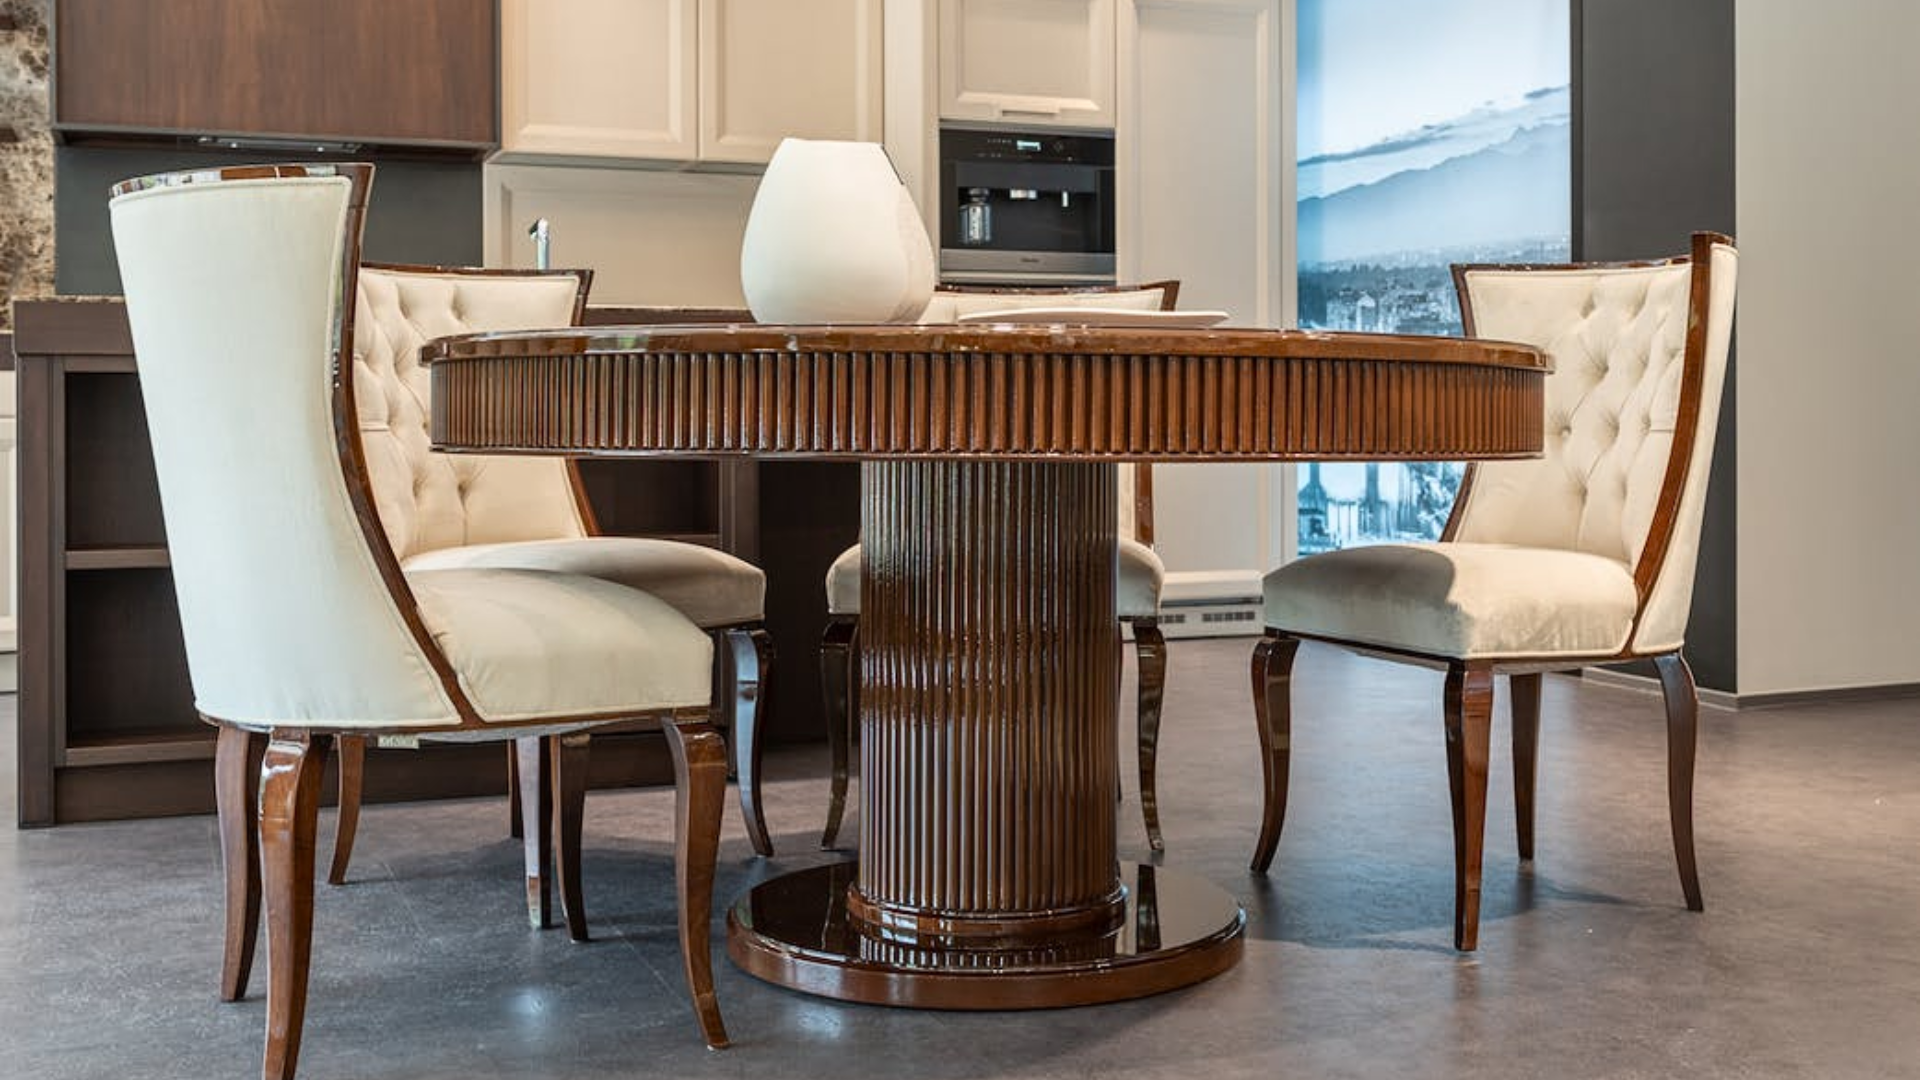
Credit: Max Rahubovskiy
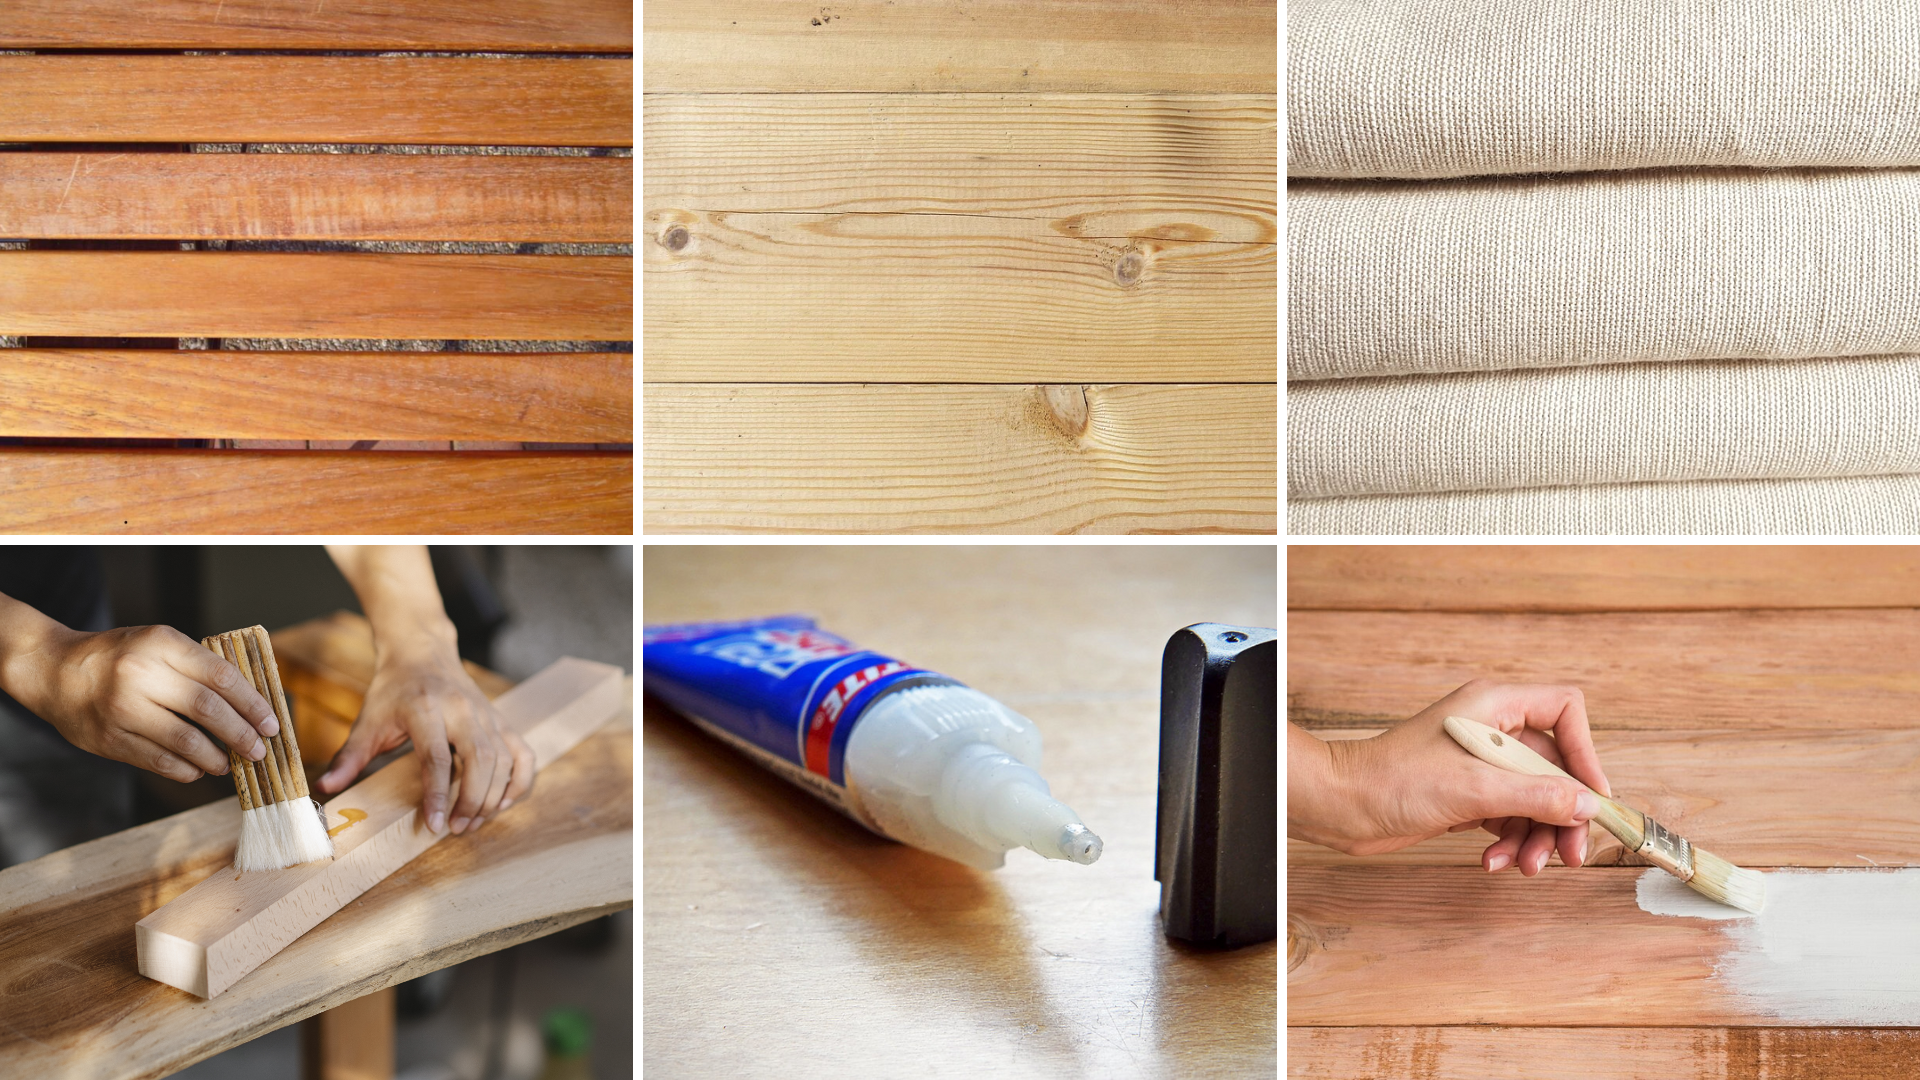
Materials Needed for Your Wood Slat Table Base:
- Wood slats (pre-cut or cut to size)
- A plywood slab
- Wood glue
- Superglue
- Canvas fabric
- Screws
- Screwdriver or drill
- Rockler straps
- A circle saw
- Sandpaper (various grits)
- Wood stain or paint (optional)
- Clear wood finish (polyurethane or varnish)
- Measuring tape
- Pencil
- Safety goggles and gloves
Specific Instructions
Step 1: Design Your Drum Table Base
Begin by envisioning the size and shape of your drum table base. Decide on the dimensions you want for the top and bottom of the base, keeping in mind the height you desire for your table. Sketch out your design on paper, including the number and spacing of the wood slats.
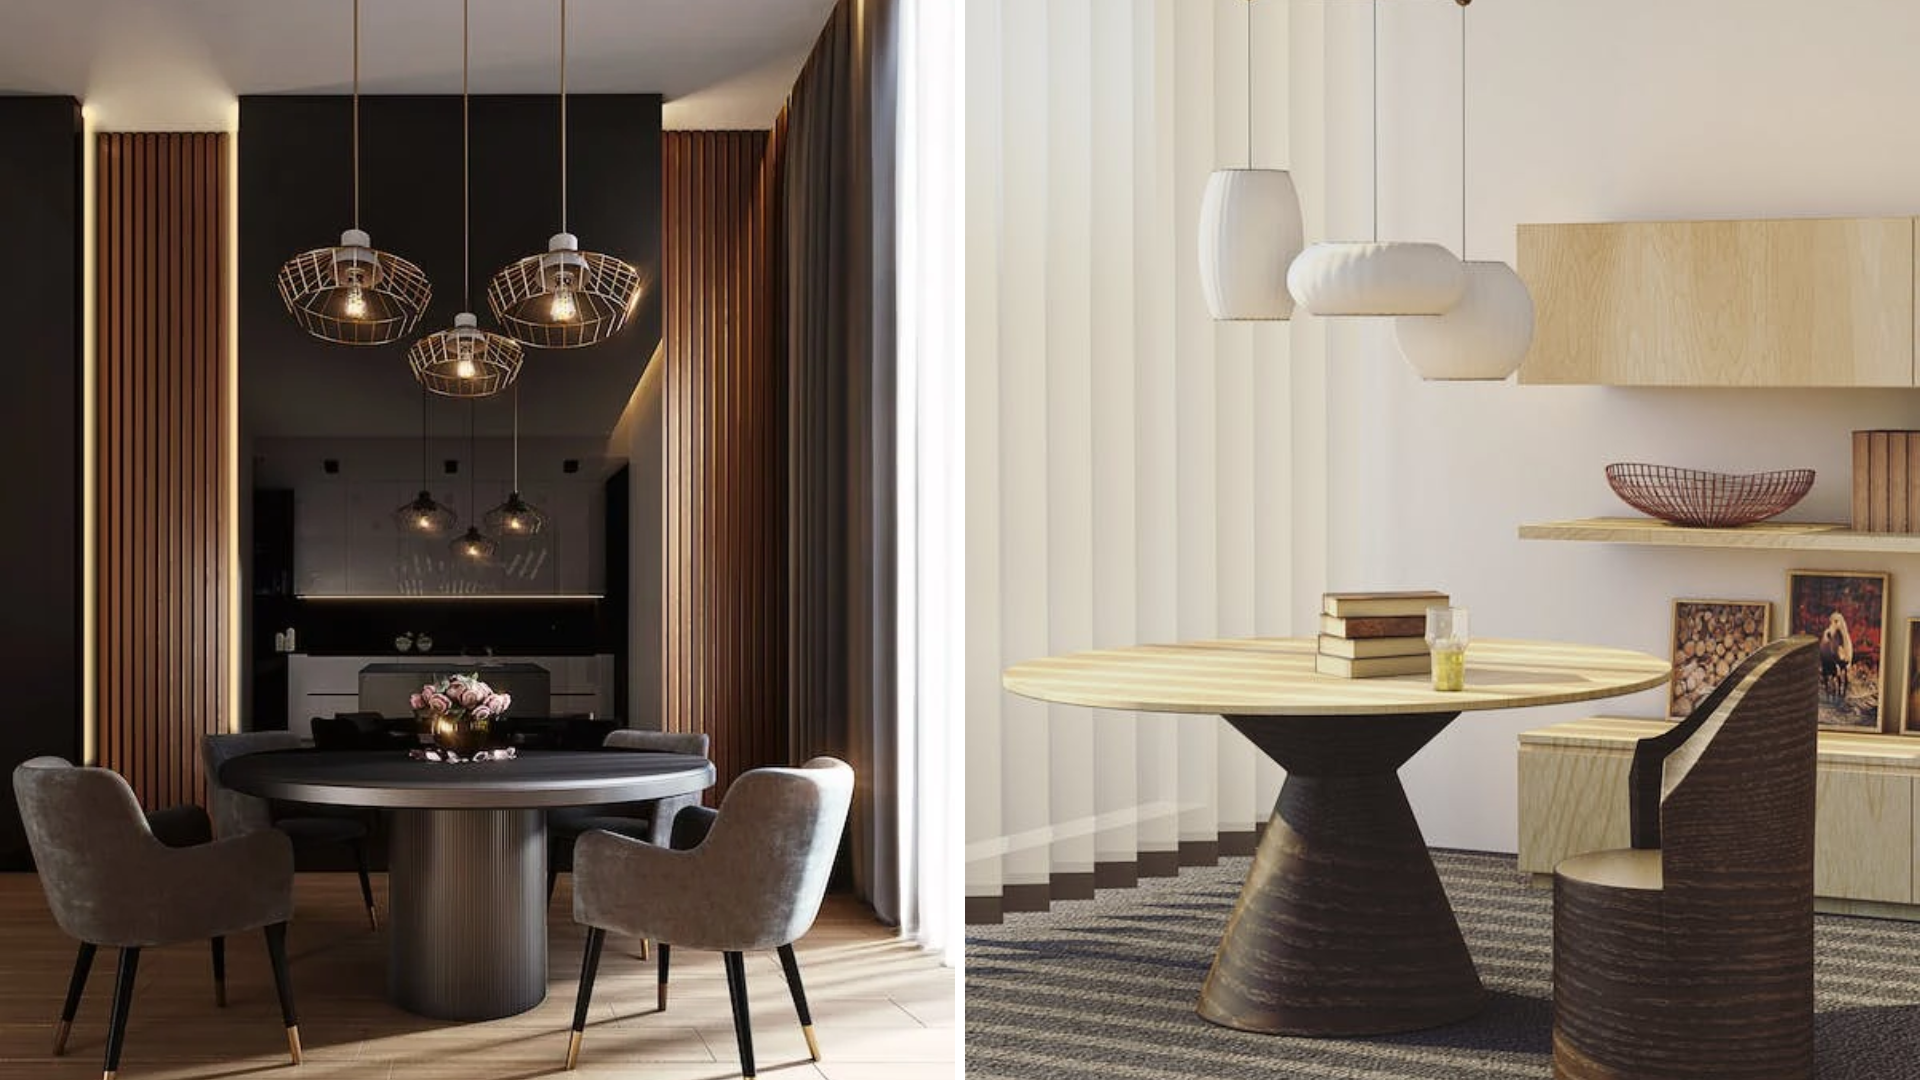
Credit: Houzlook .com & Medhat Ayad
Step 2: Cut the Wood Slats
Measure and cut your wood slats according to the design you've created. For absolutely clean and accurate cuts, use a saw. If you're not comfortable with sawing, many home improvement stores offer pre-cut wood slats that you can purchase.

Credit: Ono Kosuki
Step 3: Sand the Wood Slats
Smooth the edges and surfaces of the wood slats using sandpaper of various grits, starting with coarse grit and gradually moving to a finer one. This step will ensure that your wood slats are free of rough spots and splinters.

Credit: Ono Kosuki
Step 4: Apply a Protective Finish
To protect your DIY round table base from wear and tear, apply a clear wood finish like polyurethane or varnish. This will not only preserve the wood but also give it a beautiful shine. Apply multiple coats as needed, following the manufacturer's instructions.
Remember to complete your slats before moving on to the next step. It will be quicker and more efficient to properly prepare your slats before assembling them.
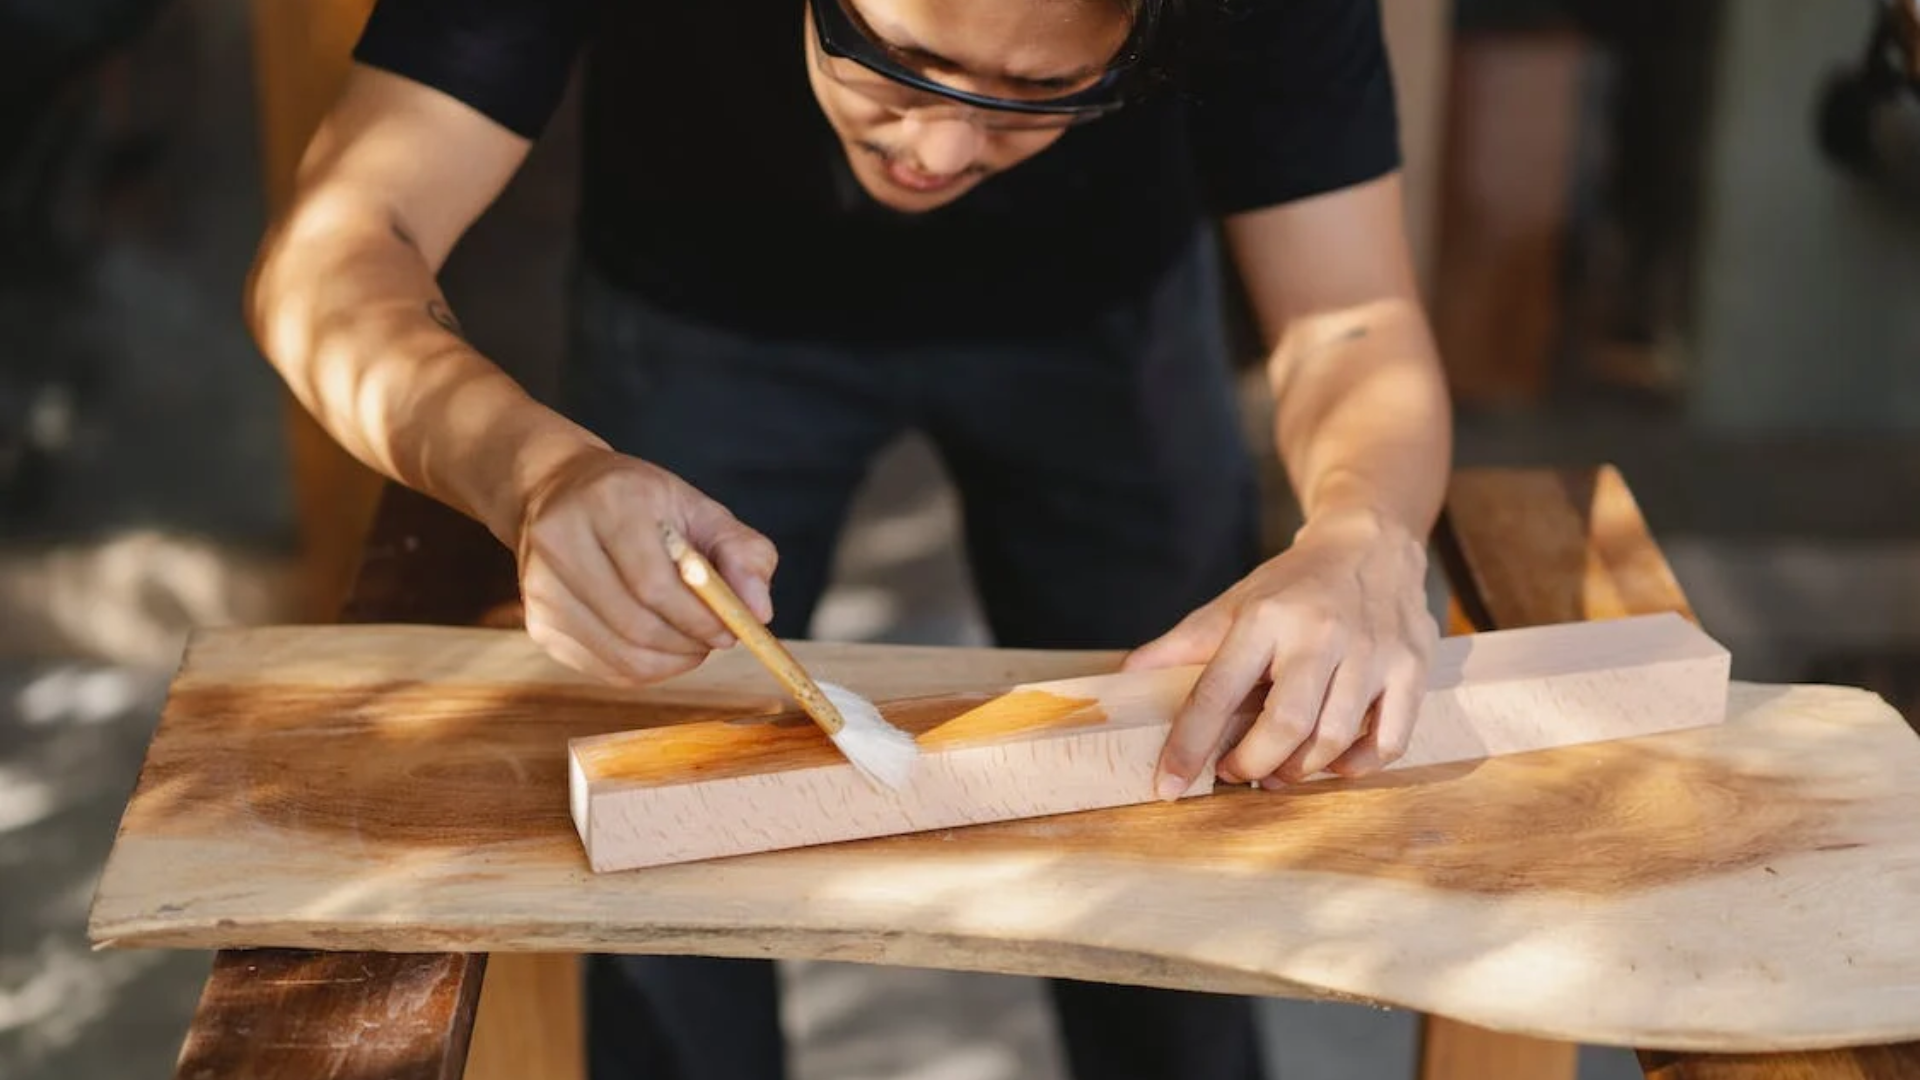
Credit: Ono Kosuki
Step 5: Assemble the Wood Slats
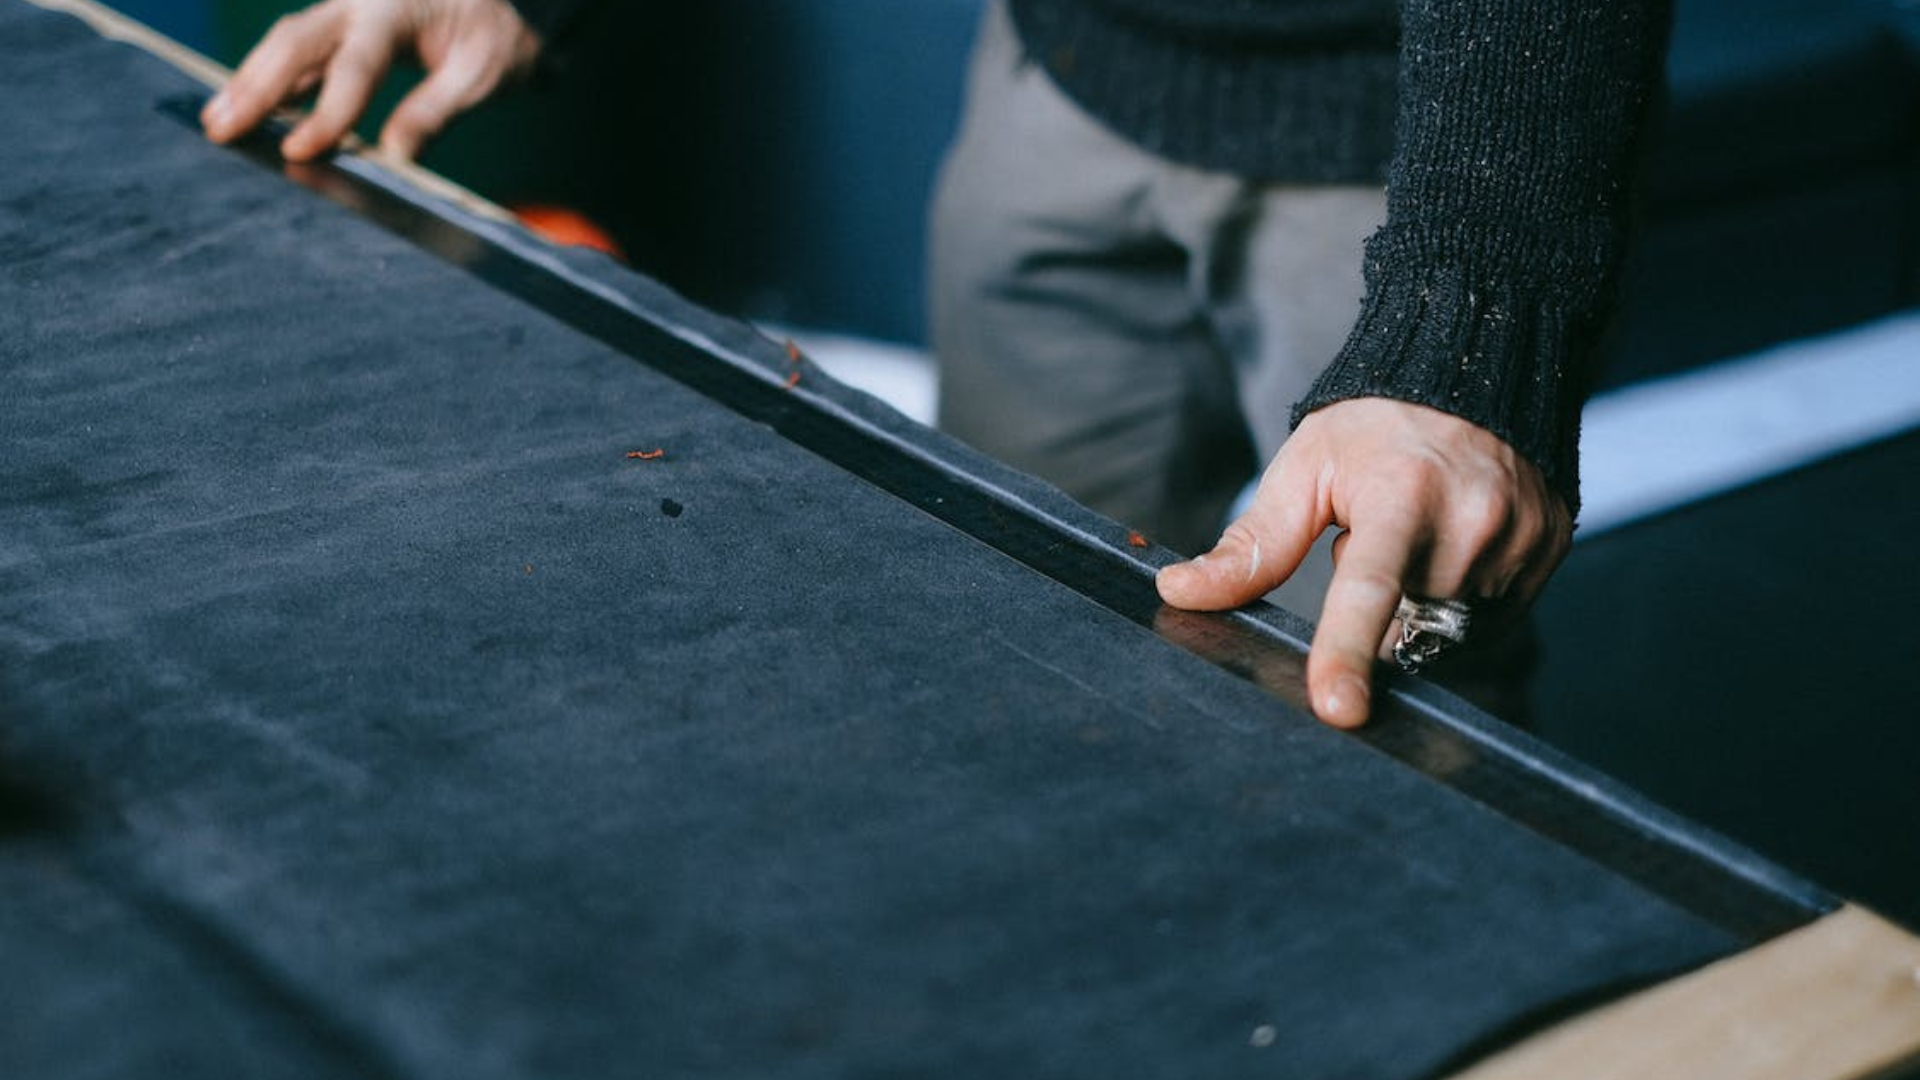
Create a jig with dimensions that correspond to the slats. Then, according to your design, arrange the wood slats. Apply wood glue around the edges of each slat where they will join to the canvas. After that, apply wood glue to both the slats and the canvas. With a scissor, remove any extra canvas. Allow enough time for the glue to dry.
Credit: Anna Shvets
Step 6: Create round plywood pieces
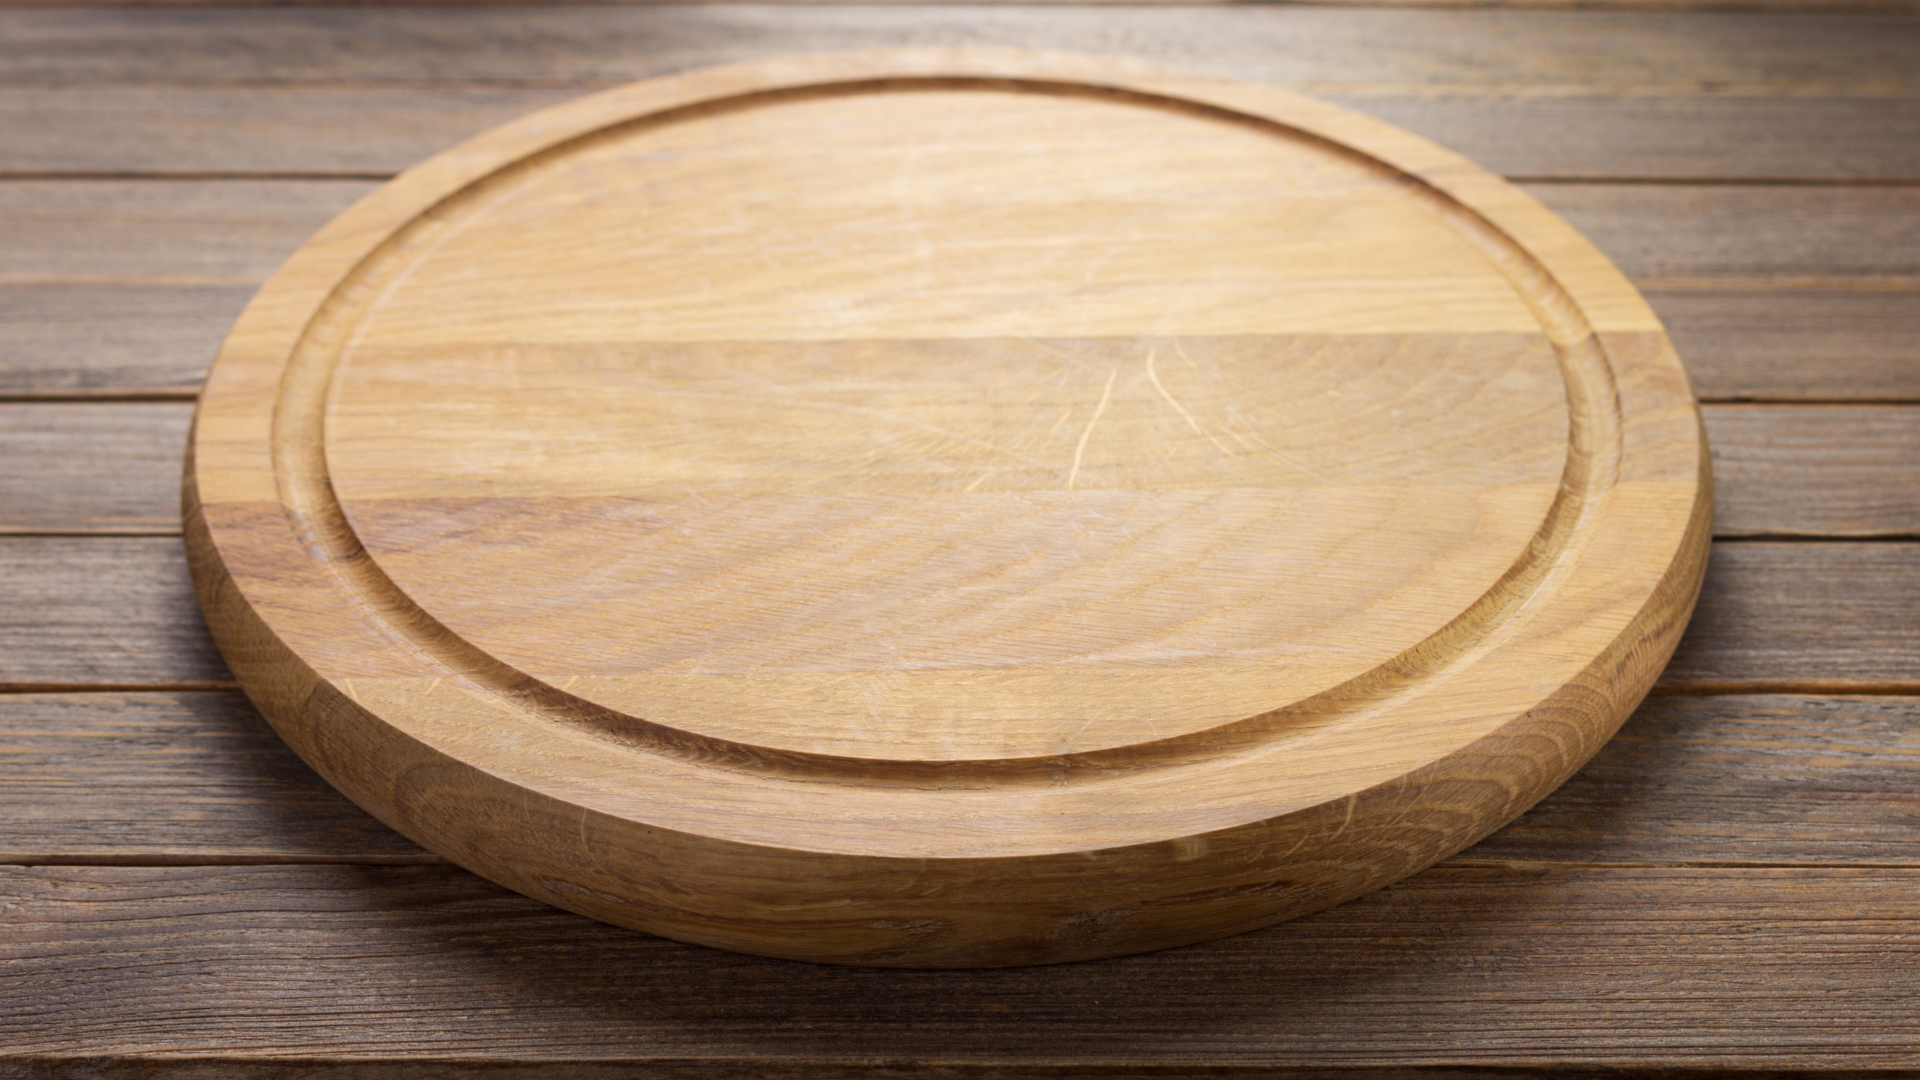
Use a hand saw or a specialized instrument to cut 02 circles in your plywood. The circumference of the circle will be equal to the length of the wood slats. Meanwhile, the first circle will be vacant. Cut a smaller circle on that round slab to make the piece.
Credit: ©Изображения пользователя Moskaliuk Sergii on Canva.com
Step 7: How to make a table base frame?
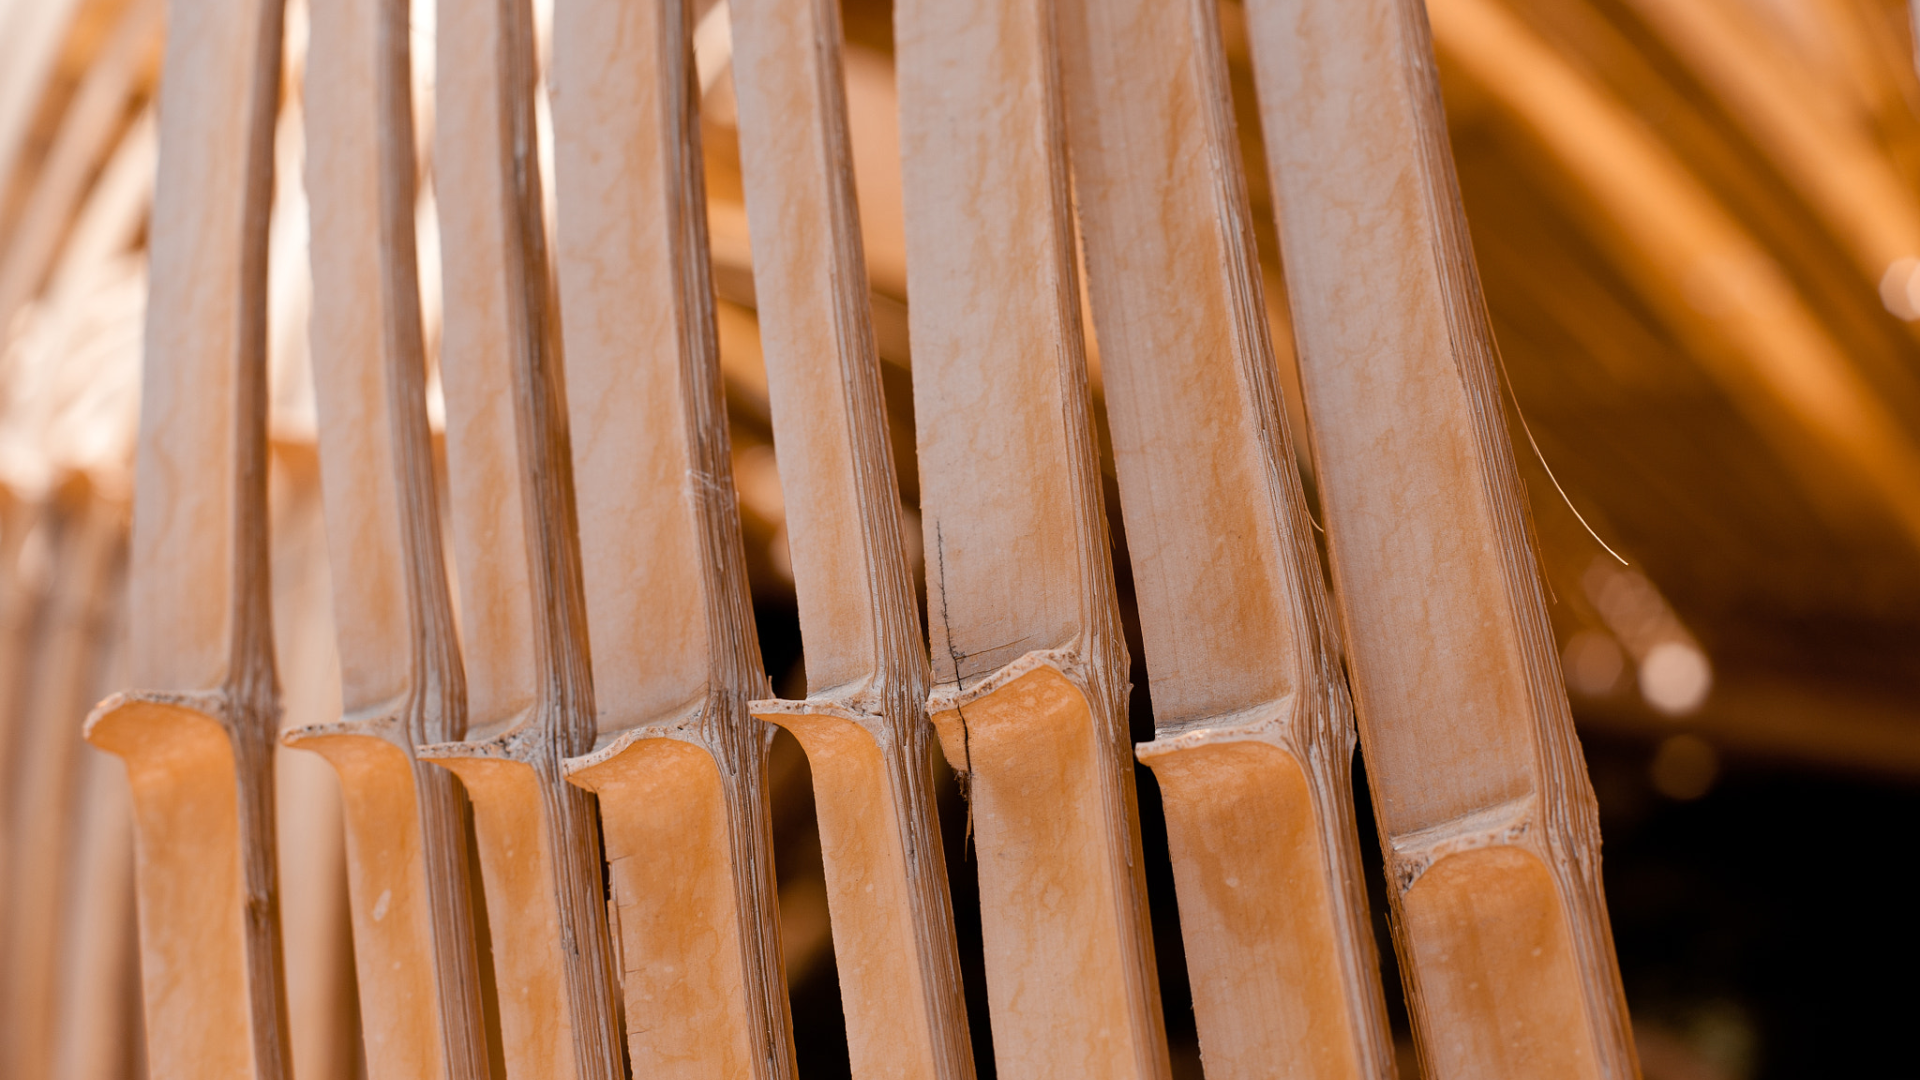
Cut 5 - 6 pieces of plywood to the length you want your table base's height to be. They will serve as the ribs, assisting you in correctly forming the round table base.
Then evenly distribute and attach them to the 02 round plywood pieces by super glue.
Credit: Sujit Nanda
Step 8: Reinforce with Screws
For added strength, secure the wood ribs by driving screws through them at key connection points. Be sure to use the appropriate length of screws for your project.

Credit: Anete Lusina
Step 9: Finish Your Base (Optional)
Apply wood glue to the ribs' and round slabs' edges, then wrap the wood slats around the rib. Fix them using rockler band clamps until the glue is completely dry.
If you wish to enhance the appearance of your DIY wood slat drum table base, consider staining or painting it to match your decor. Allow the finish to dry thoroughly before moving on to the next step.

Credit: ©Garrett Morrow on Canva.com
Step 10: Attach the Tabletop
Once your wood slat drum table base is complete and the finish is dry, you can attach the tabletop of your choice. This can be made from glass, wood, or any material that suits your style. Secure it to the top of your base following the manufacturer's guidelines.

Credit: Flowyline Design
Related product:
- 607 Curva Metal Counter & Bar Table Legs

Comments
Post a Comment