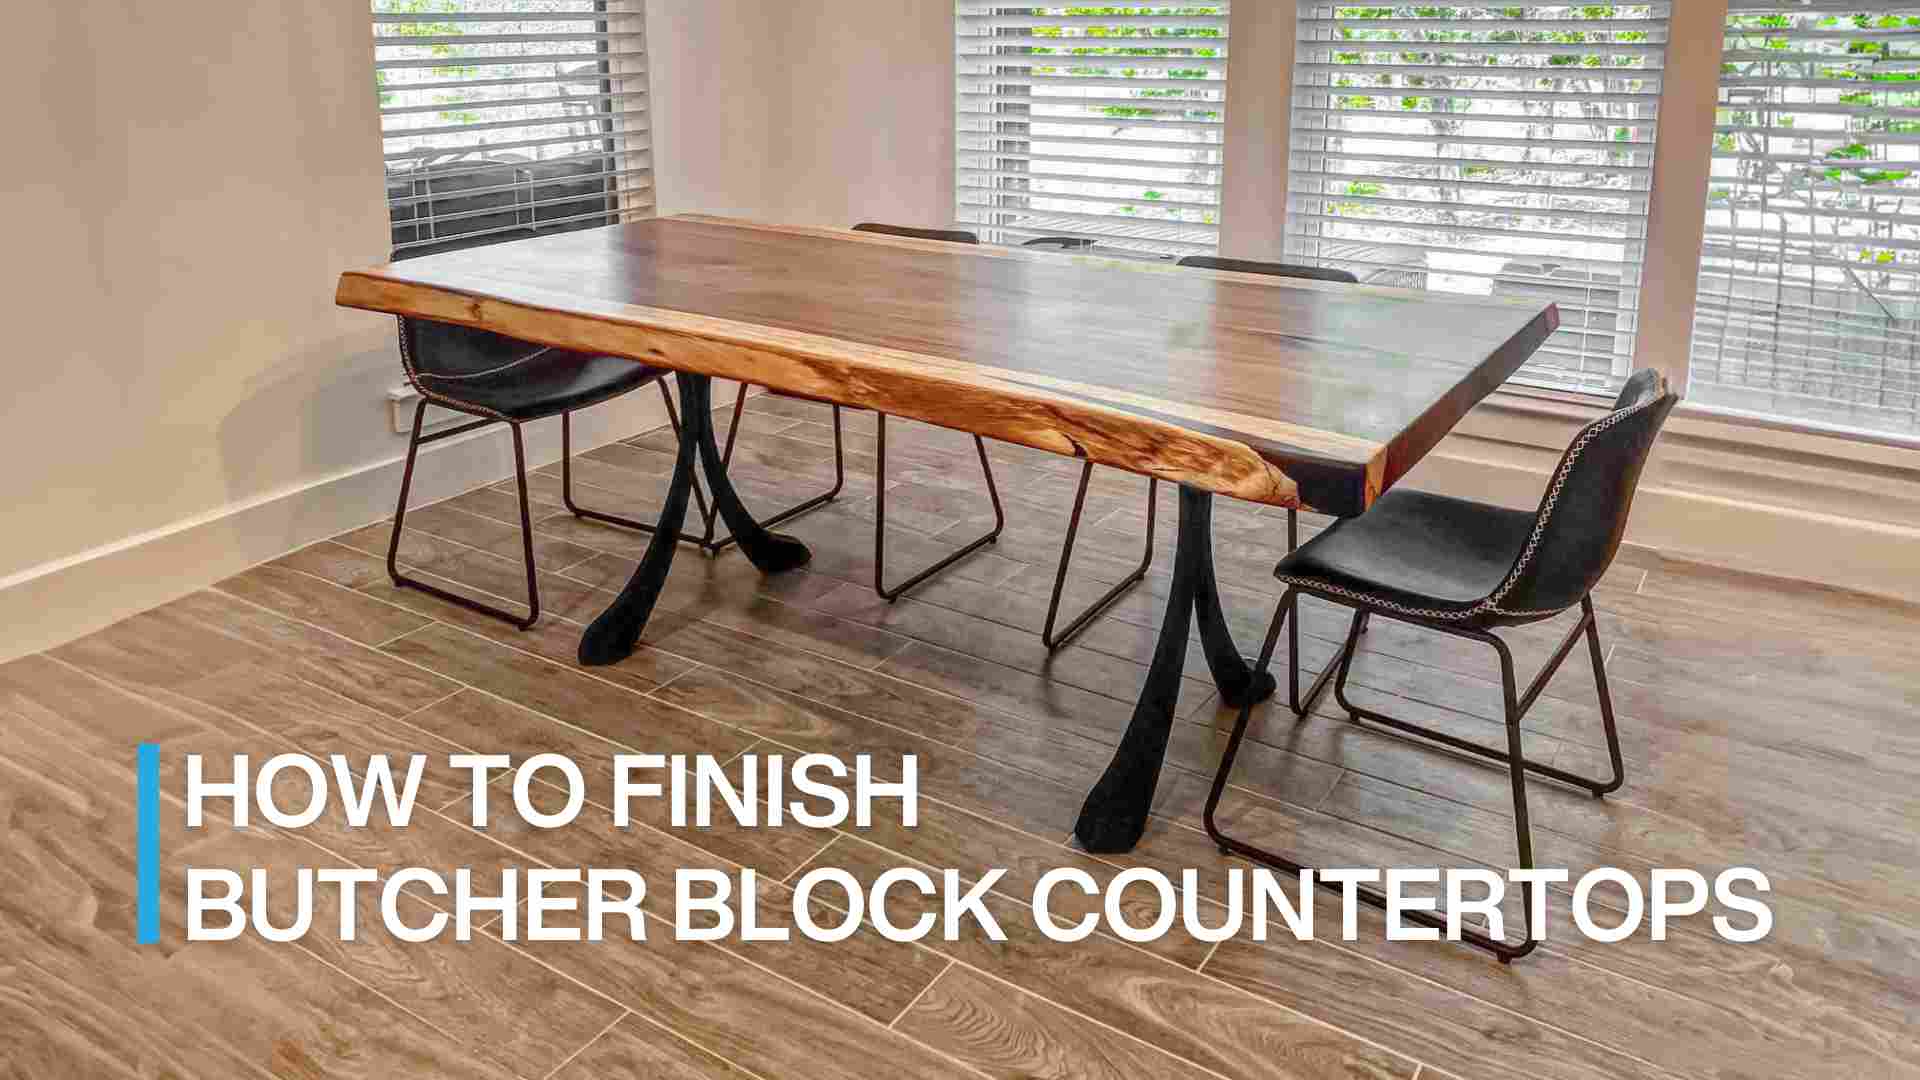
How to Make a DIY Puzzle Table with Legs
Original article: https://flowyline.com/blogs/for-diy-ers/creating-diy-puzzle-table-with-legs
Puzzles are a fantastic way to relax and challenge your mind, but finding a dedicated space to work on them can be a challenge in itself. A DIY puzzle table with legs is the perfect solution. Not only does it provide a stable surface to assemble your jigsaw masterpieces, but it also doubles as a stylish piece of furniture.
In this step-by-step guide, we'll show you how to create your own DIY puzzle table with legs that will be both functional and aesthetically pleasing.

Credit: Mikhail Nilov
Materials You'll Need
- Plywood or MDF board (36" x 24" for a standard-sized puzzle)
- Four wooden or metal table legs (pre-made or DIY)
- Wood screws
- Sandpaper (various grits)
- Wood glue
- Wood stain or paint (optional)
- Paintbrushes (if staining or painting)
- Screwdriver or drill
- Measuring tape
- Saw (circular saw or jigsaw)
- Clamps (optional)
- Pencil
- Safety gear (goggles, dust mask, ear protection)

Step-by-Step Guide
Step 1: Measure and Cut the Tabletop
Start by measuring and marking the dimensions for your puzzle table's top on the plywood or MDF board. A common size for puzzle tables is 36" x 24", but you can adjust the dimensions to your preference. Use a straight edge and a pencil to create straight lines, and then carefully cut along these lines using a saw.

Credit: ©Andrei Metelev on Canva.com
Step 2: Create the Frame
Cut your 2x2 lumber to match the lengths of the sides of your tabletop. You will need four pieces of lumber.
Lay the four pieces of lumber on a flat surface to create a rectangle that matches the perimeter of the tabletop. Apply wood glue to the ends of the lumber where they will join together.
Once the frame is square, drive the screws through the outside of the frame into the ends of the adjoining pieces. Pre-drill holes to prevent splitting.
Then, attach the frame to your tabletop. Use glue to fix the frame into your top and drive screws through the frame into the tabletop at regular intervals (every 6-8 inches) along all four sides.

Credit: ©Andrei Metelev on Canva.com
Step 3: Sand the Edges and Surface
After cutting the tabletop, use sandpaper to smooth out any rough edges and create a clean, even surface. Start with a coarse grit sandpaper and progressively move to finer grits for a smoother finish. Be sure to sand the top surface as well to remove any imperfections.

Credit: Ono Kosuki
Step 4: Attach the Table Legs
If you're using pre-made table legs, follow the manufacturer's instructions for attaching them to the tabletop. If you're making your own legs, measure and cut four pieces of wood to your desired leg height. Then, attach them to the corners of the tabletop using wood screws and wood glue. Use clamps to secure the legs in place while the glue dries.
Credit: Flowyline Design
Related product:
- 401 Wishbone Metal Table Legs
Step 5: Finish the Table (Optional)
You can leave your puzzle table with a natural wood finish or customize it to your liking. If you prefer a different look, you can stain or paint the table. Apply the chosen finish with a paintbrush and let it dry according to the product's instructions. This step adds both protection and aesthetics to your table.

Credit: Ivan Samkov
Step 6: Set Up Your Puzzle Space
Once the finish is dry, your DIY puzzle table is ready for action. Place it in a comfortable spot where you like to work on puzzles and enjoy hours of puzzling fun.

Credit: ©Robert Kneschke on Canva.com
Visit this link to see the full article and find more ideas for your puzzle table legs: https://flowyline.com/blogs/for-diy-ers/creating-diy-puzzle-table-with-legs


Comments
Post a Comment