Blossoming Beauty: Crafting an Epoxy Tabletop with Real Flowers
Original article: https://flowyline.com/blogs/for-diy-ers/diy-epoxy-tabletop-with-real-flowers

Creating a DIY epoxy tabletop with real flowers is a unique and creative way to add a touch of nature to your home decor. This project is more than just a visual treat; it’s an engaging and gratifying DIY journey that lets you create something truly unique. However, there will be hurdles along the way - the pesky bubbles, the rebellious floating flowers during the epoxy pour - but fear not! Flowyline’s blog is your trusty companion in this creative endeavor. We will provide a comprehensive, step-by-step guide to help you navigate through these challenges and craft your very own creative masterpiece. Let’s embark on this exciting DIY adventure together!
Materials Needed
- A wooden table or a wooden board
- Epoxy resin and hardener
- Real flowers
- Sealant spray
- Sandpaper
- Gloves
- Mixing cups and sticks
- Heat gun or torch
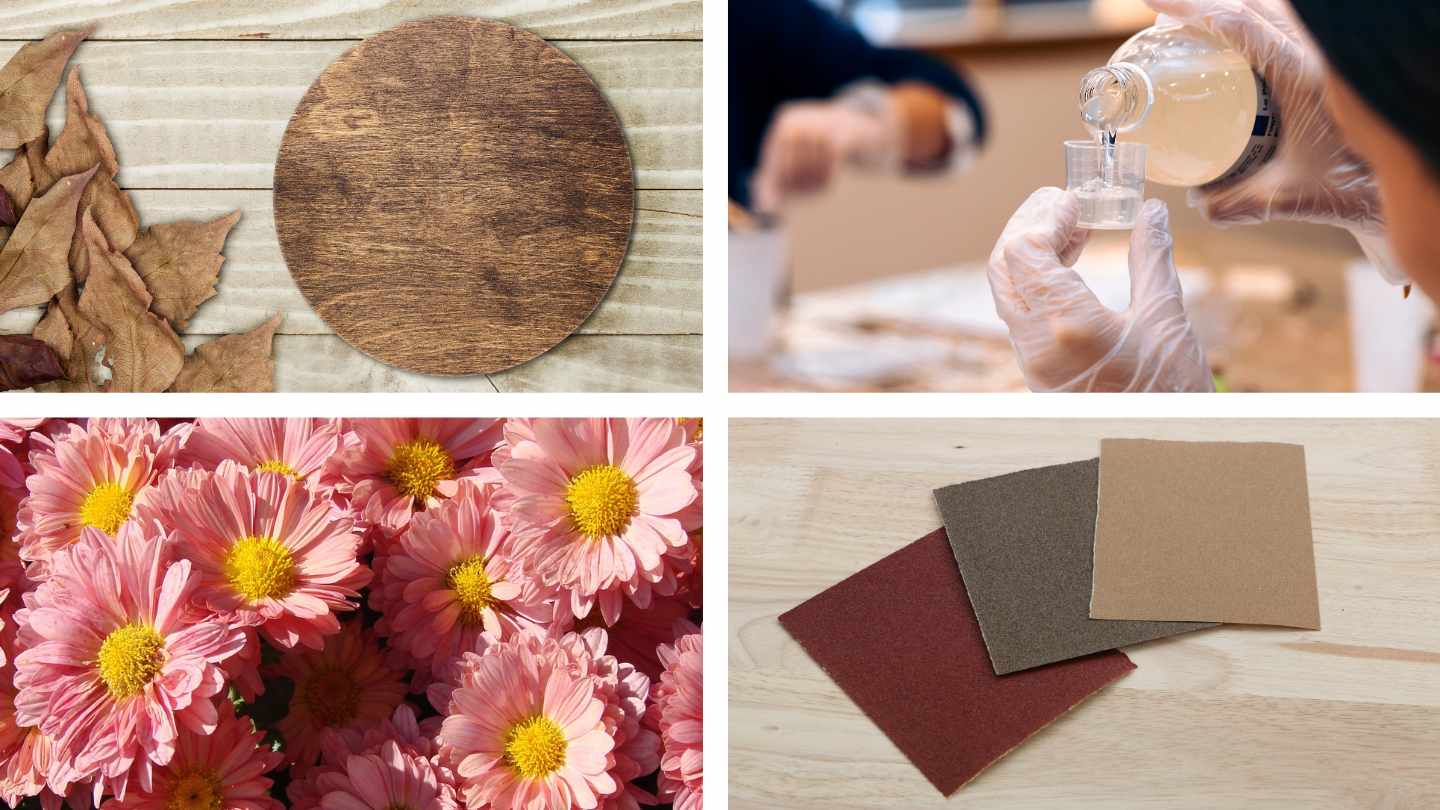
Required materials to make flower tables with epoxy resin
Credit: ©orbten studio; Alfonso Soler; PublicDomainPictures; AMLBox on Canva.com
Detailed Guideline
Step 1: Prepare Your flowers
First, you'll need to dry and press your flowers. This can take up to two weeks, so plan accordingly. Once your flowers are dry, spray them with a sealant to preserve their color and prevent the epoxy from soaking into them.
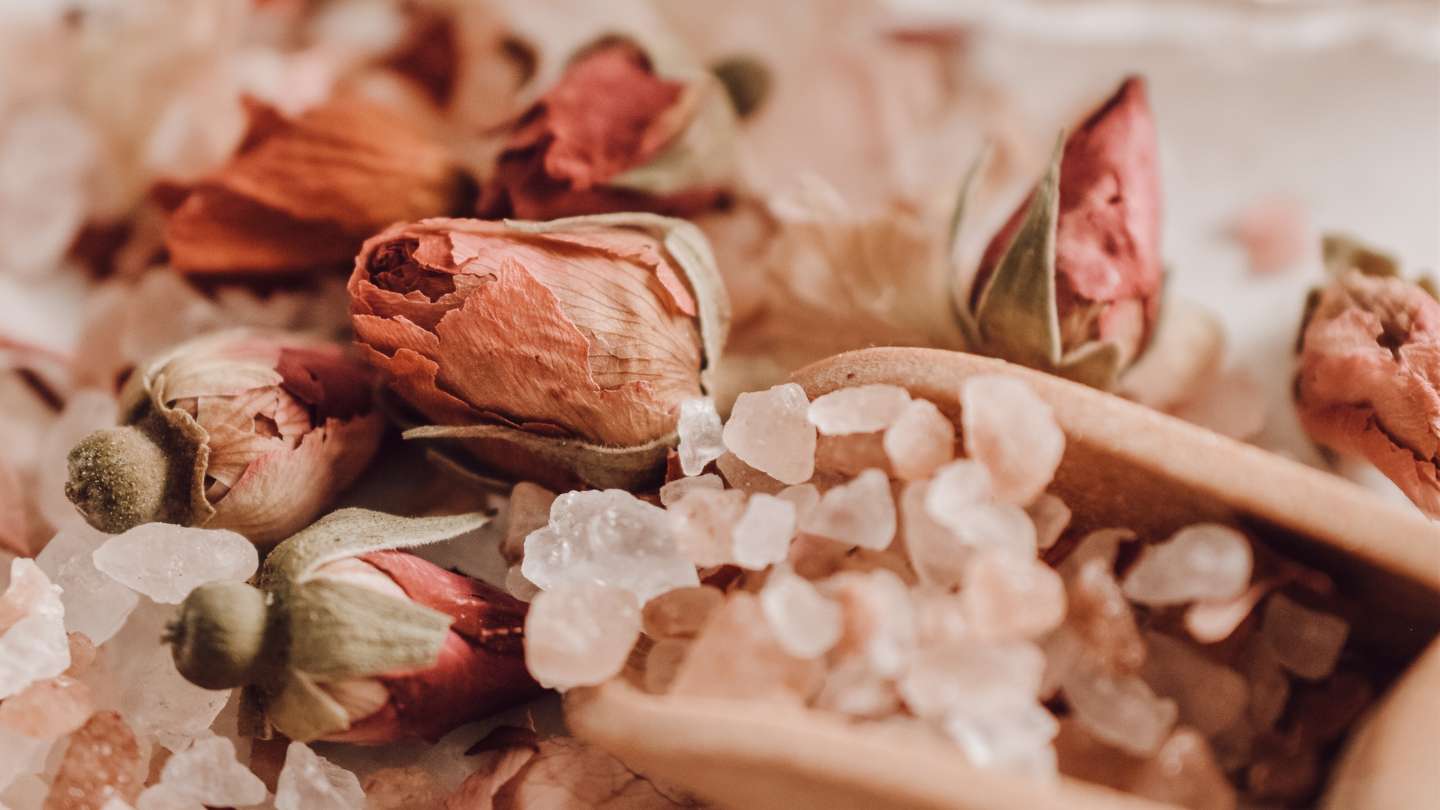
Dry your favorite species of flowers
Credit: ©Qwirki & Co. on Canva.com
Step 2: Prepare your table's surface
Gently sand your table or board, smoothing away any rough patches and removing any remnants of a previous finish. Ensure it’s impeccably clean and thoroughly dry before you embark on the epoxy adventure.
Consider enhancing the natural beauty of the wood with a stain, creating a rich, dark canvas for your floral artistry. This technique allows you to create a striking contrast, as light-colored flowers dance on the dark table, crafting an eye-catching centerpiece that is sure to captivate and charm.
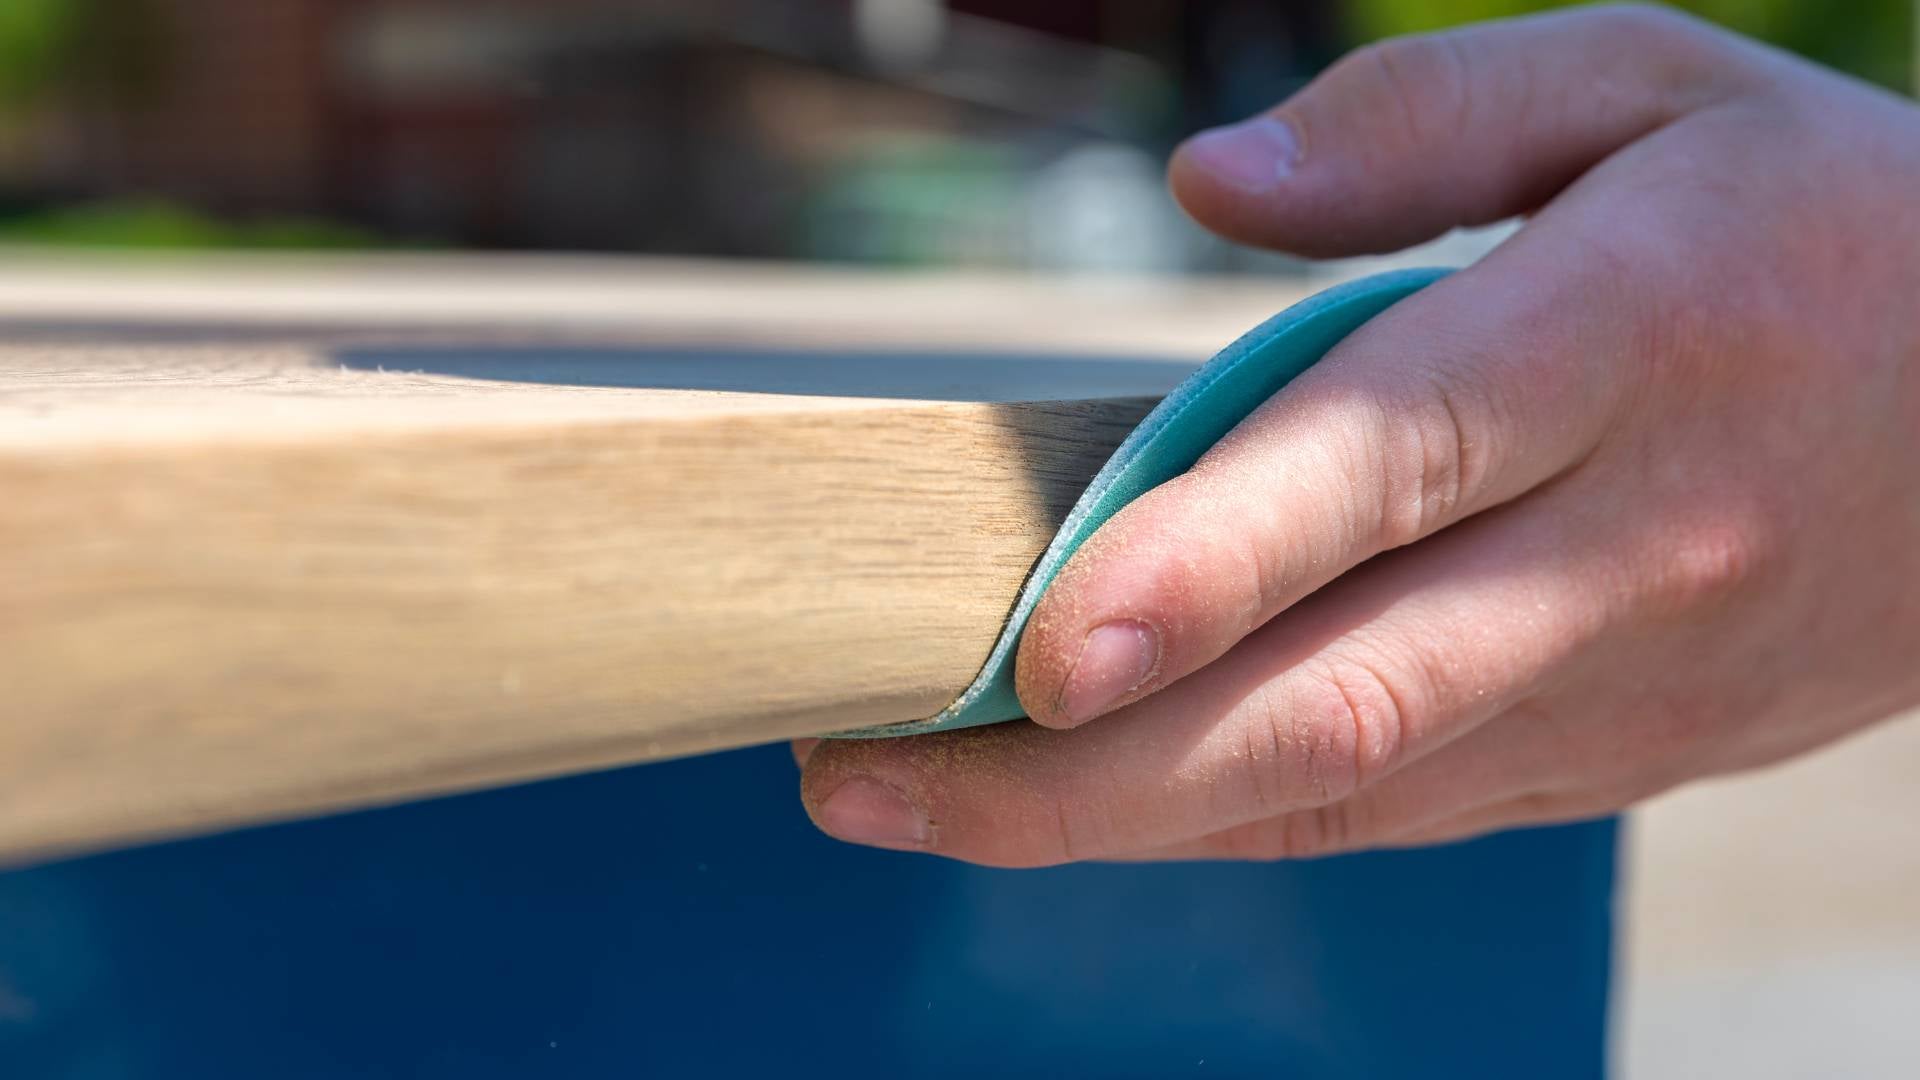
Sand and clean the wood's surface
Credit: ©Изображения пользователя SERSOL on Canva.com
Step 3: Arrange your flowers
Arrange your flowers on the table in a pattern that you like. You can also intersperse some fern leaves and individual petals for an added layer of depth and intrigue, enhancing the overall aesthetic of your tabletop. Remember, this is your canvas and you are the artist. There are no rules, only the boundless limits of your imagination.

Place the dried flowers on your tabletop's surface
Credit: ©dreamyskylove on Canva.com
Address: https://www.google.com/maps?cid=16787952025643628509
More information: https://www.google.com/search?q=flowyline+design


Comments
Post a Comment