How to Cover a Glass Tabletop: A Guide
Original article: https://flowyline.com/blogs/for-diy-ers/how-to-cover-a-glass-tabletop
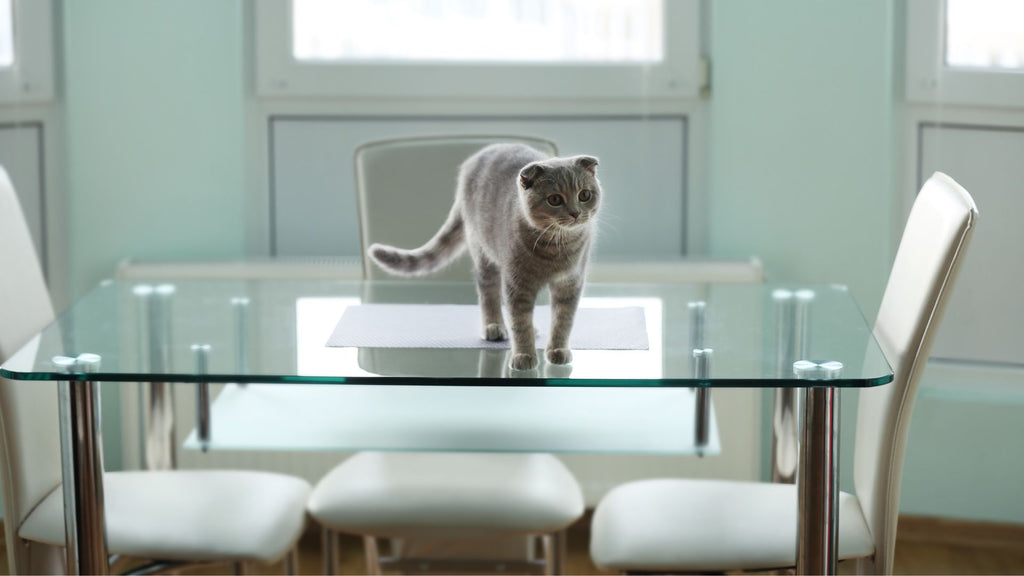
Glass tabletops are a popular choice for their elegant and modern appearance, but they can be a magnet for fingerprints, smudges, and scratches. Because of those problems, the biggest question now is how to cover a glass tabletop and protect it from damage. To protect your glass table while adding a touch of personal style to your home, covering it is a smart and stylish solution. In this article, we'll provide you with a step-by-step guide on how to cover a glass tabletop with fabric and other materials while enhancing your home decor.

Simple Instructions for Covering Your Glass Tabletop with Protective Film
Materials You'll Need
- Crystal clear protective film
- Measuring tape
- Scissors or paper-knife
- A squeegee or credit card
- A small amount of dish soap and water (in a spray bottle)
- A lint-free cloth

Step 1: Measure the glass tabletop
Start by measuring the length and width of your glass tabletop. Write down these measurements as you'll need them to cut the protective film to the right size.
You'll also need those measurements to order the right size. This will help you to save costs when buying this material.

Step 2: Cut the protective film
Unroll the protective film on a clean, flat surface. Lay it flat and use your measurements to cut the film to the exact size of your tabletop, or slightly larger for some overhang.
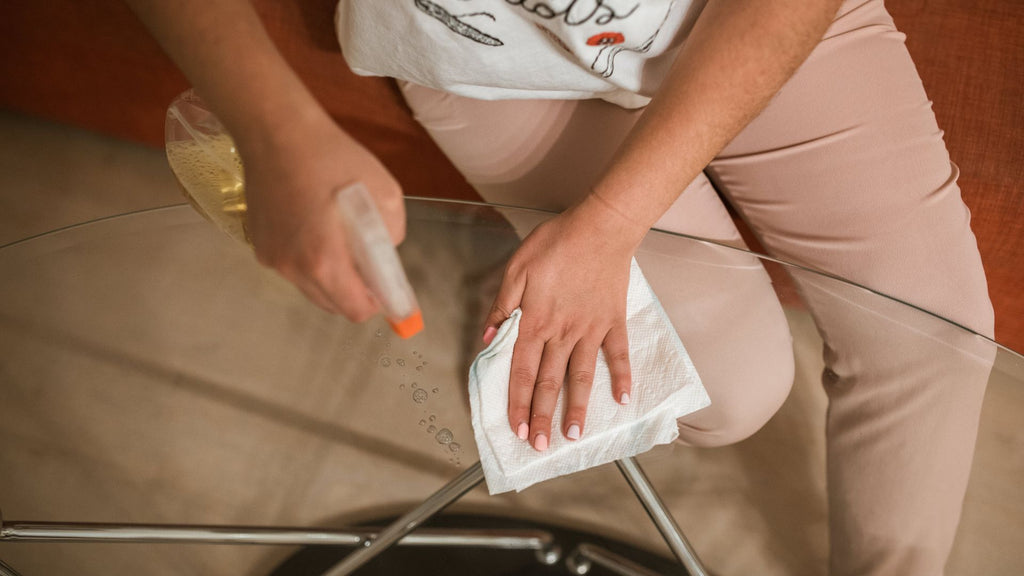
Step 3: Prepare the glass tabletop
Ensure that the glass tabletop is clean and free of any dust, dirt, or smudges. For this, a glass cleaner will work well. Make sure the tabletop is completely dry before proceeding.
Step 4: Apply the protective film
Mix a few drops of dish soap with water in a spray bottle and lightly mist the surface of the glass. This soapy solution will allow you to reposition the film as needed during the installation.
Step 5: Remove the backing
Carefully peel the protective film from its backing, exposing the adhesive side. Be sure to handle the film with clean, dry hands to avoid leaving any fingerprints or debris.

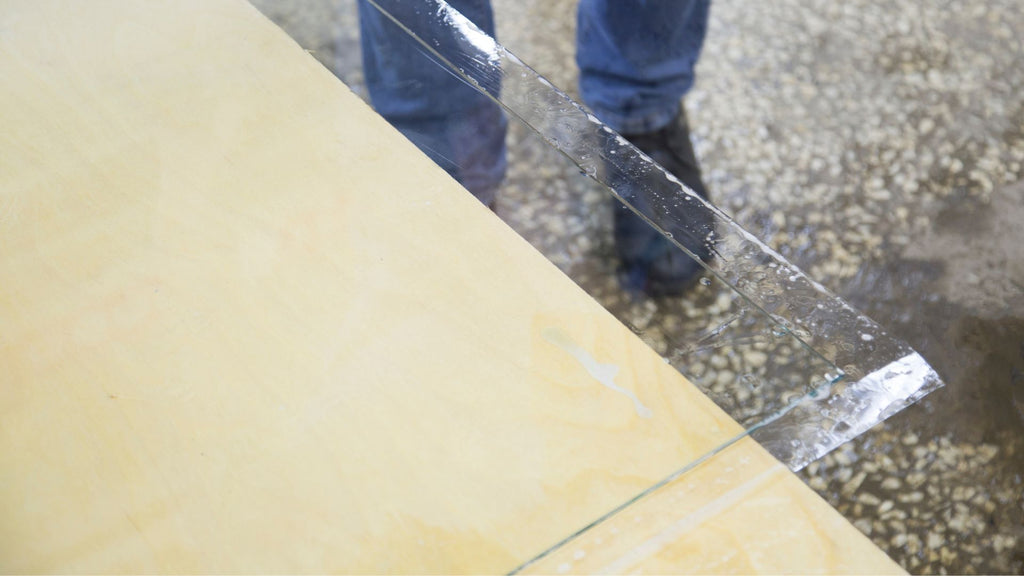
Step 6: Position the film
Gently place the adhesive side of the film onto the glass tabletop. Start from one edge and slowly lay the film down, working your way across the table. The soapy solution will allow you to reposition the film if necessary.
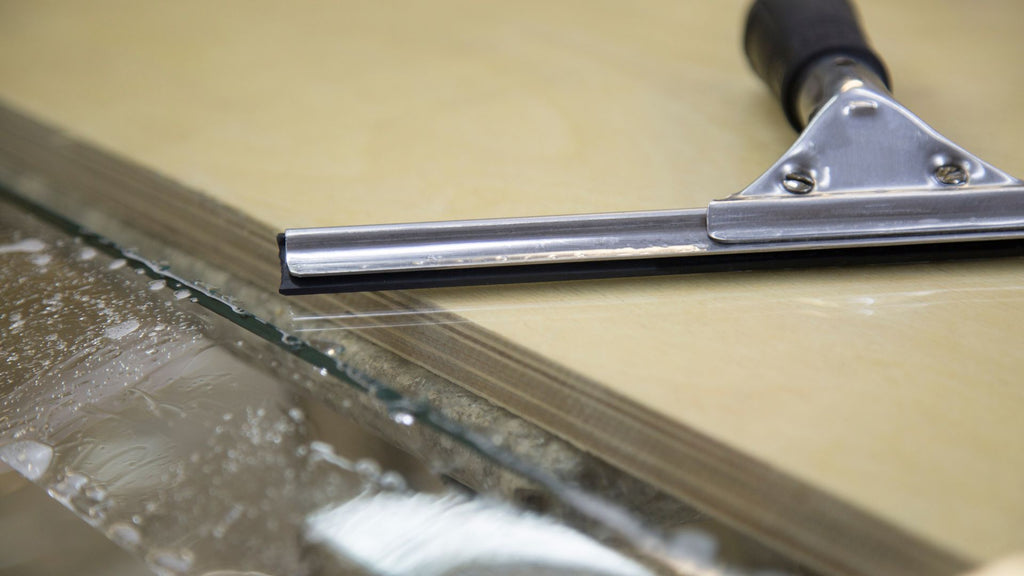
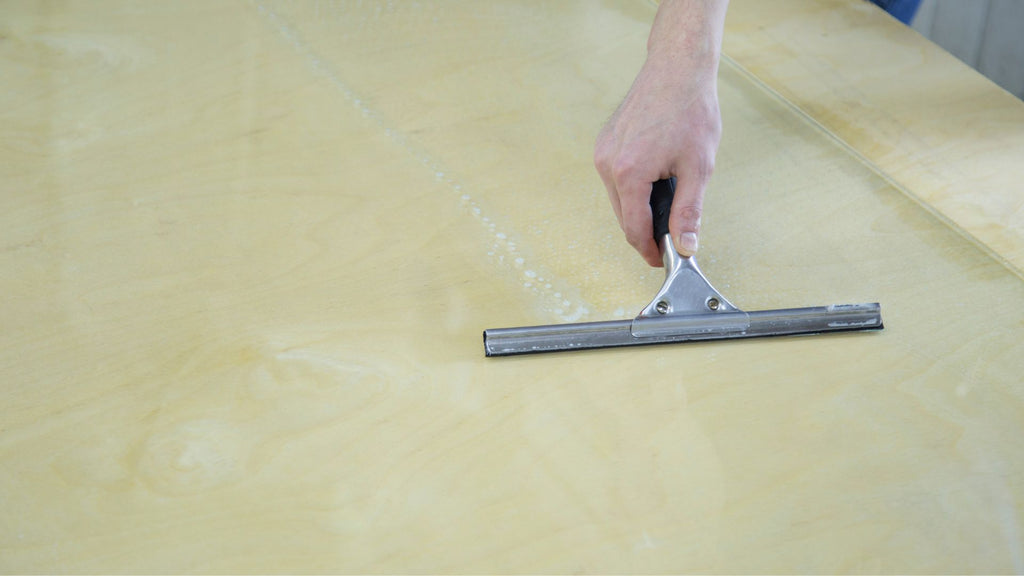
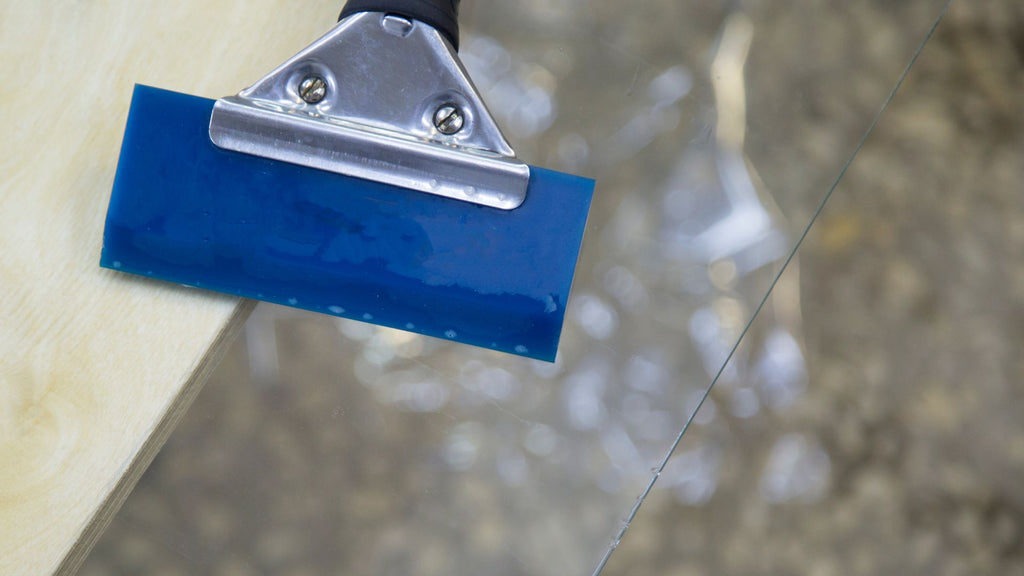
Step 7: Smooth out the bubbles and wrinkles
Use a squeegee or a credit card to push out any air bubbles or wrinkles. Start from the center and push them towards the edges. Make sure the film is applied on the glass evenly.
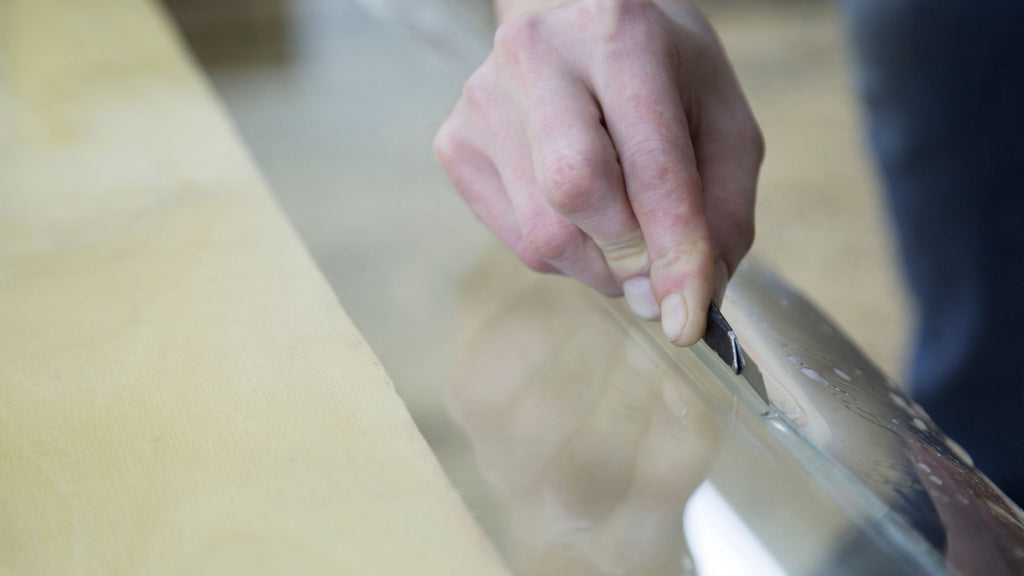
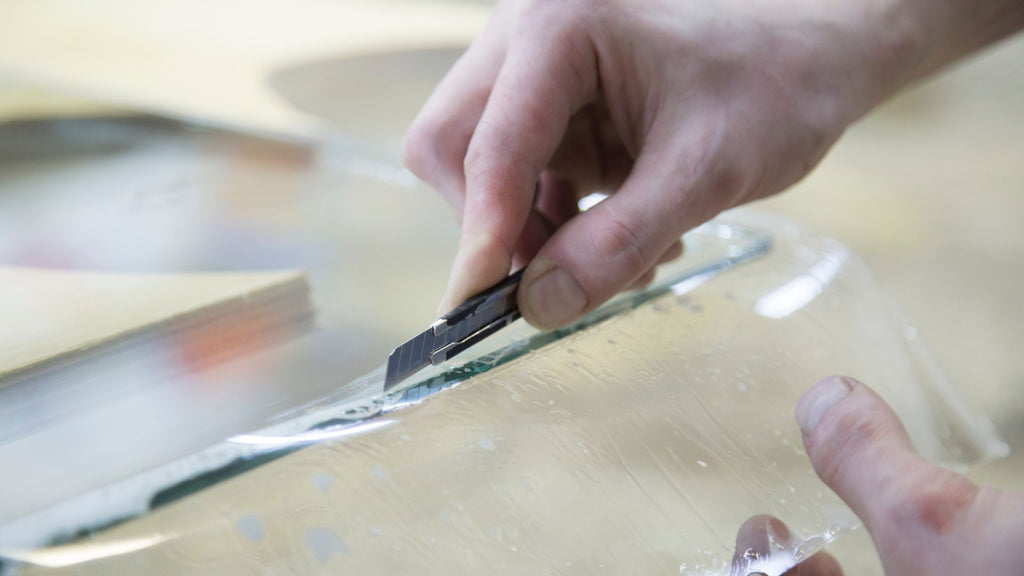
Step 8: Trim the excess film
Once the film is in place and smooth, trim any excess material that hangs over the edges of the tabletop using scissors or paper-knife. Be sure to cut carefully and precisely for a clean finish.
Step 9: Final inspection
Inspect the tabletop to ensure there are no trapped air bubbles or wrinkles. If you find any, gently lift the film and smooth them out with your squeegee or credit card.
Step 10: Allow the film to cure
Let the protective film cure for the recommended time specified by the manufacturer. This allows the adhesive to bond securely to the glass.
Step 11: Clean and enjoy
Once the film has cured, wipe down the surface with a lint-free cloth to remove any residue or water spots. Your glass tabletop is now protected, and you can enjoy its beauty without worry.
The choice of how to cover a glass table top depends on your priorities and daily usage. If you want to protect your table while showcasing its beauty, a crystal-clear protection film may be your best choice. For more decorative purposes, tablecloths and table runners offer greater aesthetic flexibility, though they come with their maintenance challenges. The ultimate option for you is to combine protective films with fabric. This may help you protect glass tabletops and express your individuality at once.
Visit this link to see the full article and find out your favorite metal leg and base items: https://flowyline.com/blogs/for-diy-ers/how-to-cover-a-glass-tabletop

Comments
Post a Comment