How to Paint Outdoor Metal Furniture: Ideas & Advice
Original article: https://flowyline.com/blogs/for-diy-ers/how-to-paint-outdoor-metal-furniture
Outdoor metal furniture can add beauty and durability to your patio, but natural factors are the biggest challenges for us. Over time, exposure to the elements can take a toll on its appearance. Your outdoor furniture can start to look worn and weathered. To prevent your outdoor furniture from rusting, we need to use a special final coat for outdoor items. In this blog, we will guide you through the steps on how to paint outdoor metal furniture, ensuring it not only looks stunning but also stands up to the elements.
Materials You Will Need
Transforming outdoor spaces, one brushstroke at a time – Discover the art of reviving your outdoor metal furniture with 'How to Paint Outdoor Metal Furniture.'
- Safety gear
- Electric sander
- Drop cloths
- Wire brush or sandpaper (optional)
- Primer (optional)
- Outdoor metal paint
- Paintbrushes and/or spray paint
- Painter's tape
- Mineral spirits
- Rags
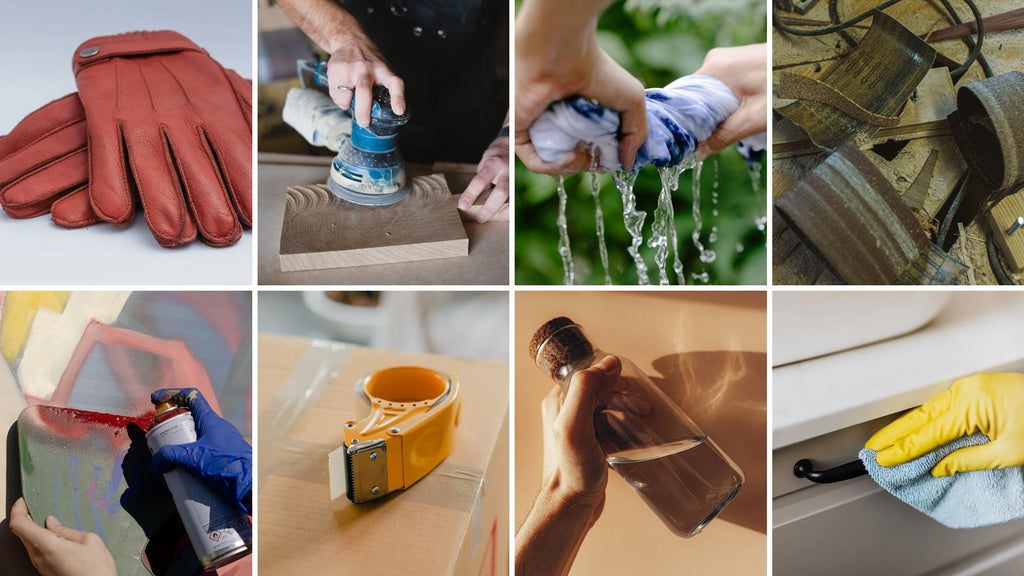
Materials you will need to paint outdoor furniture
Step 1: Preparation
Choose the right location
Paint your metal furniture in a well-ventilated area, preferably outdoors or in a garage with open doors.
Clean the furniture
Use a rag and mineral spirits to thoroughly clean the furniture surface. Remove any dirt, grease, or loose paint. If the metal has already been painted, sand and smooth it out.
Remove rust and loose paint
If your furniture has rust or old, flaking paint, use a wire brush or sandpaper to remove it. Ensure the surface is smooth and rust-free.
Sand for adhesion
After the metal has been cleaned, it needs to be sanded. Lightly sand the entire surface to create a texture that helps the primer and paint adhere better.
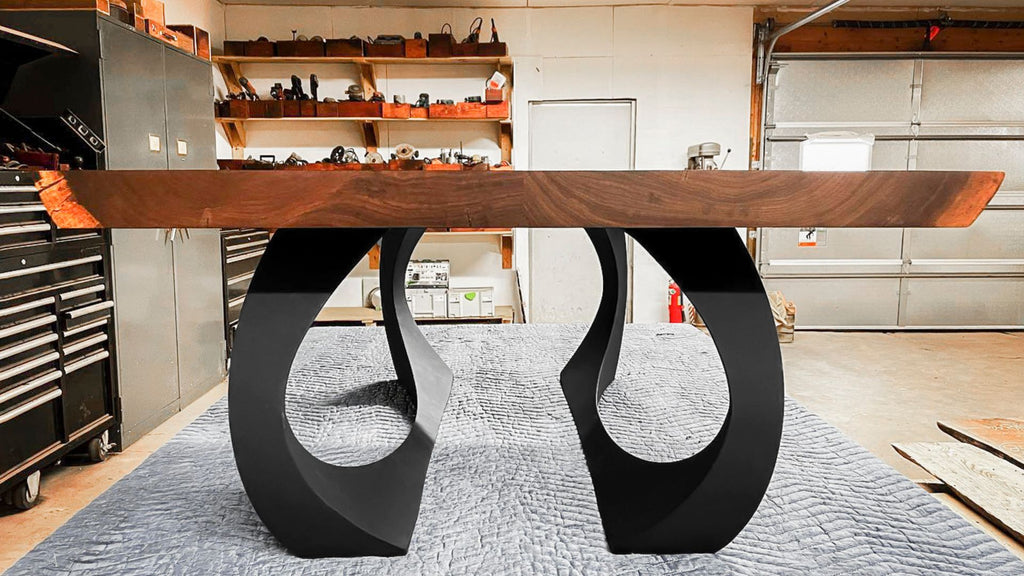
Paint your metal furniture in a well-ventilated area
Credit: Flowyline Design
Related product:
- 212 Cleo Metal Coffee Table Legs
Step 2: Prime
Once the surface is clean and smooth, apply a coat of metal primer evenly. Follow the manufacturer's instructions for dying time.
Most primers dry to the touch in 30 minutes to an hour. However, for optimal effects, wait until the primer has completely dried. This can take up to 3 hours, depending on humidity and climate.

Add a coat of primer if your metal furniture is rusted
Credit: ©LumenSt on Canva.com
Step 3: Painting
Apply the first coat
After the primer has dried, apply the first coat of outdoor metal paint. Use even strokes to ensure a smooth finish.
To provide an equal application, slowly sweep the paint across the surface of your object from left to right. Don't point the nozzle in a single area. Also, be sure to slightly overlap each of your passes to avoid gaps between the areas you spray paint.
Let it dry
Allow the first coat to dry completely. It might sometimes take only a few minutes to dry. However, for optimal effects, wait about 4 hours before applying another layer.
Apply a second coat
Apply a second coat for extra durability and even coverage. Let it dry thoroughly before using the furniture.
It's a good idea to let the paint cure for 24 hours. Paint type, substance, surface, and environment are all variables in drying time.
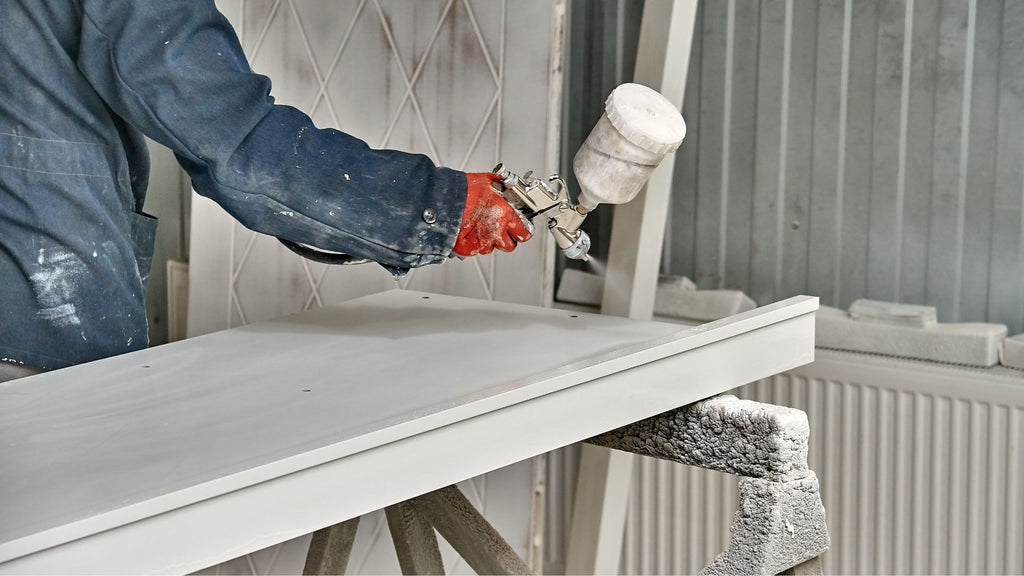
Apply your paint carefully to the outdoor furniture
Credit: ©timltv on Canva.com
Step 4: Finishing touches
Inspect and touch-up: Once the second coat is dry, inspect your furniture for any spots that need touch-up. Apply a small amount of paint with a brush if necessary.
Remove painter's tape: If you use painter's tape to protect certain areas, carefully remove it once the paint is completely dry.
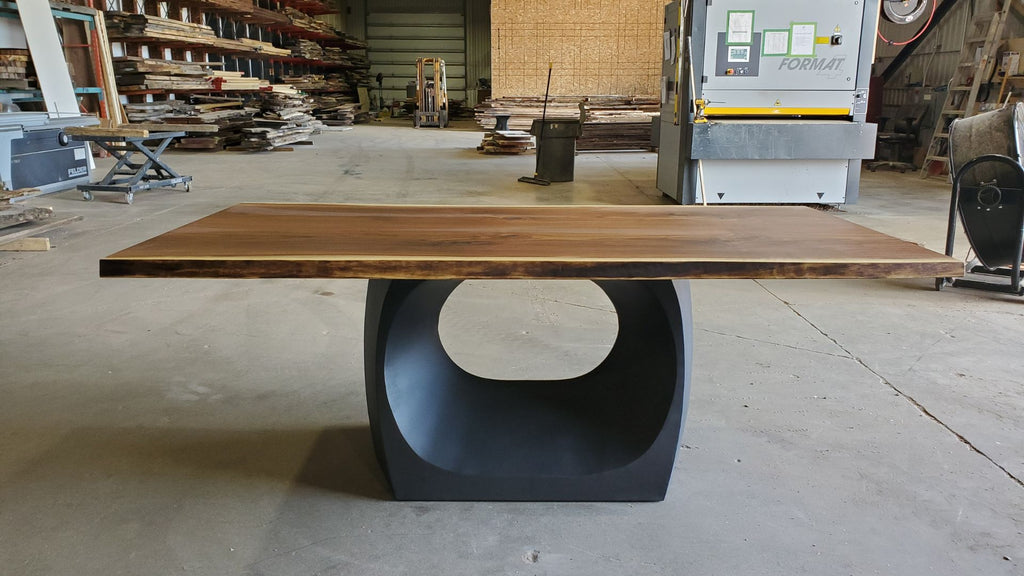
Inspect your furniture for any spots that need touch-up
Credit: Flowyline Design
Related product:
- 308 Odila Metal Table Base


Comments
Post a Comment