Table Legs for Front Door Halloween Decorations
Original article: https://flowyline.com/blogs/for-diy-ers/table-legs-for-halloween-front-door
Halloween is a yearly festival that adds some fun and excitement to our lives. It is also a good opportunity for our families to bond together and come up with amazing ideas to transform our living space into a playful and spooky theme.
One of the easiest and most creative ways to decorate your home for Halloween is to use table legs. Yes, you heard that right. Table legs can be turned into awesome and festive door decorations with some simple DIY steps. You can use any kind of table legs, whether they are rustic, modern, or quirky. In this blog post, we will show you some of the best table leg designs for the Halloween front door decorations and how to use them to create three different Halloween door concepts: a witch, a mummy, and a skeleton. Let's get started!
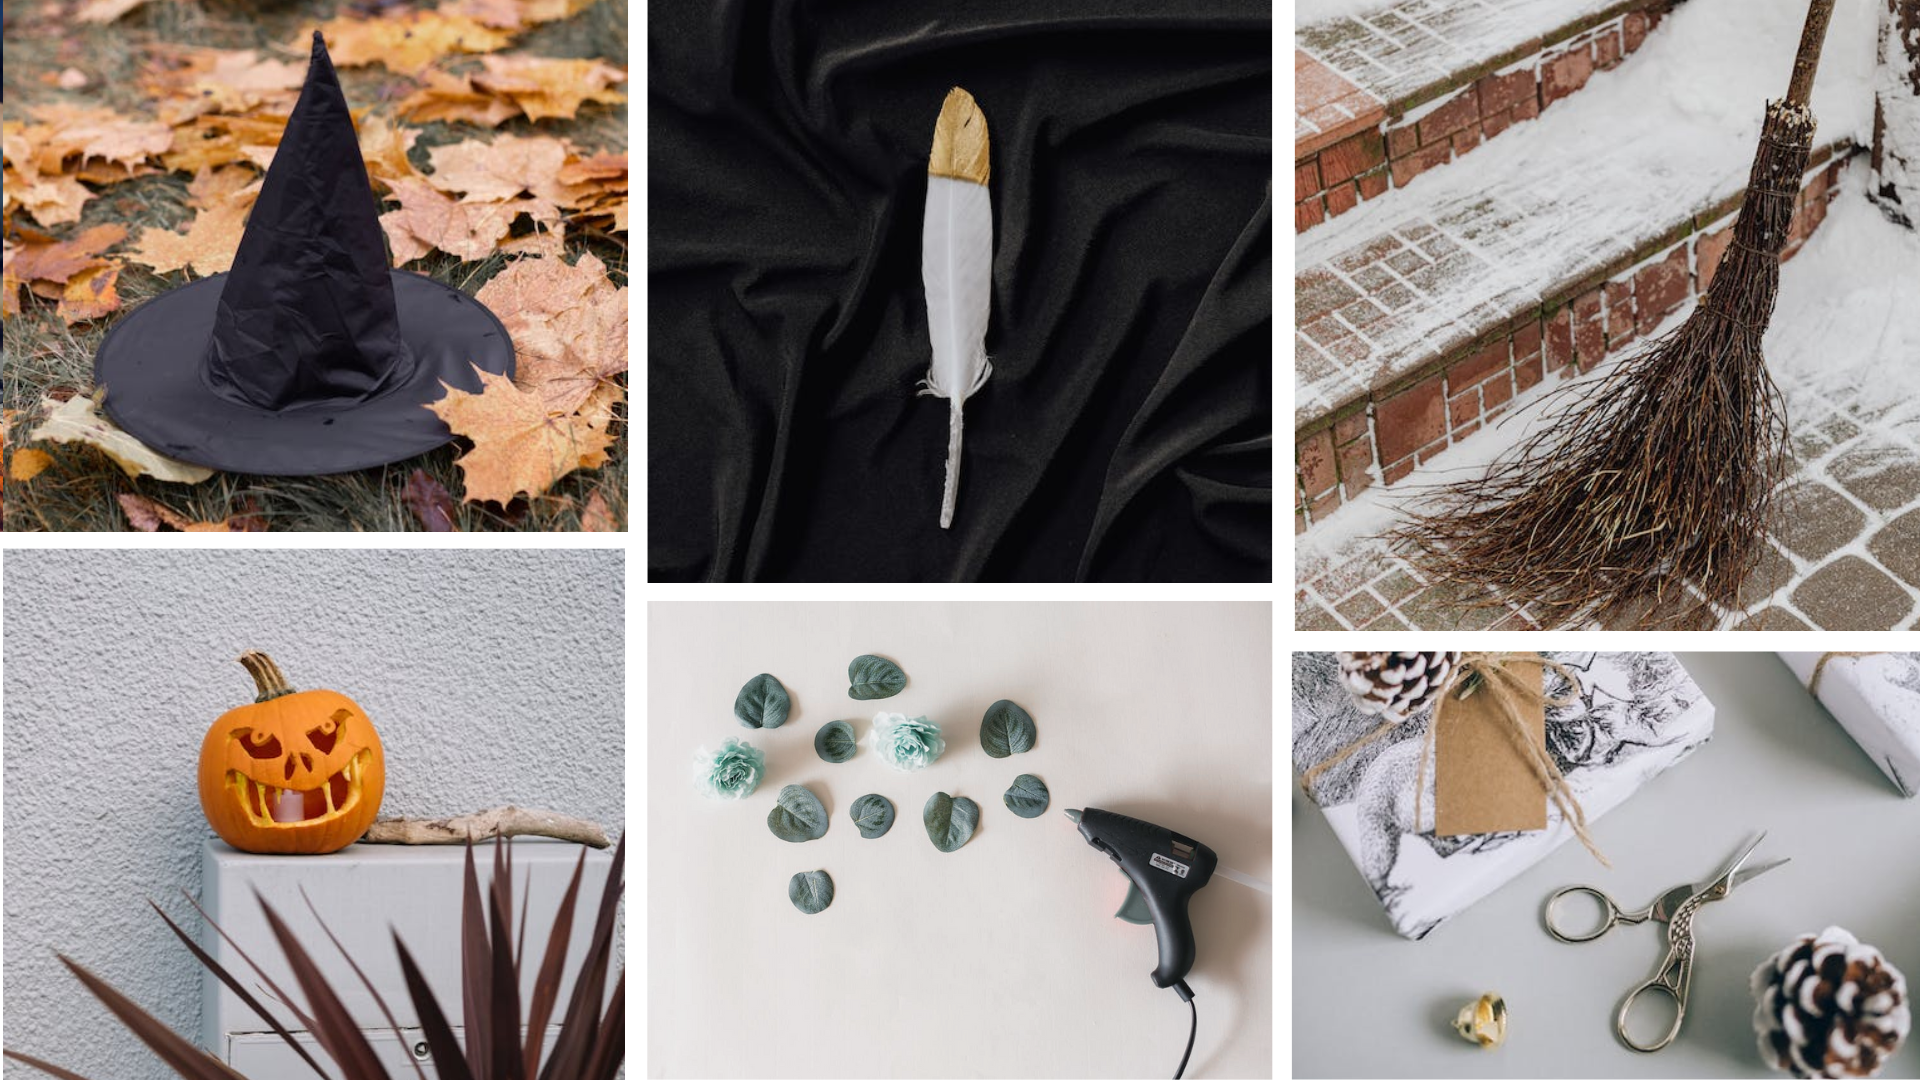
Witch Door Decoration
If you are looking for a way to make your front door stand out from the rest, you might want to try a Halloween witch door decoration. This is a type of decoration that is designed to look like a witch standing in your doorway, creating a fun and spooky effect.
Needed Materials
For this decoration, you will need:
- A table with a magical leg design (preferably black or dark brown)
- A witch hat
- A pumpkin mock-up
- A broom
- Some black fabric
- Some glue
- A scissor
Step-by-step instructions
To make the witch door decoration, follow these steps:
- Cut out a circle from the black fabric and glue it to the bottom of the tabletop. This will be the witch's skirt.
- Glue the witch hat to the top of the pumpkin and place it on the table's surface. This will be the witch's head.
- Glue the broom to the side of the table. This will be the witch's broomstick.
- Put the table in front of the door with some string or wire. You can also add some spiderwebs or bats for extra effect.
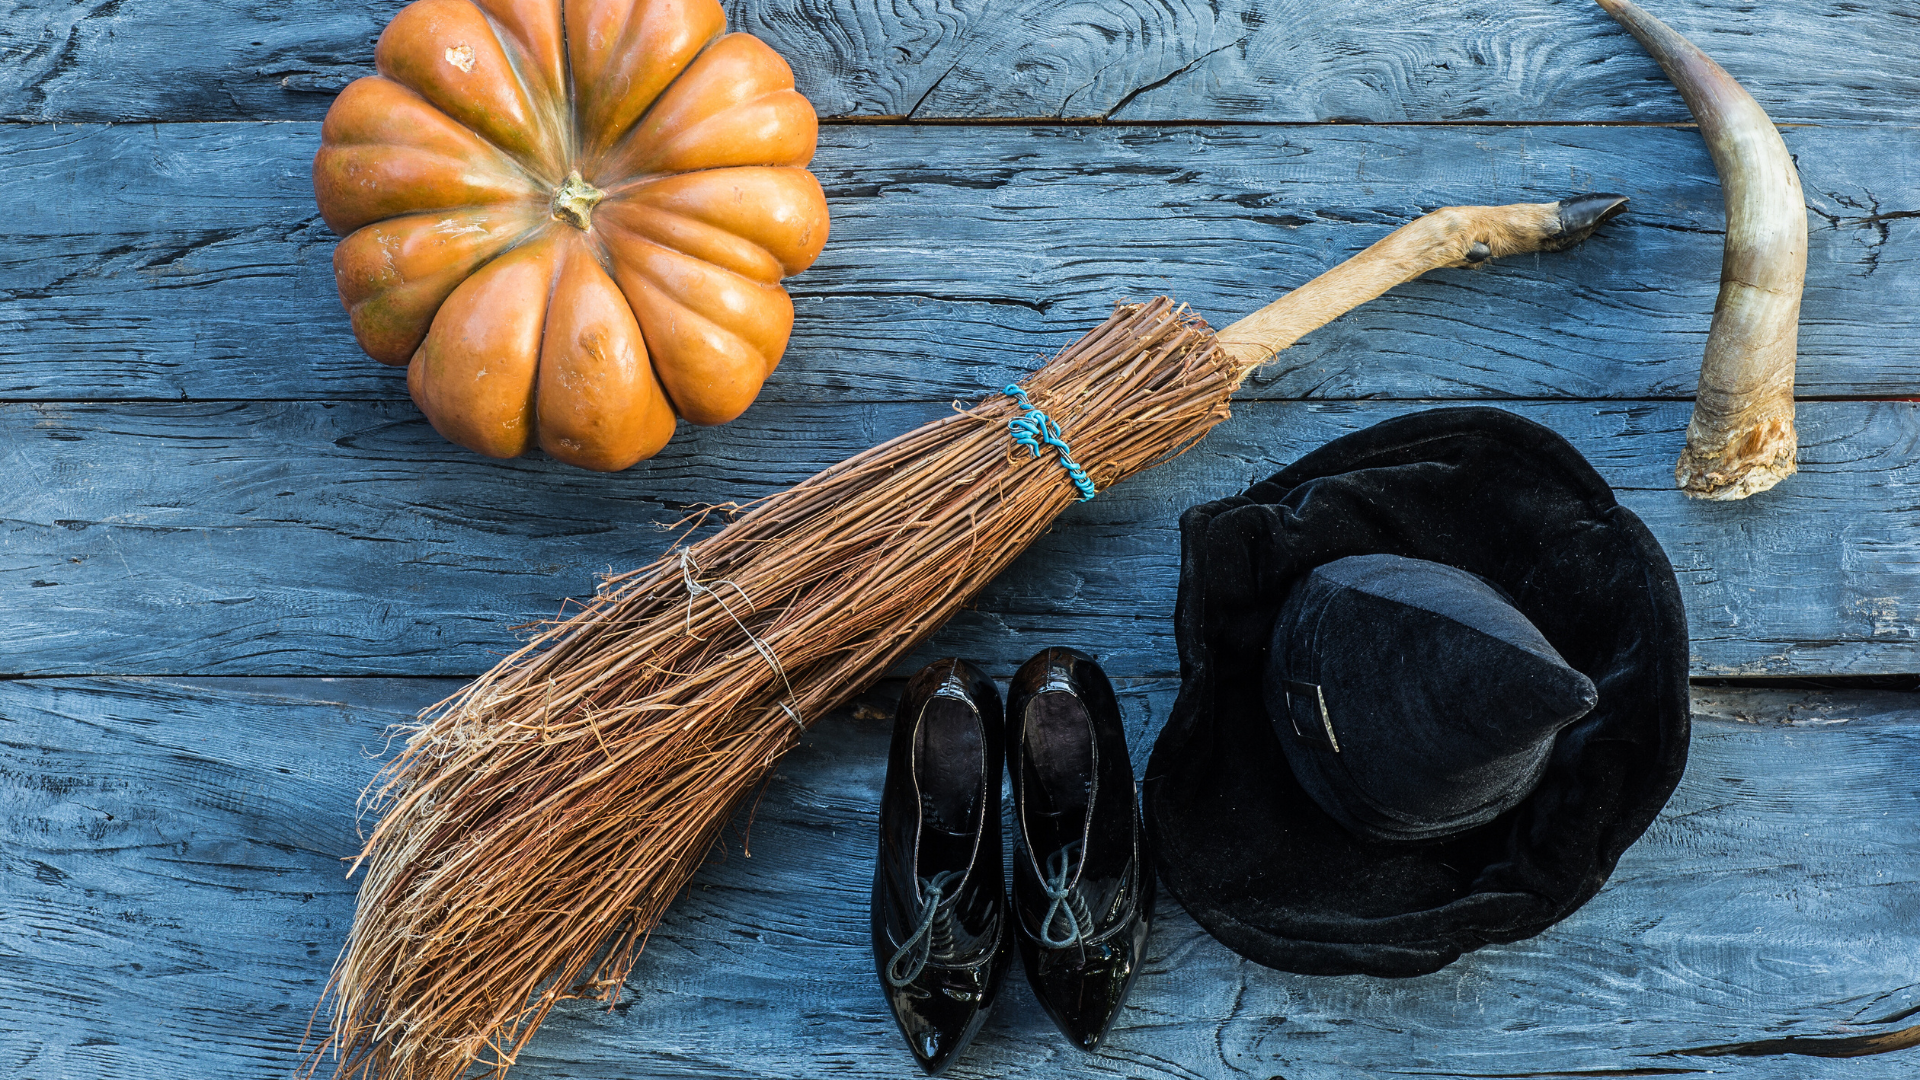
Credit: ©serikbaib on Canva.com
Mummy Door Decoration
If you want to give your front door a spooky and fun makeover for Halloween, you might want to try a Halloween mummy door decoration. This is a type of decoration that is designed to look like a mummy has wrapped your door with bandages, creating a creepy and cute effect.
Needed Materials
For this decoration, you will need:
- A table with a magical leg design (preferably black or dark gray)
- An effigy
- Some white fabric or bandages
- Some googly eyes
- Some glue
- Some scissors
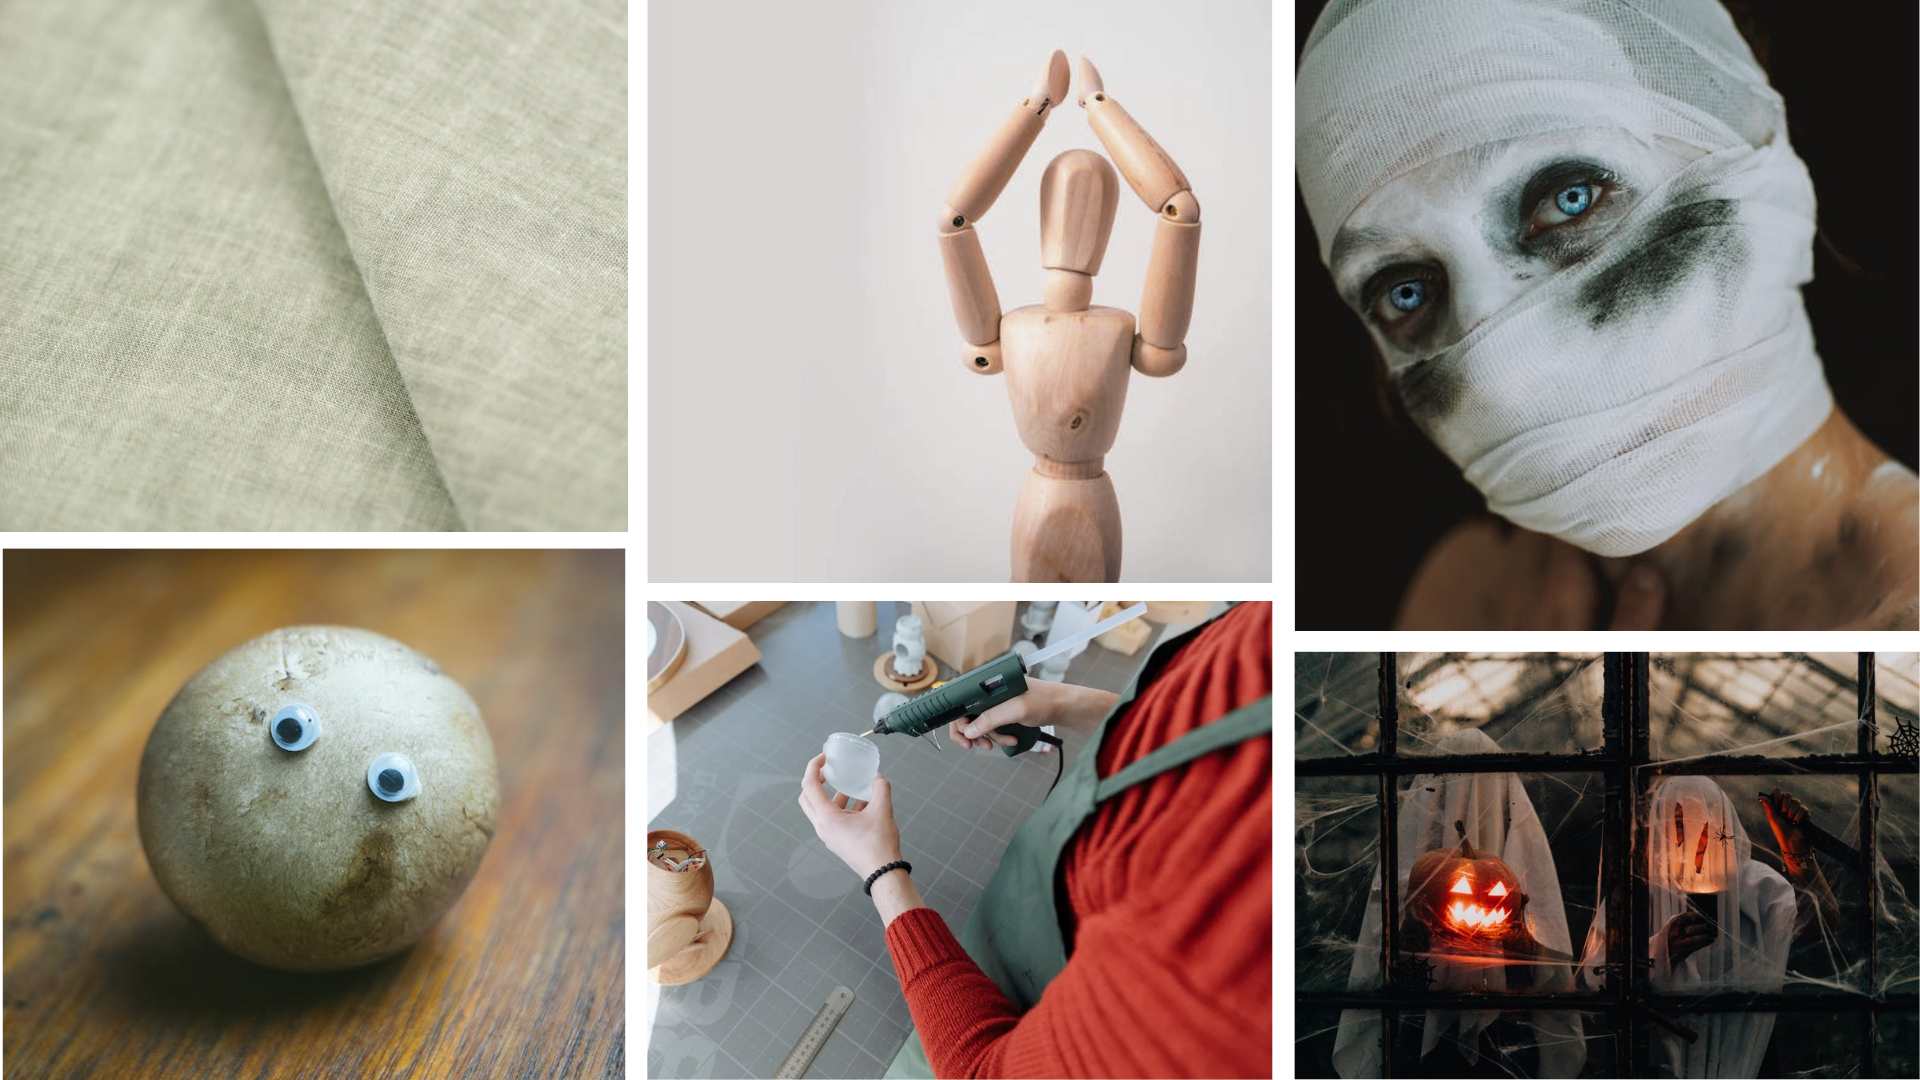
Step-by-step instructions
To make the mummy door decoration, follow these steps:
- Cut out some strips from the white fabric or bandages and wrap them around the effigy. Leave some gaps for the eyes and mouth. You can also use some glue to secure the fabric or bandages in place.
- Glue some googly eyes to the effigy where you left some gaps. This will be the mummy's eyes.
- Hang the effigy on your front door with some string or wire. You can also add some spiders or bugs for extra effect.
- Don't forget to add the bandages to the surroundings to make your artwork look more lively and scary.
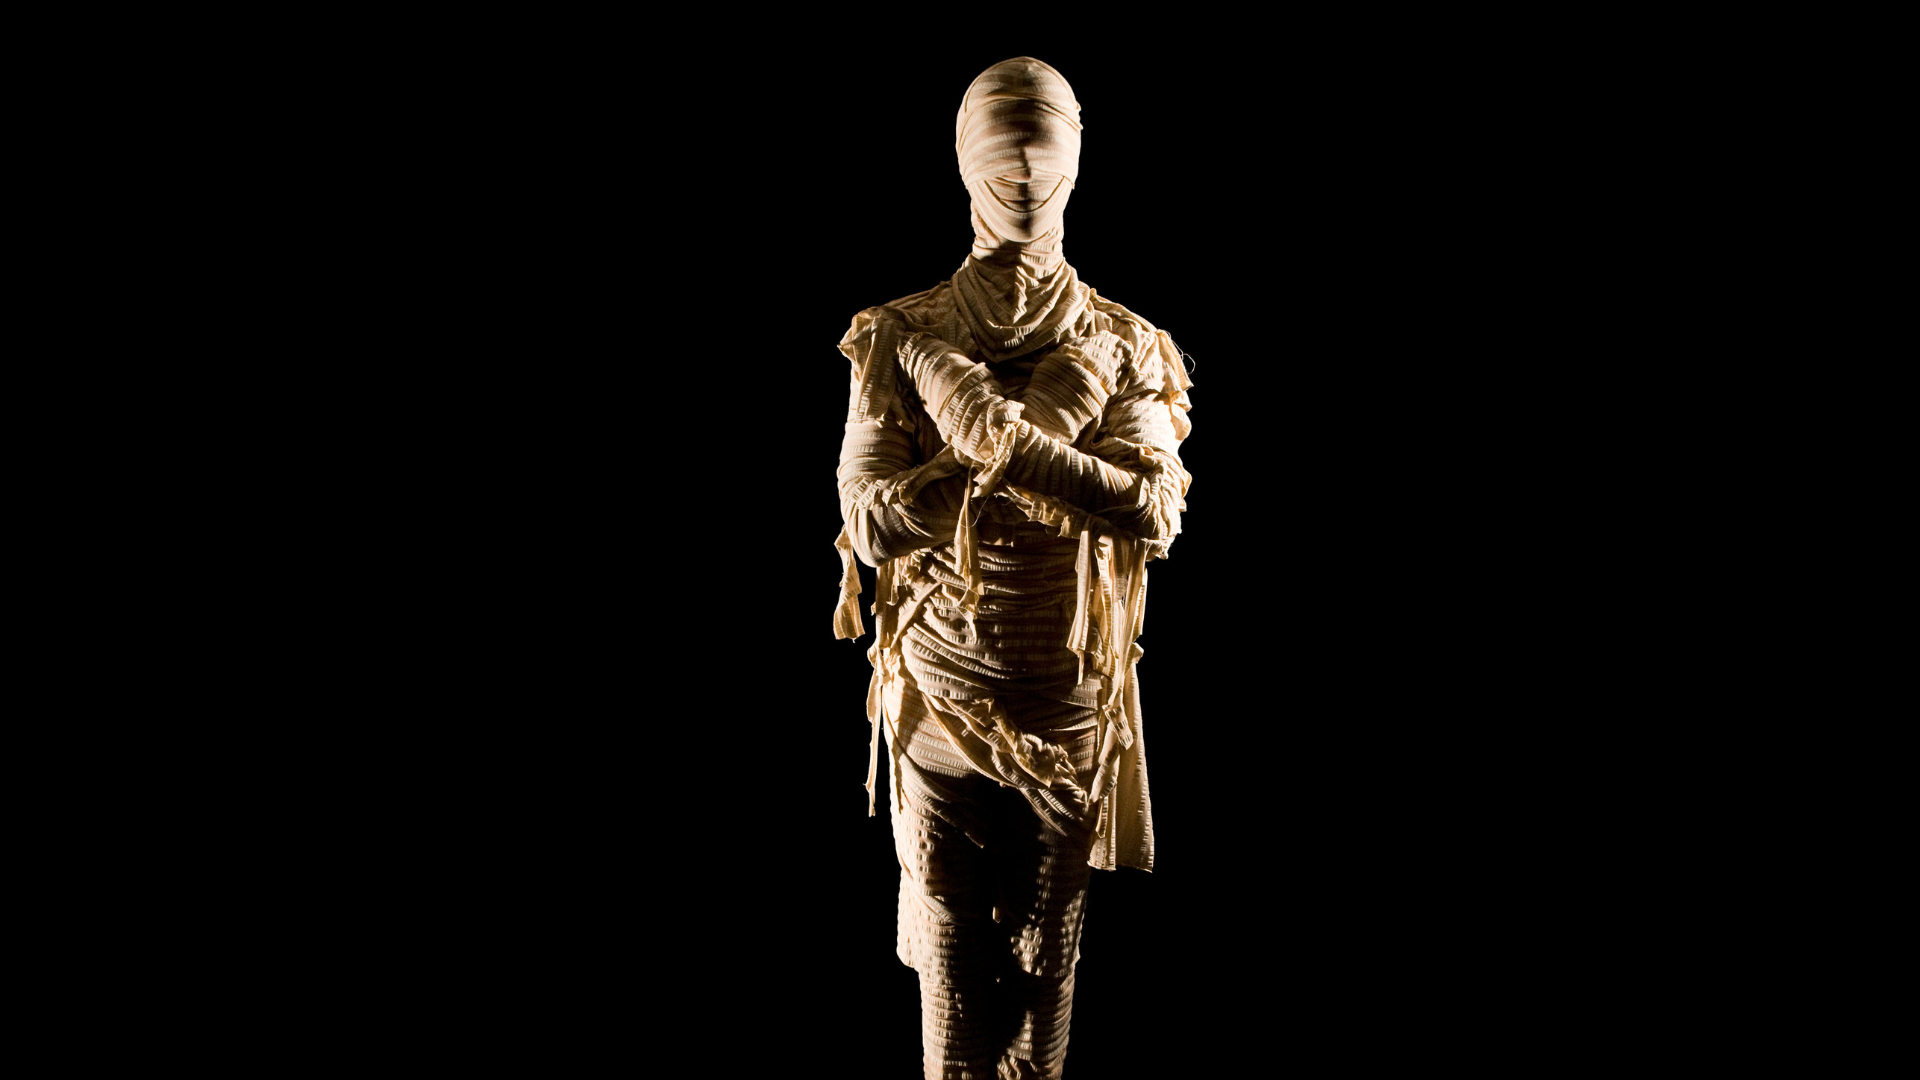
Credit: ©joshblake on Canva.com
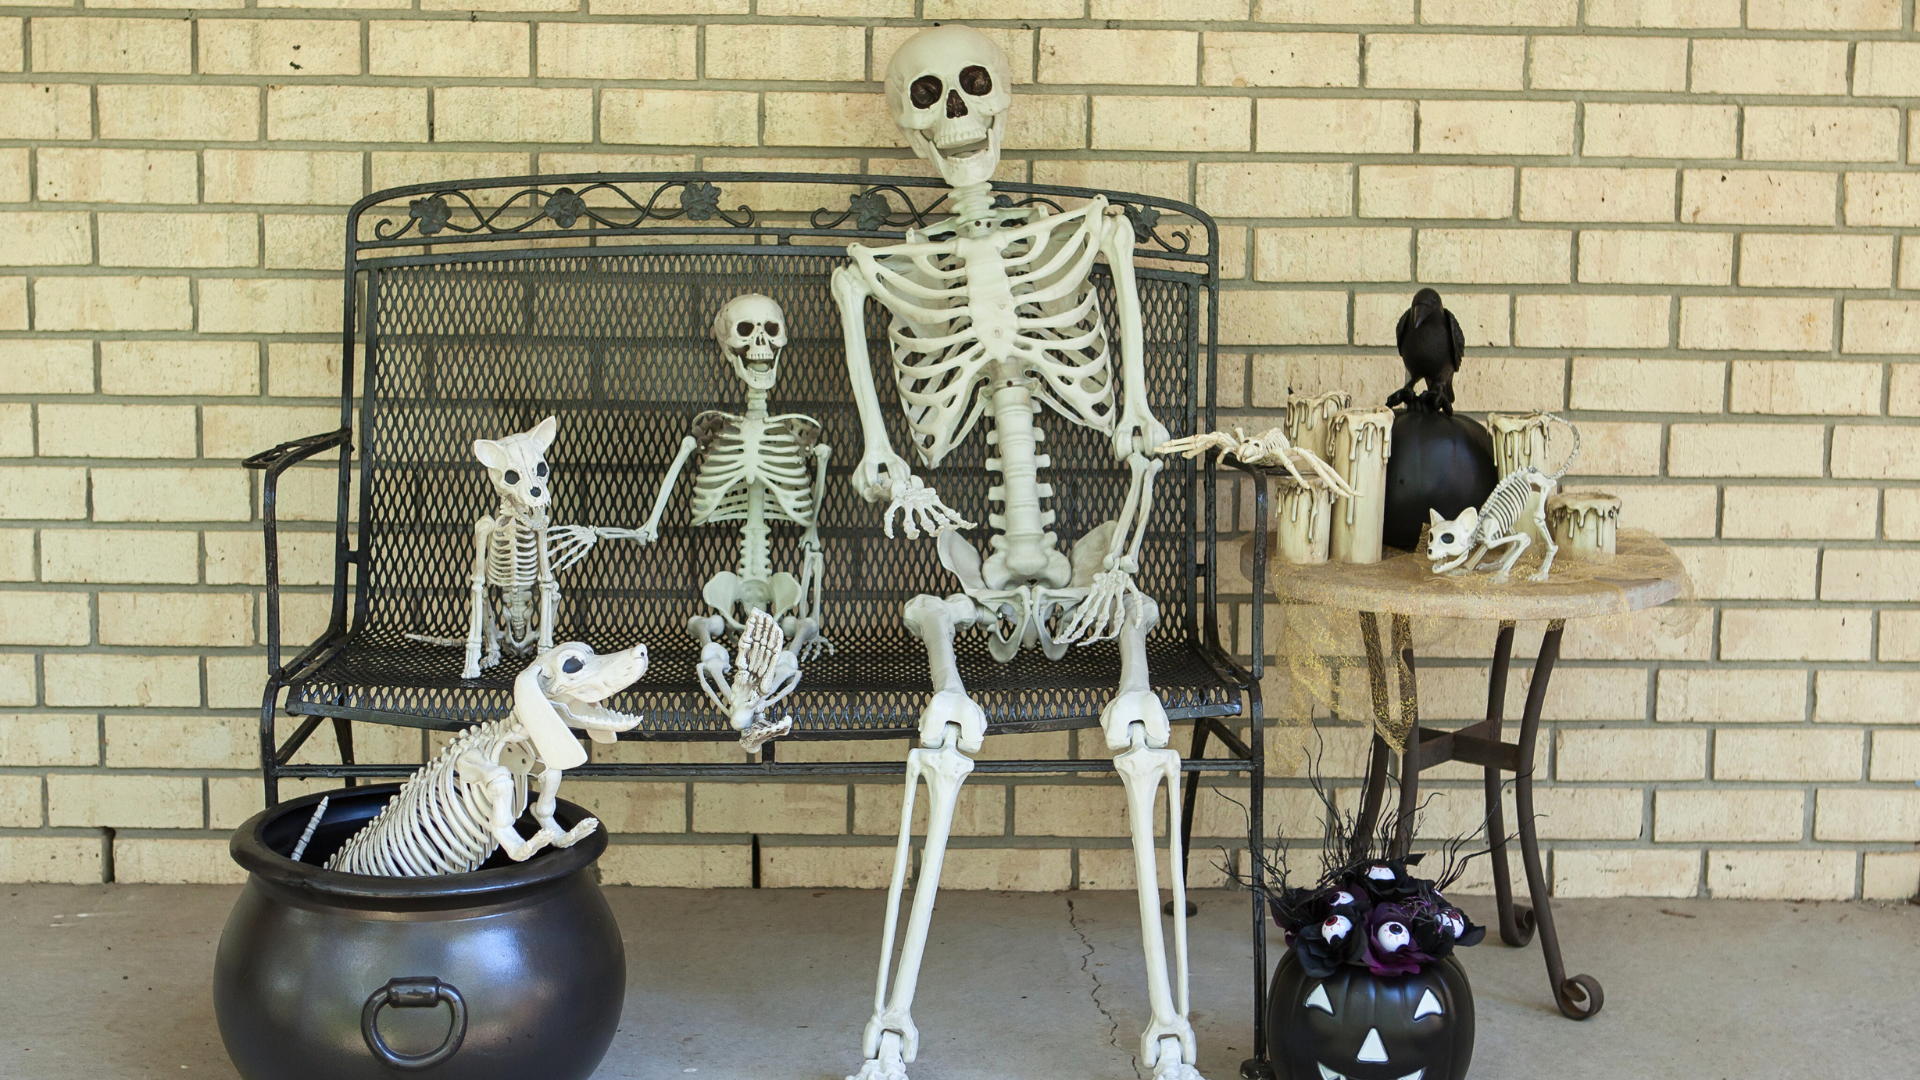
Skeleton Door Decoration
If you are looking for a way to make your front door more bone-chilling for Halloween, you might want to try a Halloween skeleton door decoration. This is a type of decoration that is designed to look like a skeleton has invaded your door, creating a scary and funny effect.
Needed Materials
For this decoration, you will need:
- A table with a magical leg design (preferably white or light wood)
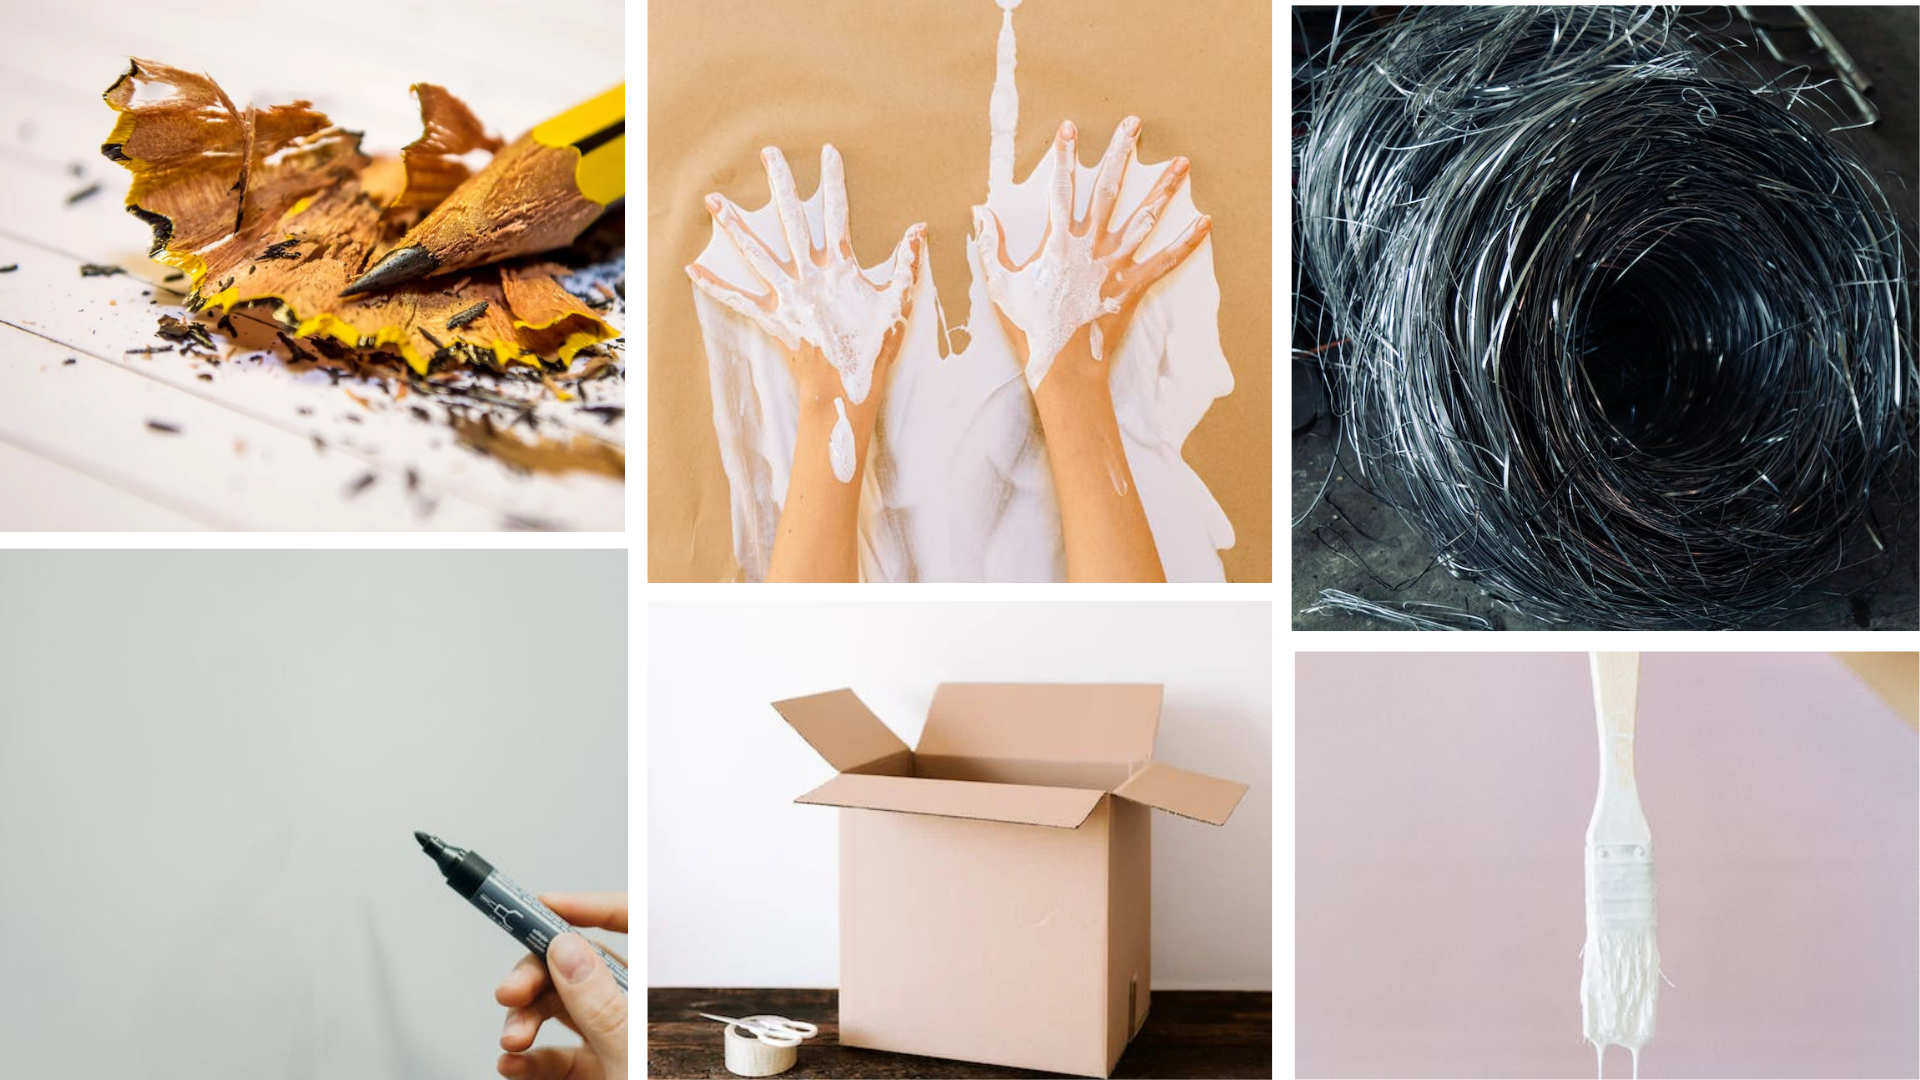
- A pencil
- White poster paint
- A brush
- A black marker
- Some glue
- A scissor
- A paper-knife
- Some cardboard
- A hot melt glue gun
- Some string or zinc wires
Step-by-step instructions
To make the skeleton door decoration, follow these steps:
- Cut out some basic shapes from the cardboard to create the skeleton's head, hands, and feet. You can use a picture of a skeleton as a reference.
- Hand sketch the skeleton's shape with the pencil (If you don't want to spend too much time sketching, using a skeleton picture and gluing them onto the cardboard is also a great idea.)
- Paint some black lines on the cardboard to create the skeleton's bones and features. You can use a picture of a skeleton as a reference.
- Use the paper knife to cut off the redundant components.<
- Paint your cardboard with white color and trace over the black lines using a black paintbrush.
- Use your zinc wire to connect the head, body, and feet of your skeleton together. Then use a hot melt glue gun to fix them all together.
- Hang the table leg on your front door with some string or wire. You can also add some skulls or bones for extra effect.
Credit: ©TracyHornbrook on Canva.com
To see the full and detailed instructions on how to make the DIY concepts for your Halloween decor, you can click this link and learn how to cut, paint, and glue the table leg and the cardboard shapes to create realistic and spooky decorations: https://flowyline.com/blogs/for-diy-ers/table-legs-for-halloween-front-door.
Comments
Post a Comment