How to Make Table Legs? 10 Super Easy Steps from An Expert
Original article: https://flowyline.com/blogs/for-diy-ers/how-to-make-table-legs
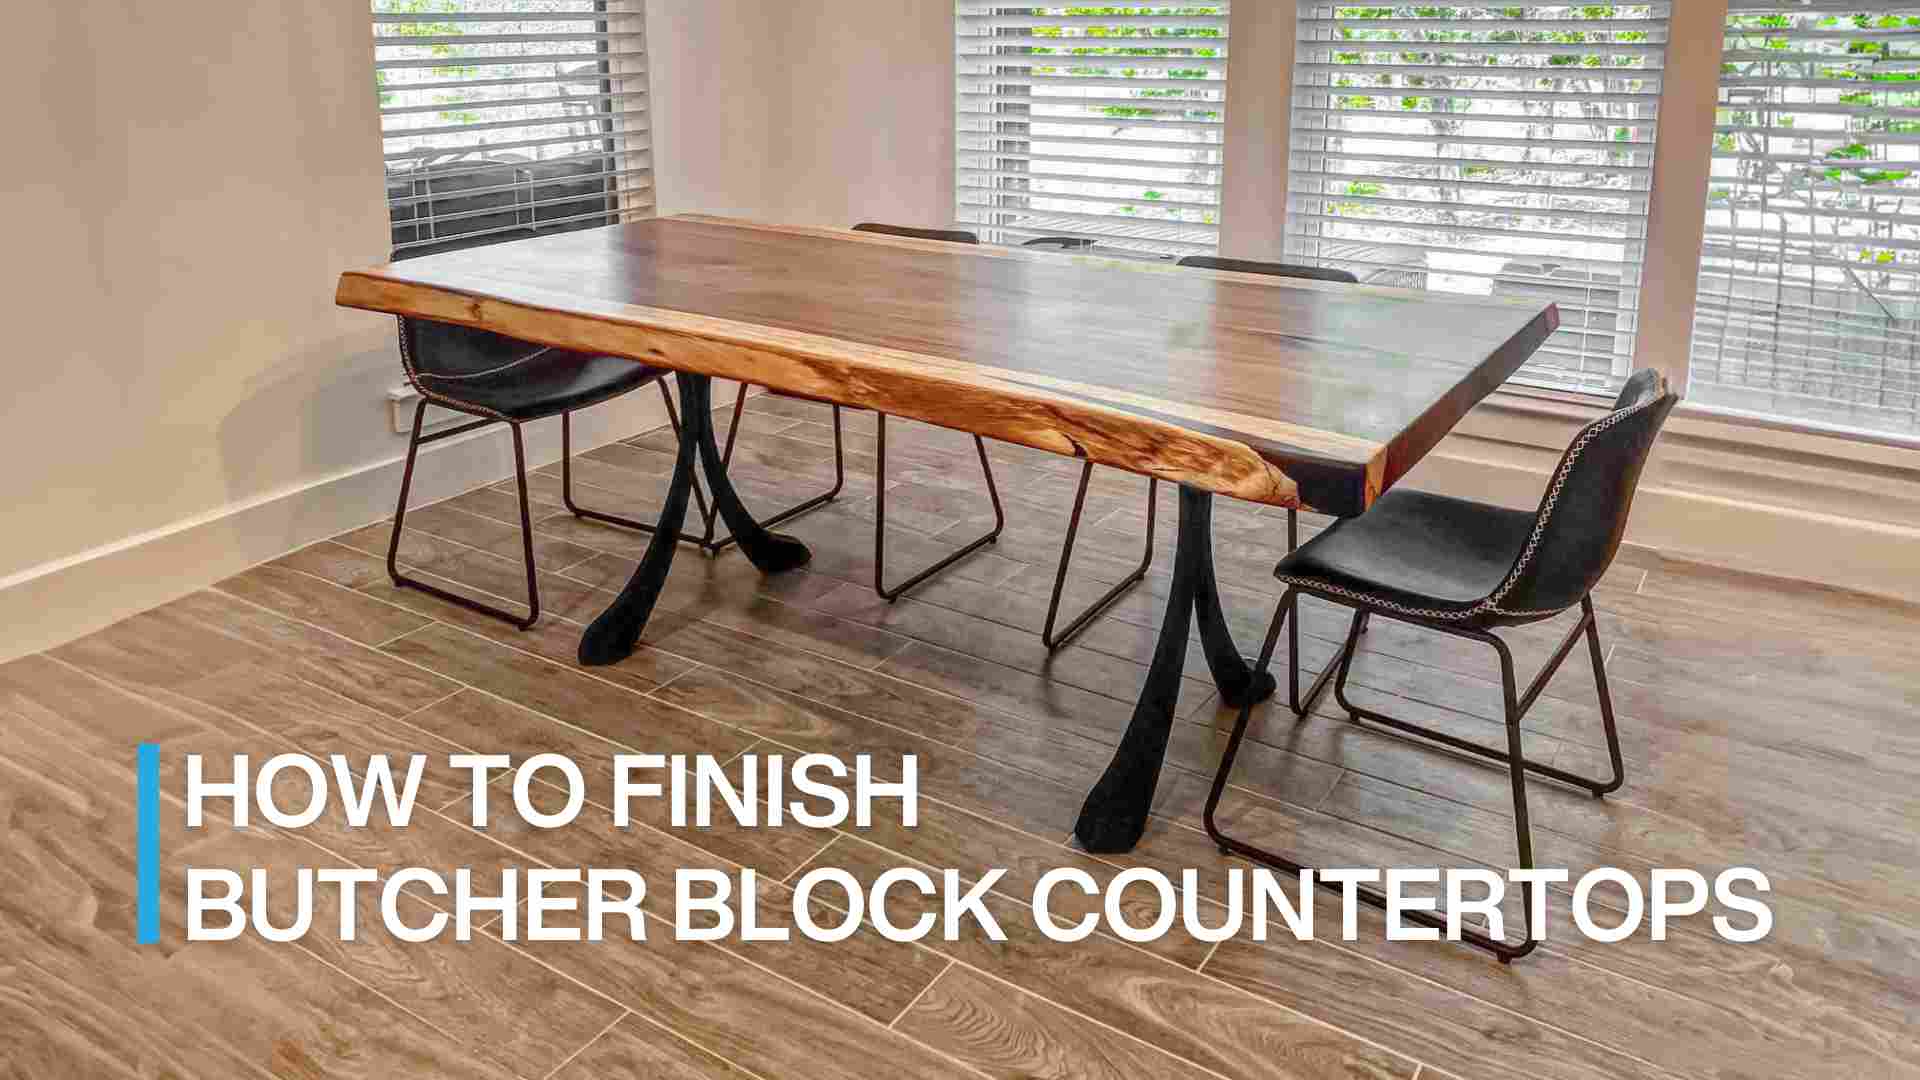
In this article, we are going to explore how to make metal table legs at home using simple procedures. We will build U-shaped table legs that will fit precisely on a wide range of table sizes, from small coffee tables to large dining tables. The next section will show you the tools and materials you need to gather before beginning to build the U-shaped table legs.

Credit: ©Александр Довянский on Canva.com
Step-by-Step Guide
Step 1: Create the table's uprights and crossbars
Cut the steel tubs into appropriate height and length pieces using the measurements specified above.

Credit: ©shank_ali on Canva.com
Step 2: Arrange the steel tubs
Place the crossbar between the two uprights and square it up using the corner clamps.

Credit: ©Mihailgrey on Canva.com
Step 3: Weld the steel tubs together
Tack weld them together first so they don't warp out of position, then begin filling in all the necessary areas.

Step 4: Grind the table legs
After you've finished welding to shape the table leg, use a grinder to smooth down all the necessary points for a beautiful finish.

Step 5: Insert the flat bar
Use the clamp to fix the uprights, then weld the flat bar to the table leg to form a mounting plate.
Repeat the procedure with the remaining table leg.

Credit: Flowyline Design
Related product: 121 Tulipe Metal Table Base
Step 6: Drill holes for the mounting plates

Credit: ©YouraPechkin on Canva.com
Step 7: Sanding
Use a buffing pad and 120-grit sandpaper to sand the surface of your table legs.

Step 8: Painting
Cover the table legs with your favorite color of spray paint. This may assist your steel items in preventing rusting during usage.

Step 9: Insert the rubber pads
Install the rubber bumper pads beneath the table legs.

Credit: ©nattul on Canva.com
Step 10: Attach table legs to the top

You can visit Flowyline via the following link to see the full article and explore the required materials and tools to make the U-shaped metal table legs: https://flowyline.com/blogs/for-diy-ers/how-to-make-table-legs.

Comments
Post a Comment