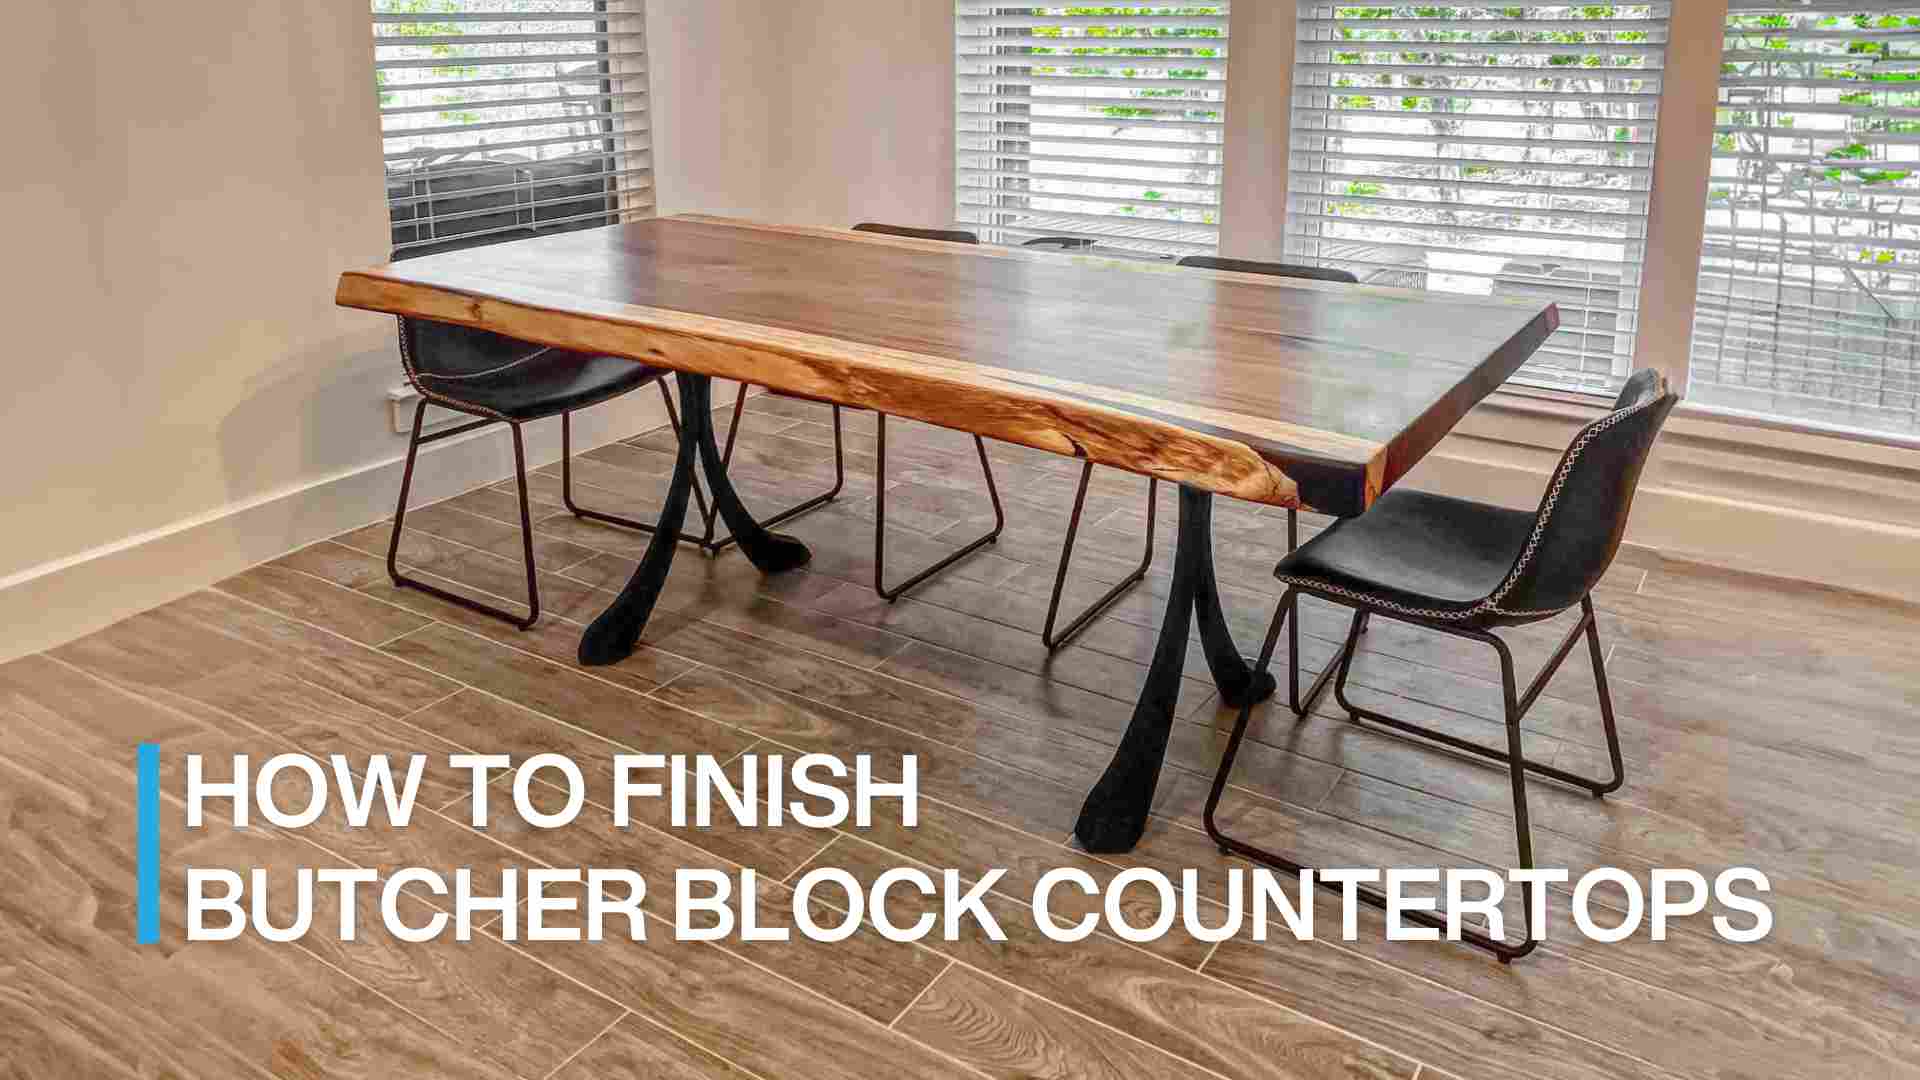
[How To] DIY- 5 Easy Steps To Make A Live Edge Table For Beginners
Live Edge Tables are so popular for most woodworkers in the fact that they're both sturdy and elegant. The natural beauty of the wood in the live edge can make many elegant furniture like dining tables, coffee tables, bench tables, moreover, it is simply breathtaking.
No matter that live edge tables have been around for a while now, they're still considered trendy pieces of furniture. However, if you have a nice piece of live-edge slab, you still need to know how to attach metal table legs to make a finished project.
Relevant posts:
Why do they call it live edge? Which metal table legs go well with live edges?
Best Metal Legs For Live-Edge Tables That You Can't Miss Out
In this blog, we'll take a closer look at these instructions on how to attach metal legs to a wonderful live-edge table top.
What supplies do we need?
Materials
Live Edge Lumber
Metal Table Legs
Tools
Router (Optional)
Bowtie Inlay Kit (Optional)
Sander
Epoxy Mixing Tools
Wire Brush/Attachment
Straight Cut Bit
How we do it?
Step 1: Flattening the slab
First thing you have to do is flattening the slab. Slabs are commonly used for dining tables and other furniture so nobody wants a table that isn't in shape.
Make sure to flatten the entire slab to help your making table process go smoothly. Whether a large slab twisted even as little as 1 inch, it will be tough to mount to a base.
This task can be done in so many different ways, but for mostly particular slabs, you need to use a combination of a sander and a router with a sled.
Step 2: Cleaning the edges
You have to flatten and sand one more round and then you can spend some time cleaning up the live edge.
It's a good idea to remove the bark and crap from a live edge slab. The bond between the bark and the wood isn't strong at all so it can fall anytime. By flattening the edges of the slab, you can both protect yourself from hand splinters.

Removing the bark and crap from a live edge slab protects yourself from hand splinters Credit: Pinterest
Step 3: Adding Bowties (Optional)
If your slab had a pretty epic crack in it, you can add a few decorative wood bow ties to prevent the crack from spreading even more. Using a router and a bow tie template for this will make such a huge difference for your table. Some people use bow ties to match the slab’s colors while the others like the outstanding colors. Feel free to pick any option and make a highlight for your own live-edge table.
Credit: Flowyline Design
105 Cleo Bench Legs: Here
Step 4: Installing the metal legs
Guidance: Attach Metal Legs To Live Edge Table Top
Step 5: Enjoying your result!
After you finish all previous steps, all you have to do is put on a protective cover such as Odie’s Oil and Rubio Monocoat. They are normally rubbed on and then are wiped back off.
Since you finish the oil protection, you’re equal to relax and be proud of your result. It’s time to spend your time on your favorite live-edge table!
Credit: Flowyline Design
418 Curva Table Legs: Here
The most important element that you should notice is that you need to find table legs that greatly fit to your favorite live edge tables.
Nowadays, people prefer the metal materials due to their consistency and strength, especially furniture that is required to stay sturdy to help us hold essentials like tables and table legs. Metal table legs offer us a higher capacity with various significant designs so we can pick metal legs for your table.
However, there are many stores that sell metal table legs. If you are wondering where to find a reputable store, then Flowyline Design is the choice for you.
We- Flowyline Design is a furniture manufacturer based in California and sells various customizable table legs and bases. We have many good reviews and are willing to bring the best service for you.
If you want to customize the legs to suit your tabletop or your bench, we're ready to help you. Live chat with us at flowyline.com or leave your email for a 3D rendering.


Comments
Post a Comment